Knife sharpening is an art that professionals, chefs, enthusiasts, and beginners alike try to master. Learning this skill involves understanding everything from the different types of knife edges to correct sharpening techniques. Nevertheless, you need to test knife sharpness after sharpening.
The paper test is the most popular test for knife sharpness. To test your knife’s sharpness, take a piece of paper, place it between your fingers and draw the knife downwards. A sharp knife will slice the paper cleanly without you applying any force, while a dull blade will tear and rip at the paper, making for a messy cut.
This article will give in-depth details on testing knife sharpness, including why you need a sharp knife and different sharpness tests.
Table of contents
The dangers of a dull knife and why you need a sharp knife
It’s no secret that dull knives are more dangerous than sharp ones. Dull knives require you to use extra force when cutting through ingredients, increasing the risk of accidents and injury. A slight slip due to the additional pressure can lead to a cut.
Very sharp knives, on the other hand, are less likely to cut you. A sharp knife requires very little pressure when cutting through food, allowing you to work with more control and precision. You need a sharp knife for safety and better knife skills.
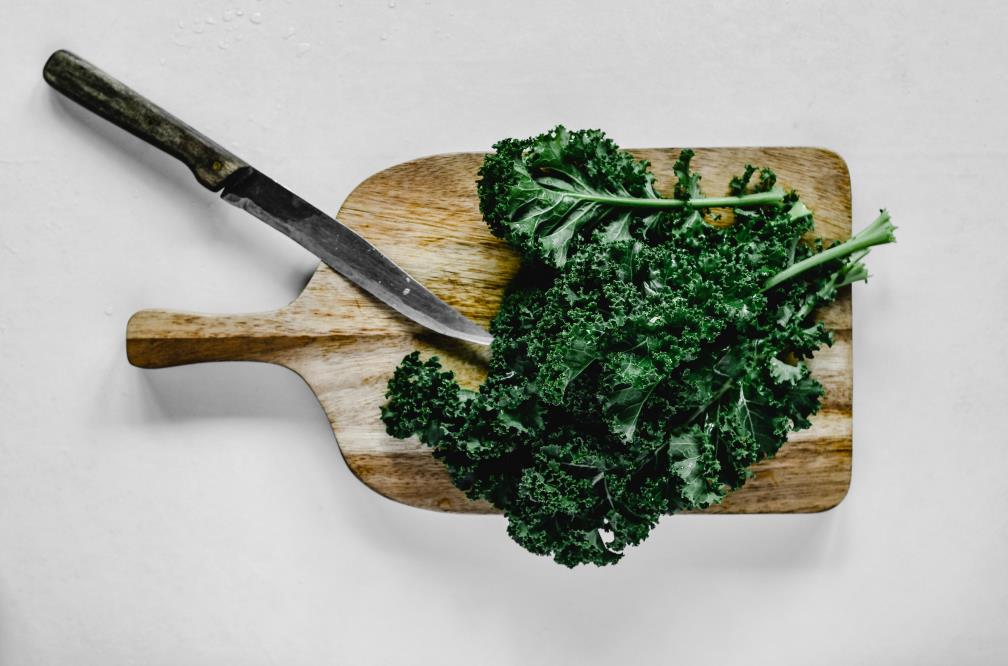
In the kitchen, a sharp knife is a chef’s best friend. A sharp knife can easily cut through if you cut soft, delicate foods like tomatoes or peel an apple. Using a dull knife will tear through these ingredients instead of a clean-cut, making for a messier, less precise cut.
Chefs need to make clean cuts to create appealing dishes and the best recipes. A dull knife doesn’t guarantee a bad recipe, but it does make the cooking process more difficult. It also takes longer to cut ingredients with a dull blade, which a chef can’t afford.
How to tell if a knife is sharp
There are many different ways to test knife sharpness, each with its benefits and drawbacks. While the paper test is most common, it’s essential to understand all the various sharpness tests so you can choose the one that’s the best for your needs.
Visually inspect your knife for sharpness
The visual inspection test is the easiest way to tell if your knife is sharp enough for use. Hold the blade of your knife against a bright light. If there are any visible chips or nicks in the blade, it means that it’s not sharp enough. Take note of any reflections, as this is a sign of dents or nicks in the blade.
Another way to test your knife’s sharpness is to look for a thin line in the reflection of the edge. If you can see a thin blue or silver line, then it means that there are no nicks or dents in the blade, and it’s sharp enough for use. Some people may record a black line instead of a blue or silver one.
Visual inspection is not always the most accurate, but you can see if your knife is sharp enough for use with magnification. To magnify the edge, take a picture of the blade and enlarge using a microscope or magnifying software.
A sharp knife features a flawless edge with smooth, symmetrical ridges, whereas a dull knife will have a jagged, uneven edge. By holding your knife under magnification, you can see the exact sharpness of your blade. If there are any nicks or dents, it means the knife is not sharp enough.
The classic paper test

The paper test is the most common and best way to test a knife’s sharpness. Most chefs use the paper test to determine whether their blades are sharp enough for use. A paper test involves cutting through paper with your knife. The sharper the blade, the cleaner and smoother the cut.
The best paper to use for the test is a simple piece of office paper. The thickness of the paper is not too thin but also not too thick, ideally 0.004 inches (0.1 mm), making it perfect for testing your knife’s sharpness.
A dry paper is the best material for this test. A wet paper will stick to your knife, making it harder to see any imperfections in your blade. Certain paper additives, such as wax or carbon, can also affect the way your knife cuts. A paper that’s too thick can skew your results, as you’ll have to use extra force to cut through the paper.
The following steps will show you how to test a knife’s sharpness with the paper method:
- Hold the paper in your left hand by its corner, with the paper perpendicular to you. Holding it at a 90-degree angle ensures that the paper doesn’t slip as you cut through it.
- Make sure your knife is in a comfortable position. The handle should be facing toward your body, and the blade should be pointing downwards at a 90-degree angle.
- Gently place your knife against one of the long edges on the corner of the paper, with the blade facing away from your body. Remember not to slice toward yourself at any point during this test.
- Slowly pull the knife across the length of the paper until you cut through it.
- If you can easily cut through the paper, then your knife is sharp enough to use. If the blade has trouble cutting through the paper or any bumps or ridges in it, then your knife isn’t sharp enough and needs proper sharpening.
While cutting the paper at a 45-degree angle is best, you can also cut it anywhere within a 90-degree angle. Most kitchen knives sharpen at a 20-30-degree angle, which means the blade will naturally cut through thicker papers at lesser angles.
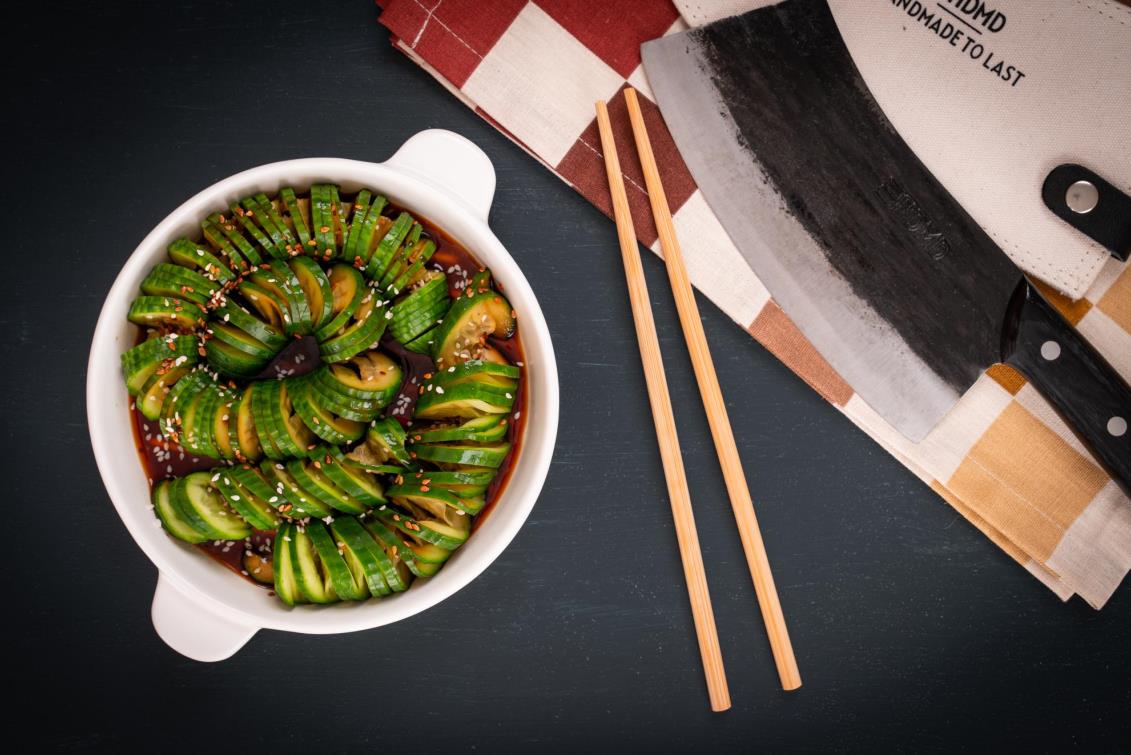
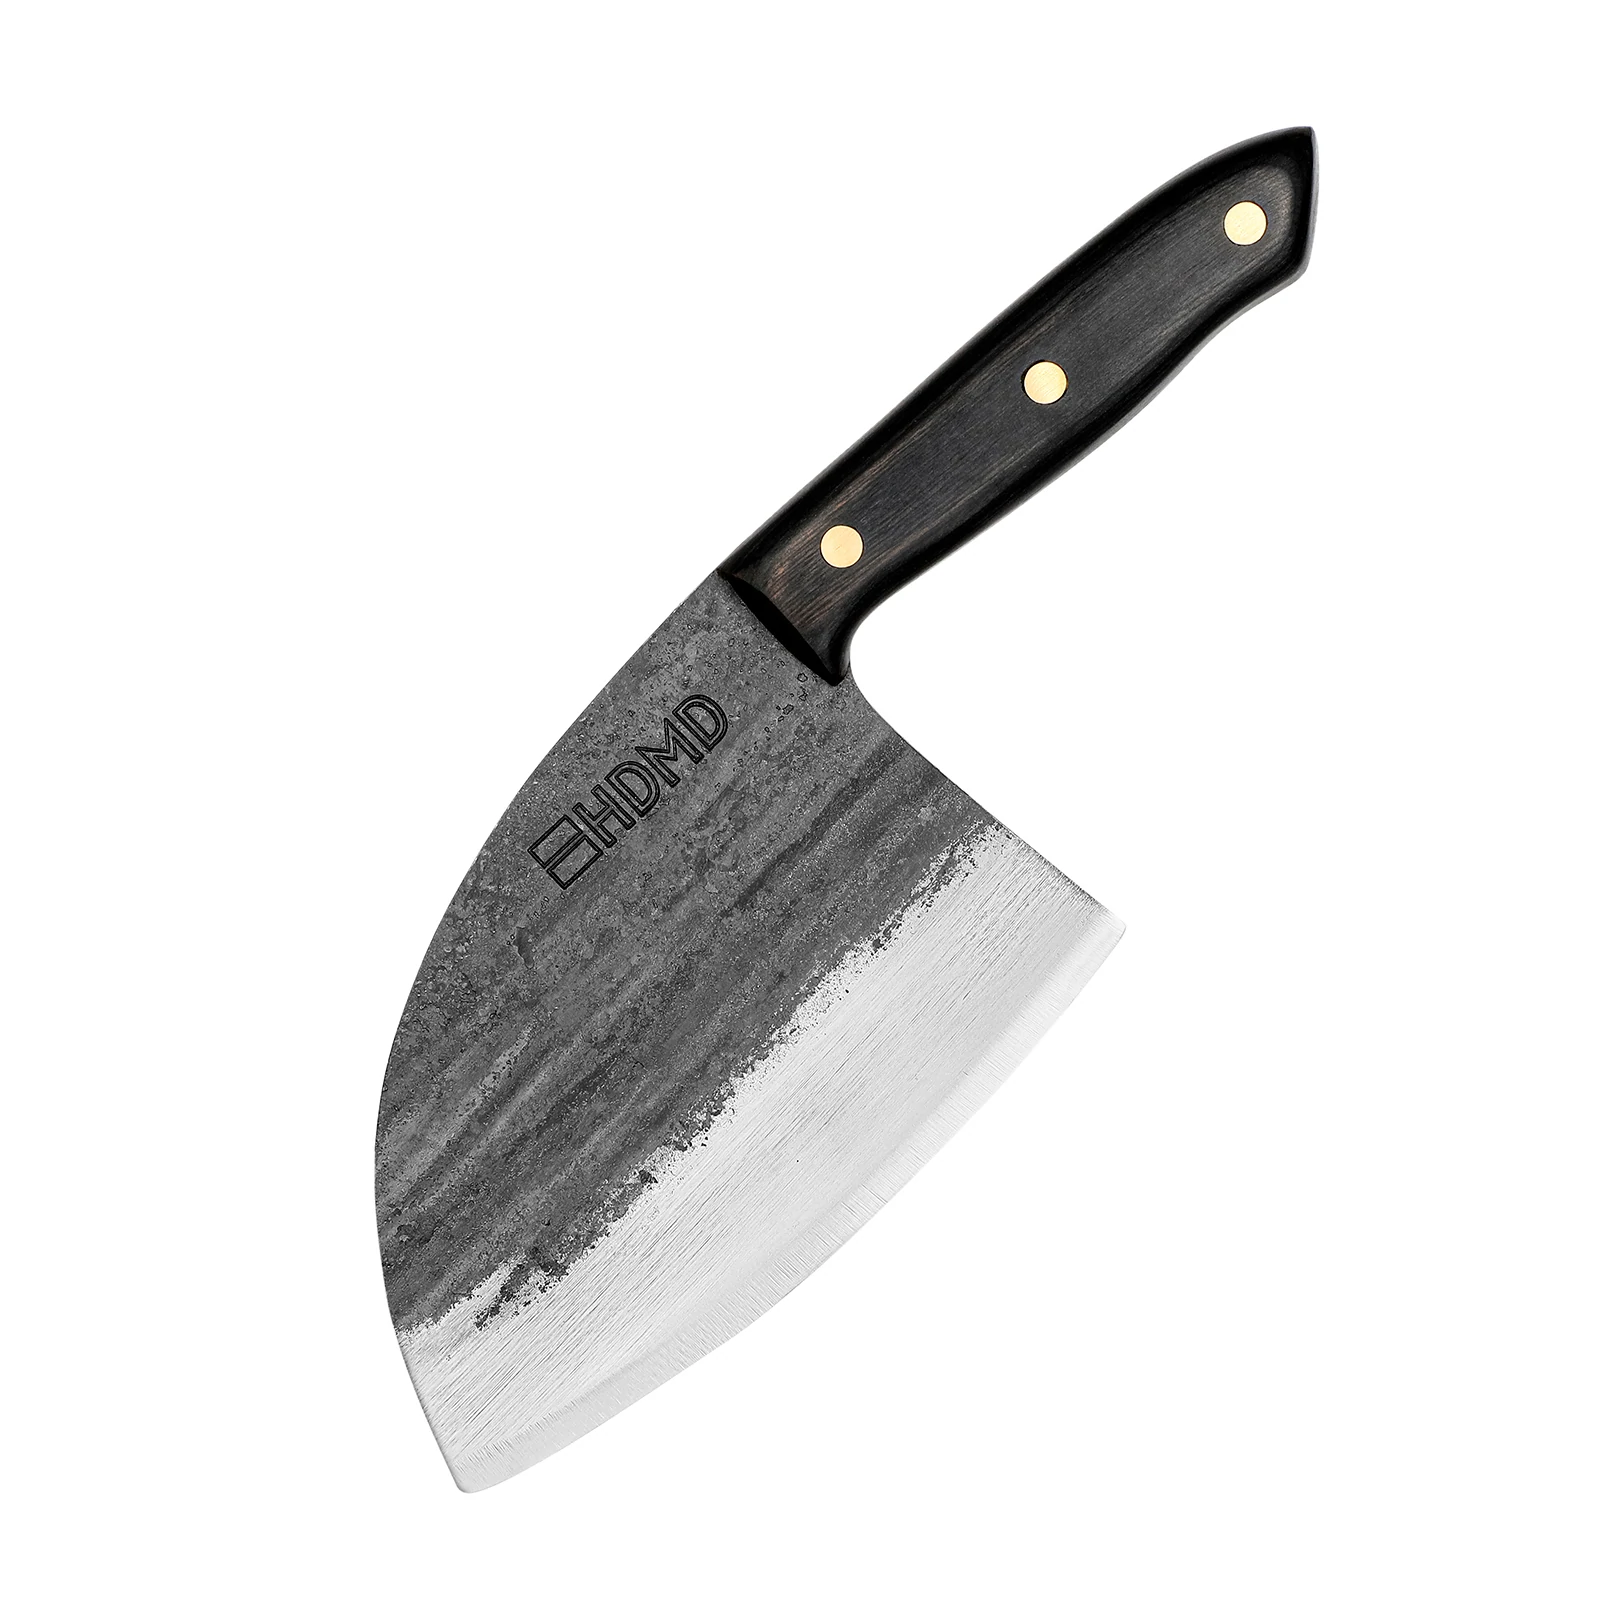
Sharpest handmade kitchen knives
True cutting power in the palm of your hand
The tomato/onion test
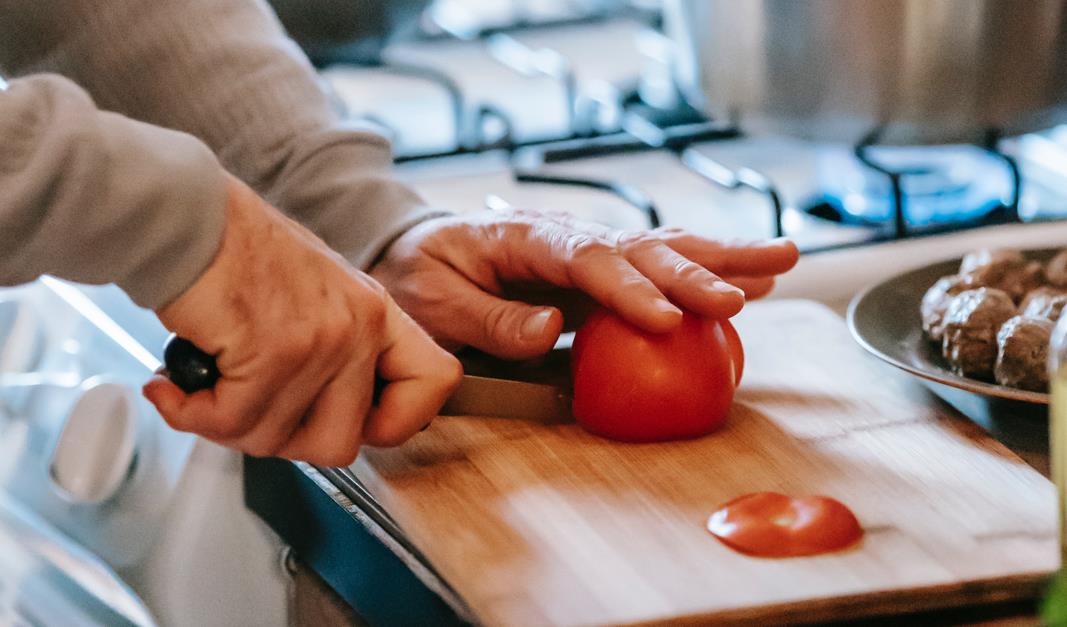
The tomato/onion test is a simple yet effective at-home method for determining whether a knife is sharp enough. This test involves slicing through either a tomato or an onion with the knife. The sharper the blade, the easier it will be to cut through the tomato/onion.
Before starting, make sure your tomato or onion is large enough so that you can slice through it without any difficulty.
Start by resting the blade on one side of the fruit and gently drawing the blade from base to top, all while keeping the edge of your knife perpendicular to the countertop. You should be able to see a thin strip of fruit as you cut through it. If your knife is sharp enough, the fruit should slice cleanly through with little to no resistance.
While drawing the blade across the fruit, you must ensure your grip is firm but not too tight. A tight grip will only cause you to lose control of the knife, which can cause accidents.
If your blade can successfully pass through an onion or tomato without much assistance, then it’s sharp enough for use. If the blade gets stuck or you have to apply too much pressure, your knife needs proper sharpening. You may also notice imperfections in the cut, such as ragged edges or bits of fruit left behind.
The shaving test
The shaving test is a step up from the paper or tomato/onion test. Instead of using props that are easy to cut through, you’ll have to use your body. Proceed with caution because this method is dangerous. One wrong move can result in injury.
The hair on your arm can serve as a good source for testing the sharpness of your knife. The finer and curlier your hair is, the better results you’ll get from this test.
Start by resting the blade on one side of your arm, with the edge facing away from you. The less sensitive areas on your arm, like your elbow or the back of your arm, are ideal.
Starting at the tip of the blade, gently drag it across your arm toward yourself. You shouldn’t have to push down on the knife for it to cut through your arm. The sharpness of the blade should allow it to slice through your hair effortlessly.
A sharp knife will give you a nice clean shave, leaving behind smooth and hairless skin. A dull blade will tug and pull at the hair as it tries to cut it and will require more pressure and effort to complete the same job as a sharp knife.
The fingernail test
The fingernail test is a simple yet effective way to determine the sharpness of a knife. It’s especially useful if you can’t access a tomato, onion, or piece of paper.
The technique is straightforward. Place the blade on your fingernail, preferably your thumbnail, and allow the blade to rest there. Remember not to apply any pressure on the edge.
If the knife is sharp enough, it will bite in and leave a mark on your nail, whereas a dull knife will slide over your nail without leaving a mark. Take caution not to glide the blade across your skin or touch its edge on your skin.
Three-finger test
The three-finger test of edge sharpness is a classic knife sharpness test. It can give you a good indication of how sharp your knife is, but it does have its limitations.
Note that the three-finger test isn’t for understanding how much pressure you need to apply on the edge to make it cut. Instead, it triggers your pain receptors to tell you if the edge is sharp enough to cut through your skin.
Follow these steps to perform the three-finger test.
- Hold the knife on your dominant hand, with the edge facing away from you.
- Place the thumb of your non-dominant hand on top of the spine of the knife. This step helps establish more support and control over the knife.
- With the thumb on the spine of the knife, gently put your first three fingers and place them on the blade of the knife.
- Gently slide your fingers along the cutting edge of your blade. Slide through the heel of the knife, the belly, and the tip.
- If the knife is dull, your receptors will sense the difference in the level of resistance between your skin and the knife edge. You can apply a little bit of pressure on the blade to help get a better sense of this resistance.
- However, if your knife is sharp, you’ll feel a noticeable difference in resistance between the sharp part of the blade and your fingers. Your brain will tell you to stop immediately because the blade is sharp enough to cut or harm your fingers.
A light touch on a sharp knife will give you a sense of urgency and will make your muscles contract to get away from the knife’s edge. You’ll feel a slight sting when you touch the sharpest part of the blade because it will bite into your skin.
The tongue test
Many will recoil at the thought of running their tongue across a sharp blade, but it can give you a good indication of whether your knife is sharp. The tongue test is fairly simple but may result in injuries if you’re not careful.
The tongue acts as a sensory organ that can detect subtle disturbances in various textures. Your brain would interpret the sensation in your tongue depending on what the disturbance is. The tip of your tongue is sensitive and can detect very slight changes in texture.
The tongue test works by placing the tip of your tongue at a perpendicular angle to the blade. The epidermis layer on the tip of your tongue can feel slight pressure variations. Gently sliding your tongue across the blade lets you feel any rough spots on your knife.
A sharp knife will feel smooth against your tongue, indicating that it can cut through without much force. However, a dull blade will feel rough, and your tongue will catch at the blade’s edge.
The tongue test has its fair share of risks, including cutting the tip of your tongue. Be sure to use this method carefully, and don’t apply too much pressure. Slicing the tip of your tongue isn’t something you want to do.
Get your knife tested by an expert.
When all seems lost, it’s good to know you have options. If your knife is beyond repair or you don’t have the means to test its sharpness on your own, it’s best to take it down to a professional for evaluation.
Many reputable stores that sell knives can also sharpen them for you at affordable rates. Ask friends and family for referrals if you’re not sure which store to take your knife to. A skilled knife sharpener should be able to tell you if your knife is beyond saving or if it just needs a little more love.
How to maintain your knife’s sharpness
A dull knife makes it harder to cut, increases the overall time spent in food preparation, and can be dangerous to use if you have a lot of over-force when cutting.
Below are some tips on maintaining your knife’s sharpness to stay functional and efficient in the kitchen.
Using honing steel
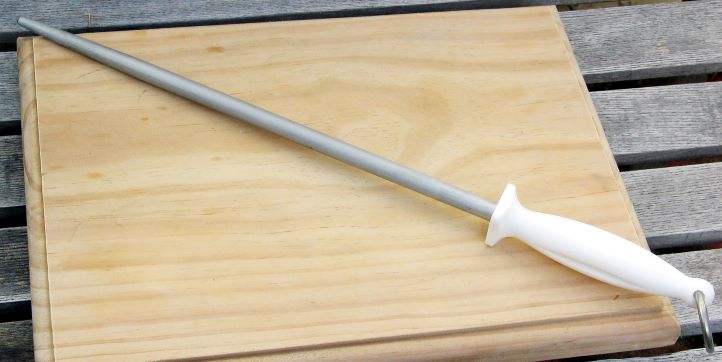
A honing steel is a handheld tool that helps straighten out your knife’s edge or maintain its sharpness. It is different from a sharpener in that it doesn’t remove any metal. The idea behind using honing steel is to take off the microscopic burrs on the blade of your knife.
Steps on how to use honing steel:
- Find a suitable surface, preferably a flat countertop, for stability
- Hold your honing steel vertically with the tip pointing downwards at a constant angle and in line with the handle (use a damp towel for better grip)
- Grab your knife with the dominant hand. Place the heel (back of the blade) near the top portion of the rod and add pressure on it while slowly sliding down to the tip. Target an angle of 15-20 degrees.
- Slide the knife down and pull it back towards you, so it glides off the tip. Repeat this pattern until the entire length is covered.
- Do the same for the other side of your blade. Maintain the angle throughout the entire process and repeat at least eight times for each side.
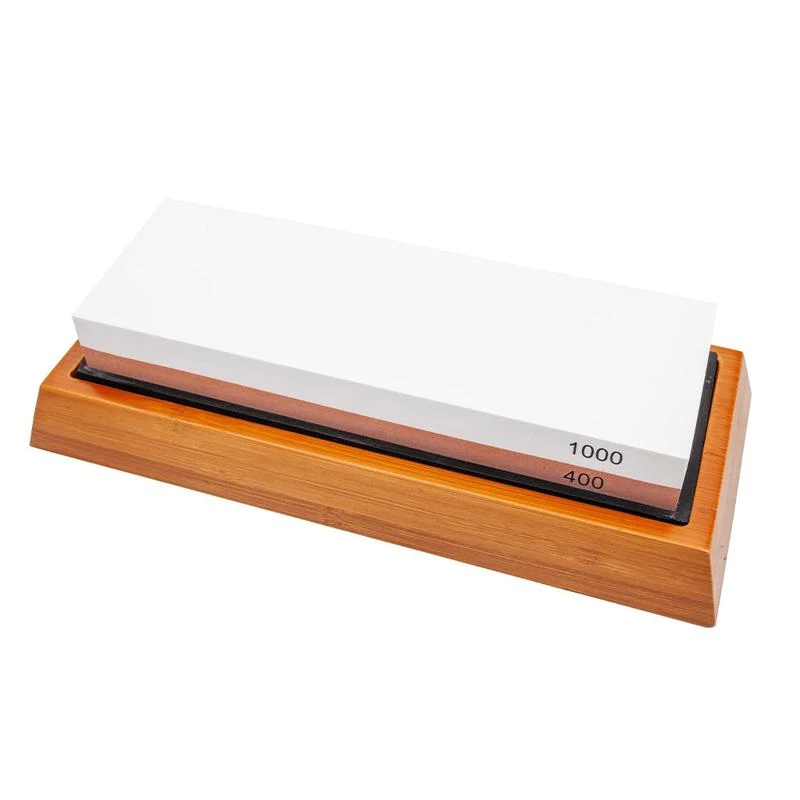
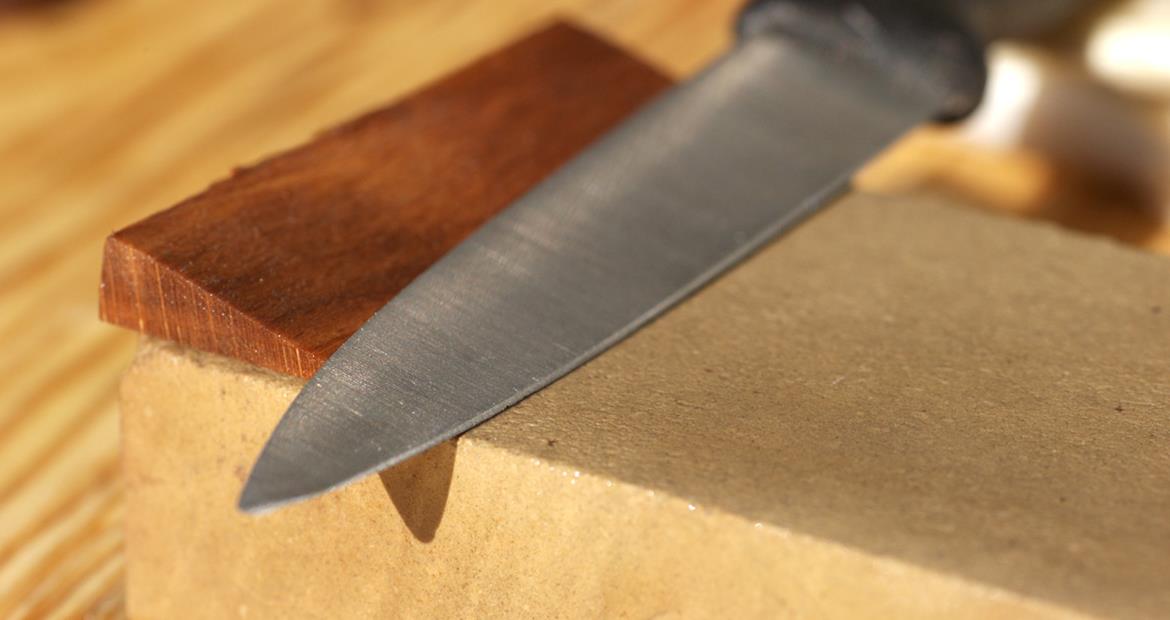
Regular sharpening using a whetstone
Knowing how to use a whetstone is another effective way to sharpen your knife. It’s an abrasive stone found in various grit sizes, usually ranging from 100 to 8000. The higher the number, the finer or sharper your knife will be.
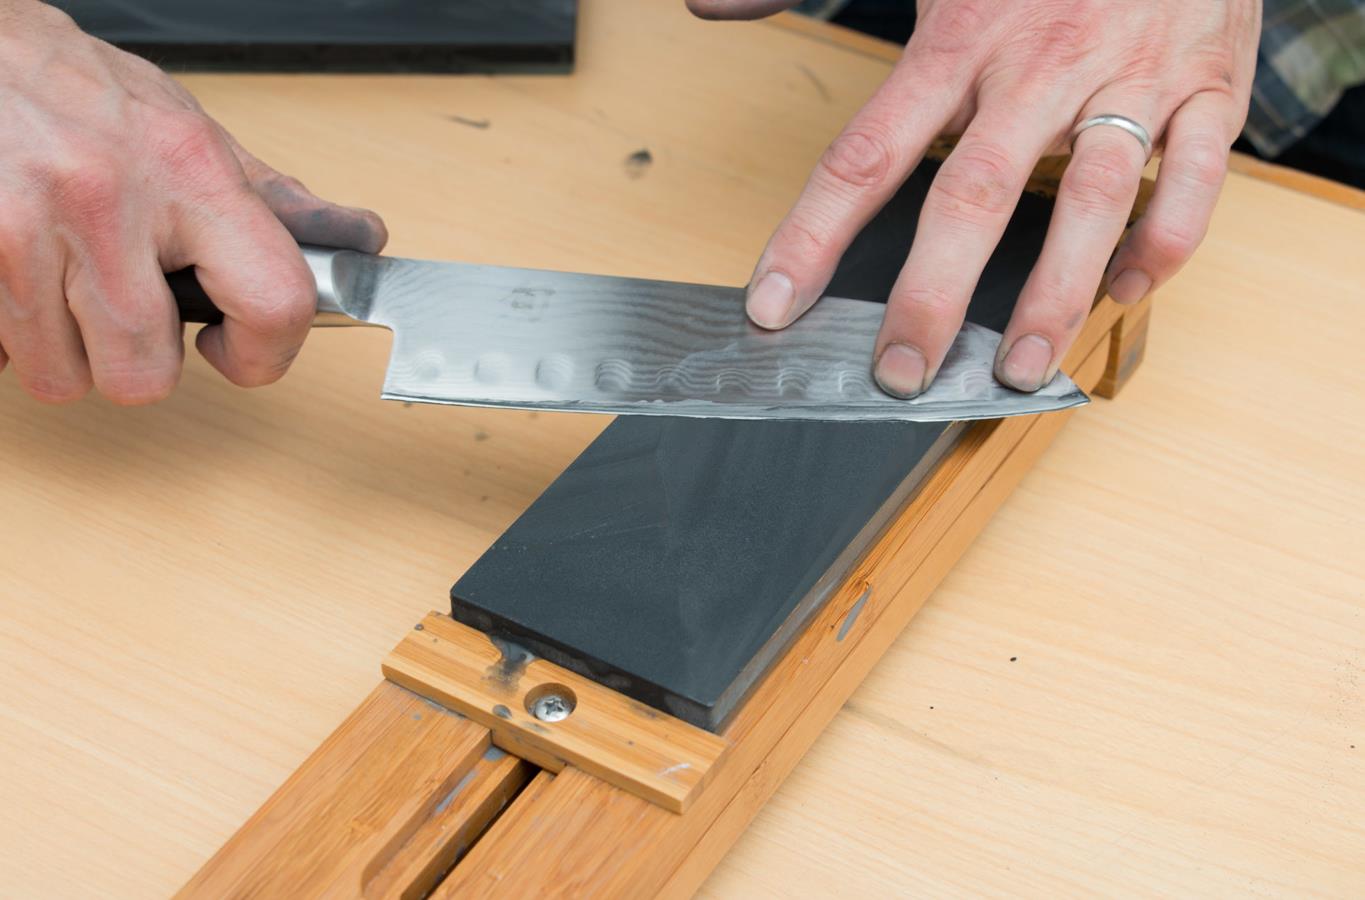
For this case, use a 4000-8000 grit whetstone. It will give you a sharp edge but with refined enough cutting surfaces.
To use a whetstone properly, follow these steps:
- Wet the stone with water or oil and place it on a flat work surface such as a table or countertop.
- Hold your knife in your dominant hand and rest its handle on the top of the whetstone so that the blade hangs over the stone. Target a 15-degree angle for an Asian knife or a 20-degree angle for a western knife.
- Keeping the blade on the stone at an angle, gently glide it forward in circular motions and back as you follow the contour of the blade.
- Do this five to six times for each side of the blade, alternating between sides.
- Rinse the whetstone, wipe it clean with a towel.
Watch out
Testing the sharpness of your knife may cause injury to yourself or others around you. It’s important to be aware of your surroundings and take the proper precautions.
For example, you should avoid testing your knife in the presence of children and pets. Children may not fully understand the consequences of playing with sharp objects. On the other hand, pets might accidentally trip you while you’re testing your knife’s sharpness, which increases the risk of injury.
Certain tests require you to use a lot of force. Don’t let this scare you, but be aware that it may cause injuries if your knife slips or rotates in an unintended direction.
Always have a towel to easily clean any mess and a pair of protective gloves for your dominant hand to ensure safety. A first aid kit would be prudent to have in the kitchen too.
Closing
Testing knife sharpness involves a great deal of care and attention. While a sharp knife will provide the most benefits, an unsharpened or dull one can be just as dangerous. Taking care of your knife by honing using steel or a whetstone will prolong its life. Having the proper precautions can ensure that you’ll not only have fun testing your knife’s sharpness but that you’ll do it safely.
Visit our store to find high-quality carbon steel knives with lasting sharpness