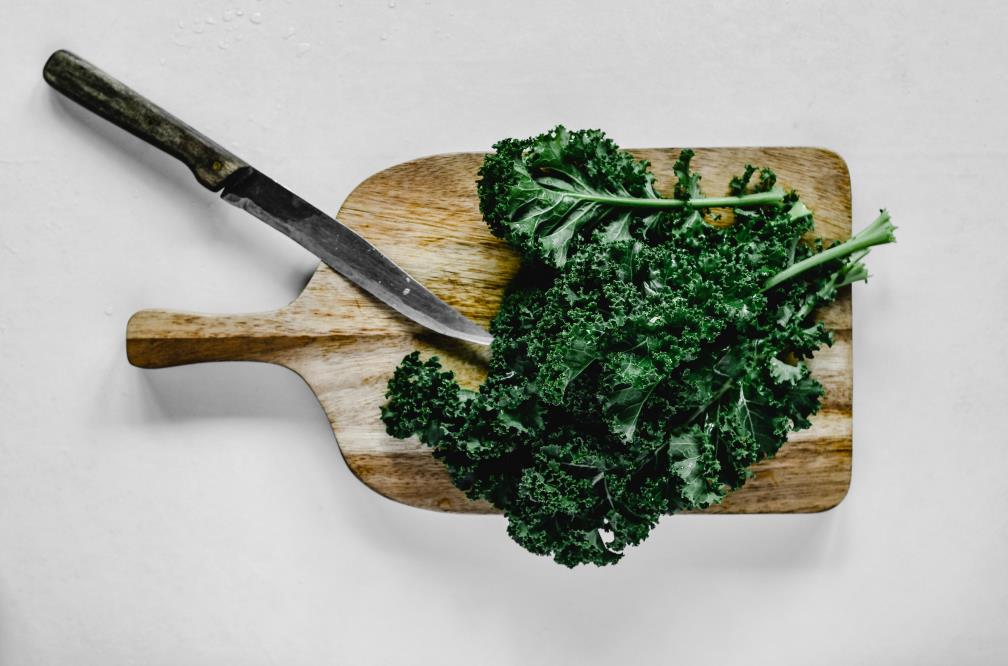
Dull knife blades in the kitchen are the bane of home cooks. Instead of having a scalpel sharp blade to sail through ingredient prep, you’re reduced to hacking and sawing in frustration!
Kitchen knives need occasional sharpening to stay razor sharp and sharpening stones are made for just this purpose. Essentially, using a sharpening stone is sliding a knife blade across the surface of a sharpening stone to hone or sharpen it. You’re using pressure and motion aided by the grit and hardness of the stone to refine the knife blade.
Let’s look at the knife sharpening process in more detail.
Table of contents
What is a sharpening stone or whetstone?
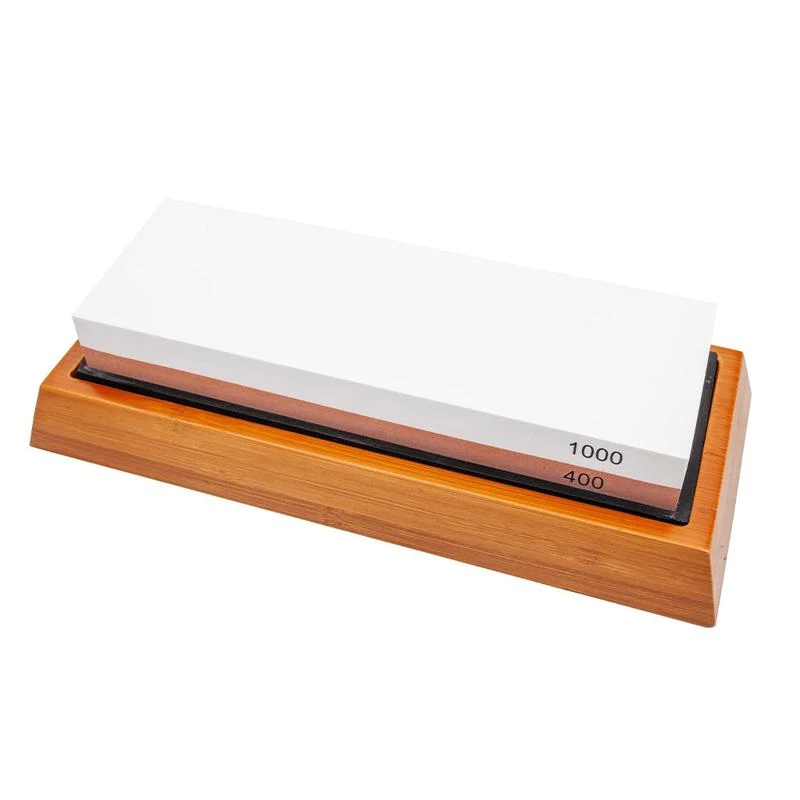
Knife sharpening stones are also called “whetstones”. Both terms mean the same thing – it’s a piece of abrasive material used against the blade edges of a steel implement like a knife to sharpen it.
Knife sharpening stones are usually rectangular in shape and are made from different materials. Some common materials are natural – like rock quartz or coticule (fine grained rock), and others are manmade such as bonded abrasives of ceramic mixtures. Many whetstones are sold in kits that come with a holder for the stone.
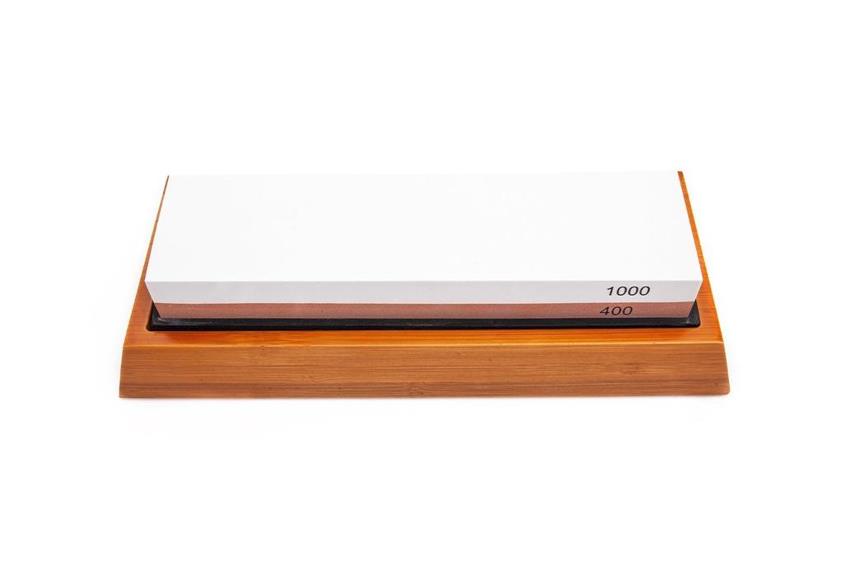
A knife sharpening stone can have 1 or more sides and has different levels of abrasion depending on the grit size – either coarser grit or finer grit. Coarse grit will fix a damaged blade and give a rough edge to a knife, whereas fine grit is used for knife edge abrasion to achieve maximum cutting sharpness.
Types of knife sharpening stones
| Type | Made from | Lubrication |
| Natural Stone | Quartz – typically Novaculite | Can be used dry but water or mineral oil as a cutting liquid are recommended |
| Ceramic Stone | Aluminum Oxide or Silicon Carbide in a ceramic bond | Usually used dry |
| Ceramic Water Stone | Ceramic composite in a binder material | Water |
| Oil Stone | Novaculite; Aluminum Oxide or Silicon Carbide | Oil |
| Diamond Stone | Diamond chips embedded in a metal substrate | Can be used dry but a water – based lubricant is recommended |
| Water Stone | Natural – Sedimentary rock with silicate grains Synthetic -Aluminum Oxide or Silicon Carbide | Water |
| Arkansas Stone | Novaculite | Water or light mineral oil |
How to use a sharpening stone – technique & tips
What you’ll need
- Dull blades
- A knife sharpening stone – any type will work depending on your sharpening needs.
- A sharpening stone holder – If you are using a kit this is likely included in the set. Alternatively, you can place the stone on a damp, folded tea towel to keep it steady on your work surface, OR secure it to your work surface at the edges with wall putty
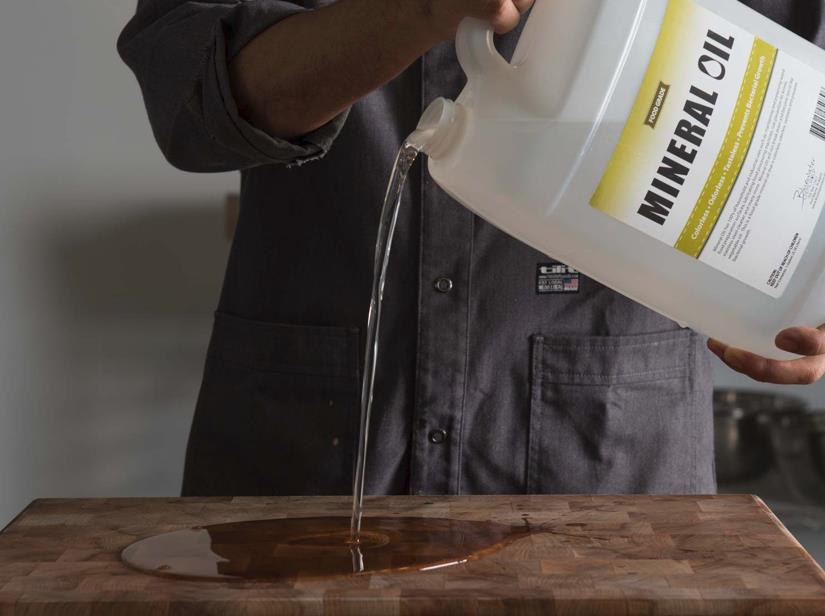
- Lubricant – check the table above and use the lubricant recommended for your sharpening stone. Mineral oil can be purchased at drugstores or art supply shops
- Angle guide – this is optional but useful. An angle guide helps you find the correct angle to hold the knife blade at as you move it on the sharpening stone. You can get an angle guide app for your phone, a digital one that attaches to the knife blade, or use a wooden or steel piece that you can measure against to gauge your angle. Below is a diagram that will give you a good idea of the angles mentioned in this article.
Before you start
Refer to any instructions that came with your sharpening stone. Some stones such as water stones need to be soaked before use.
Pro tip: never use cooking oils like canola or olive oil on your knife sharpening stone, only use mineral oil or a product recommended by the manufacturer.
Exercise caution
Even a dull knife blade has the potential to injure you, so be very careful and pay attention to what you’re doing!
Choose your grit
If you’re using a dual sided knife sharpening stone or have both a coarse AND fine grit stone to use, start with the coarse surface. This will do most of the abrasion for you. Once you’ve abraded with the coarser surface you can polish up with the finer grit stone to achieve a wicked edge!
For kitchen knives a good grit range we can recommend is:
- Initial sharpening: 1000 to 3000 grit (medium grit)
- Polishing up: 4 000 to 8 000 grit (fine grit)
Handpicked for you
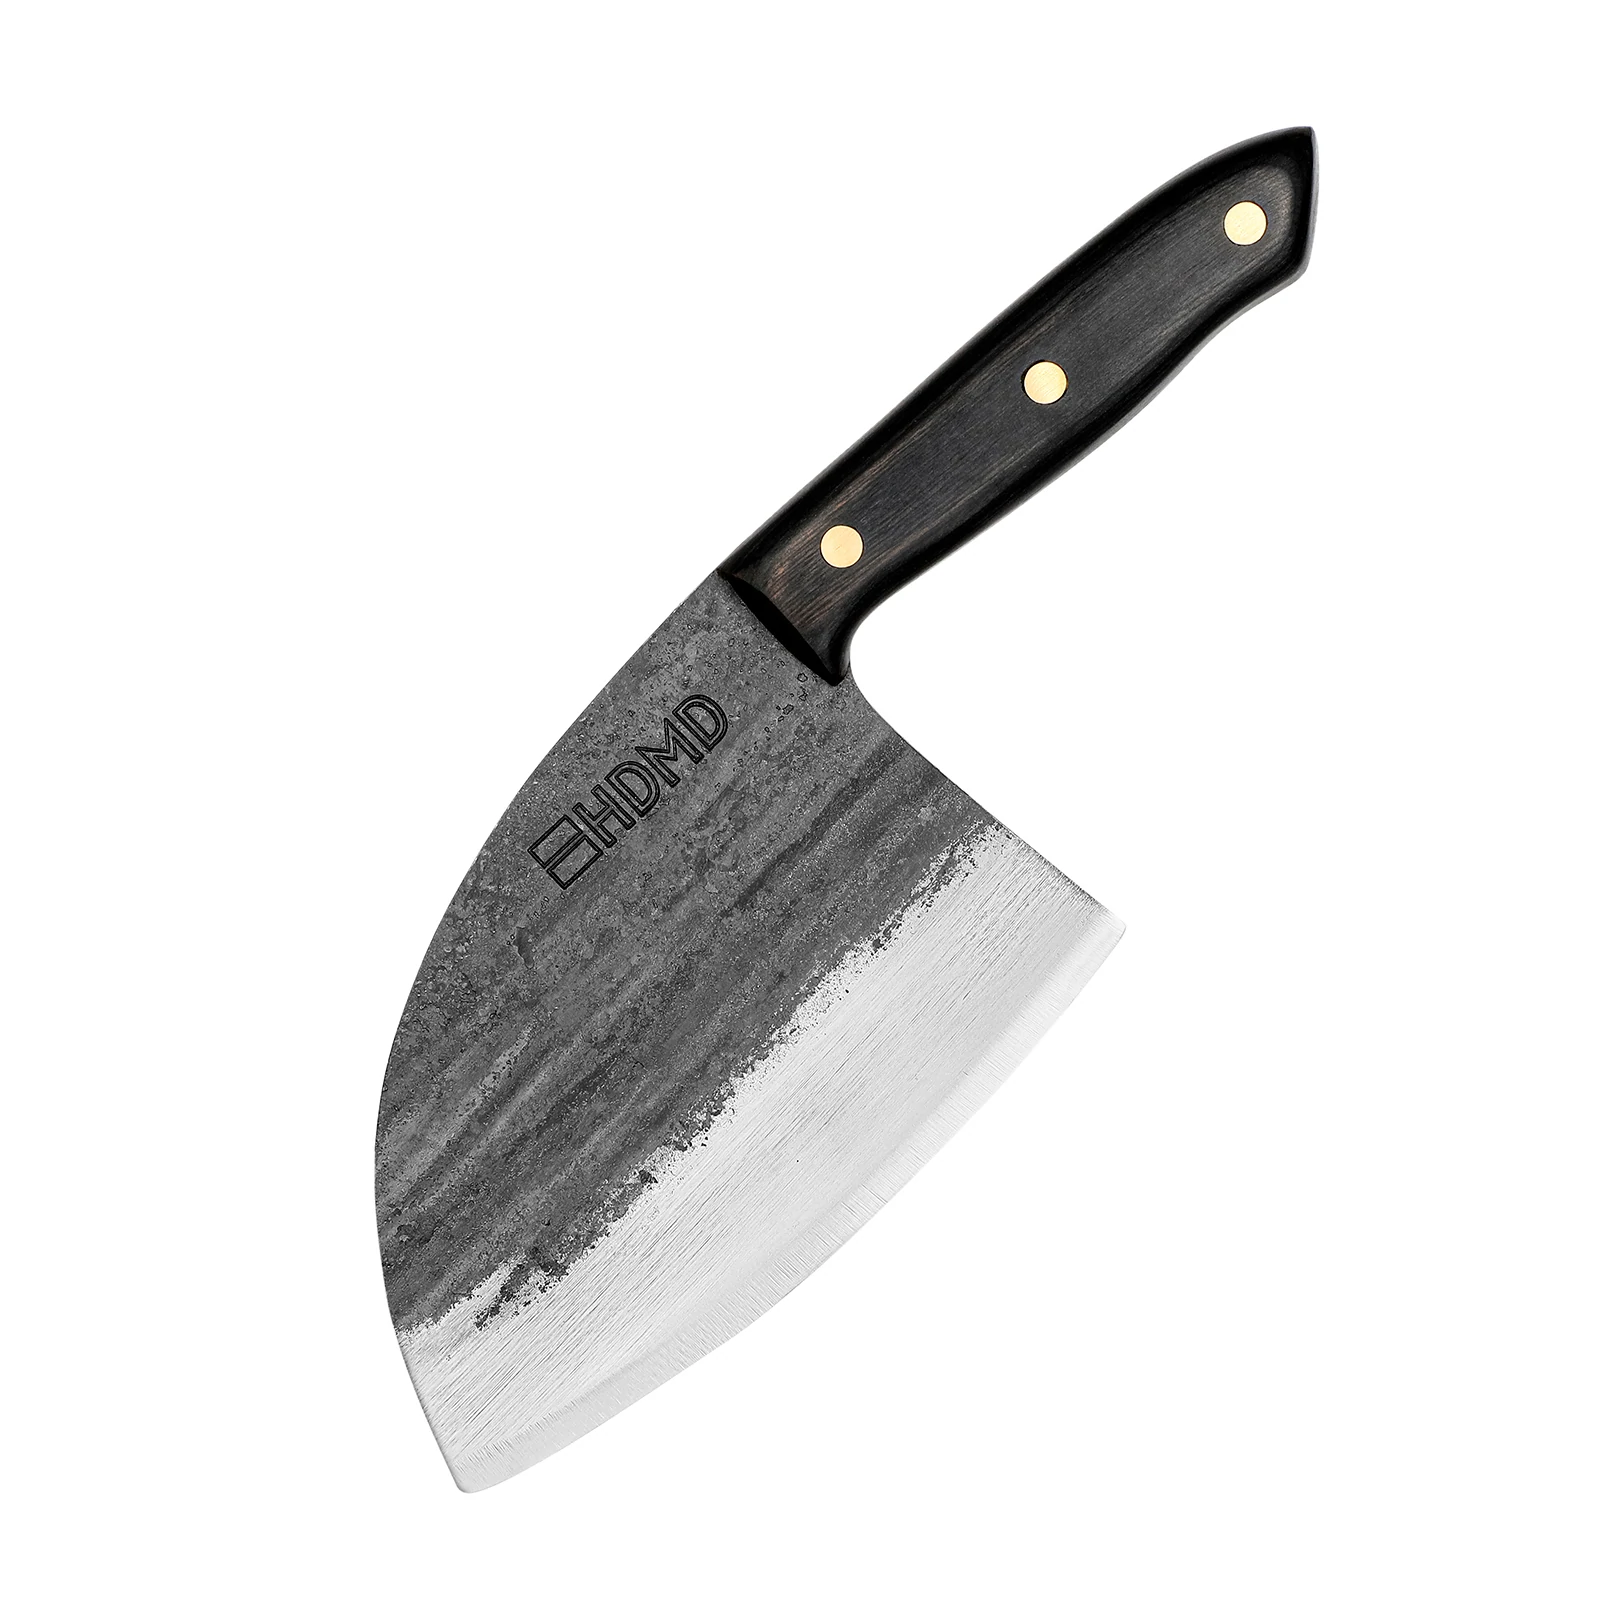
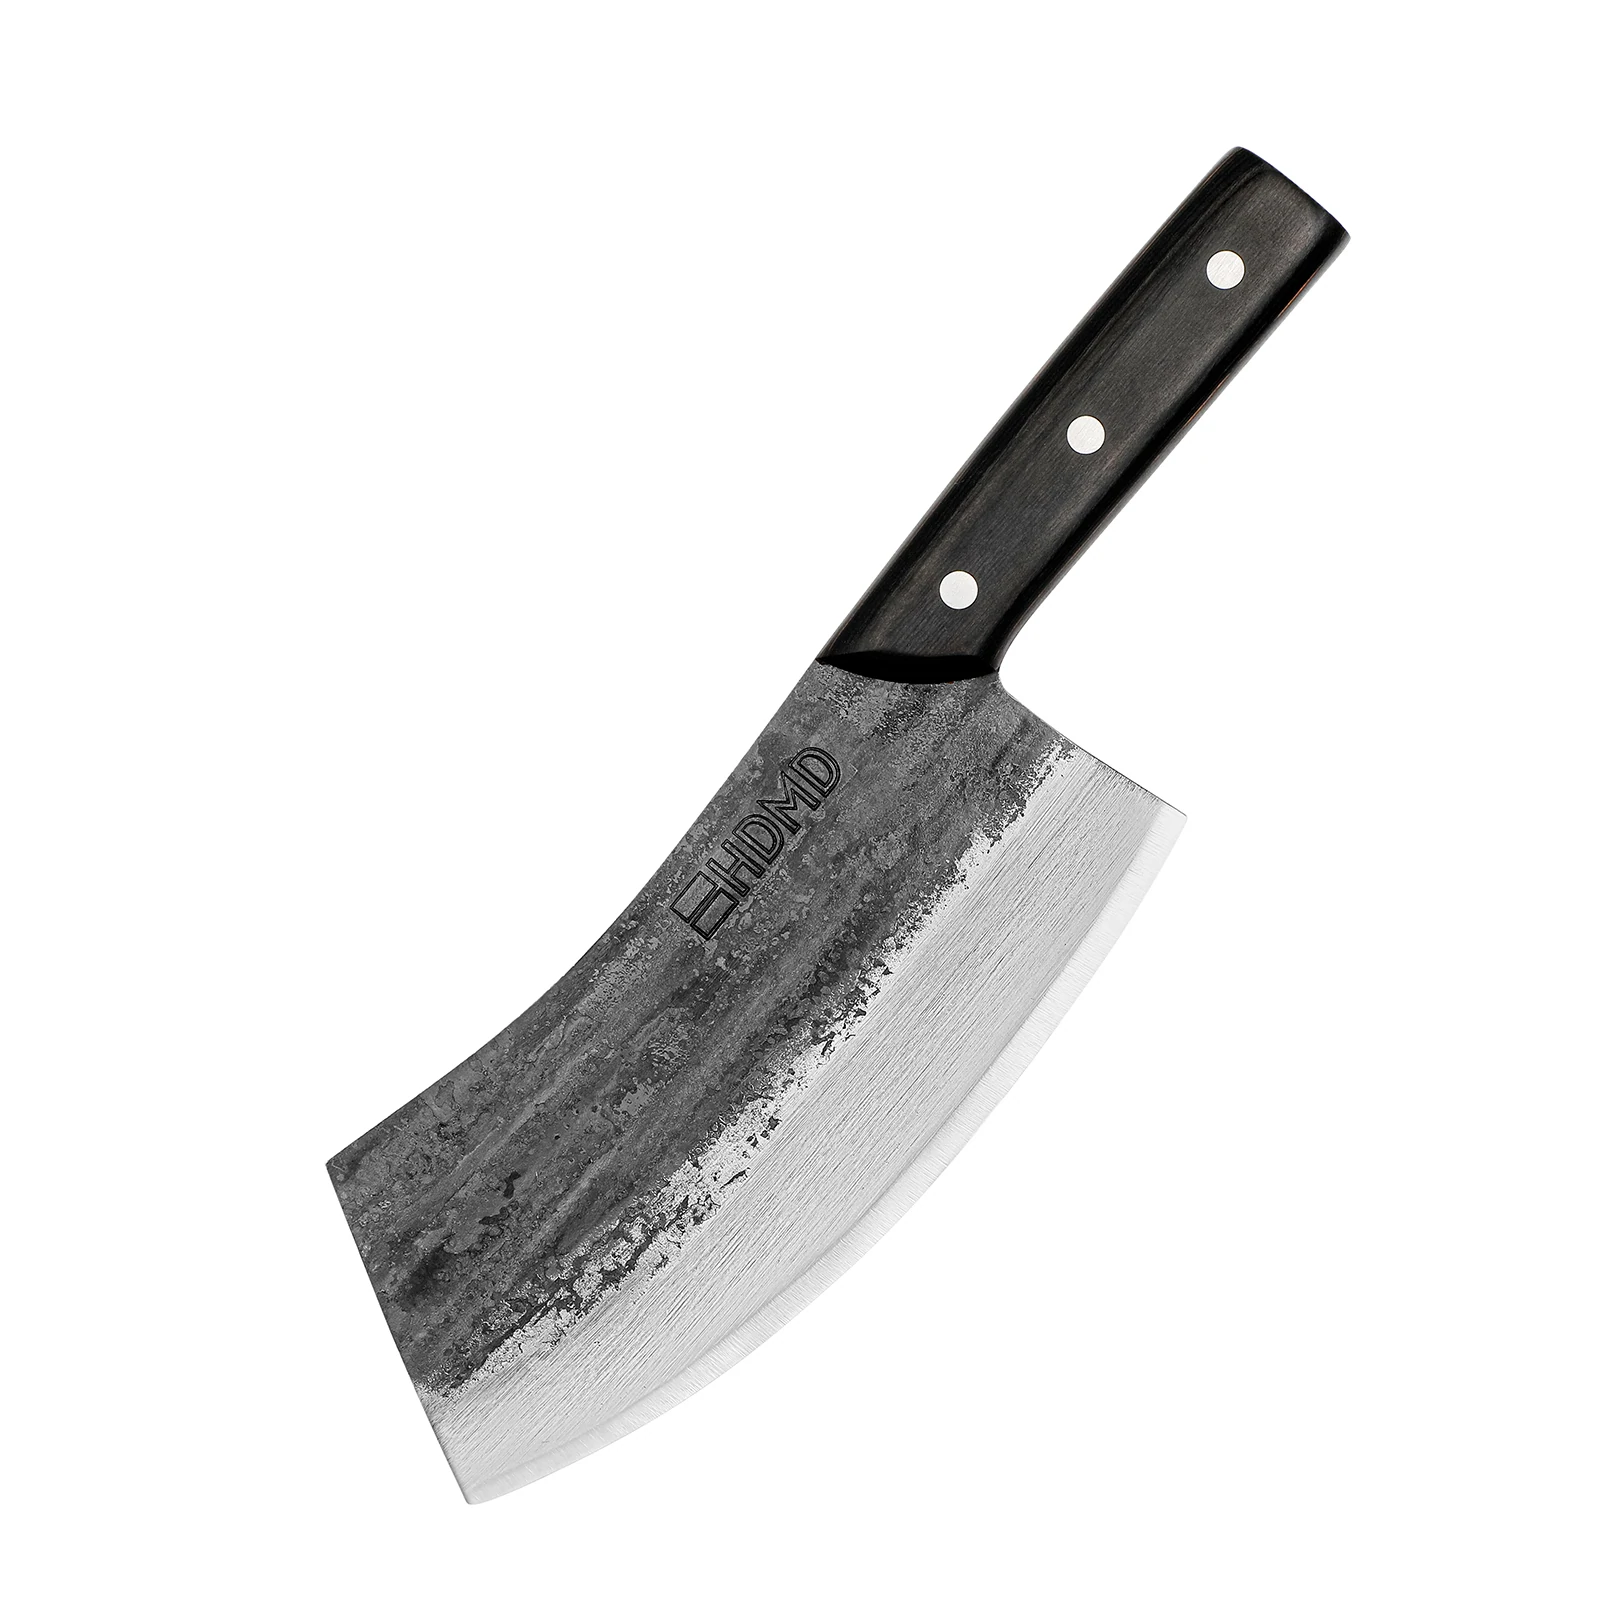
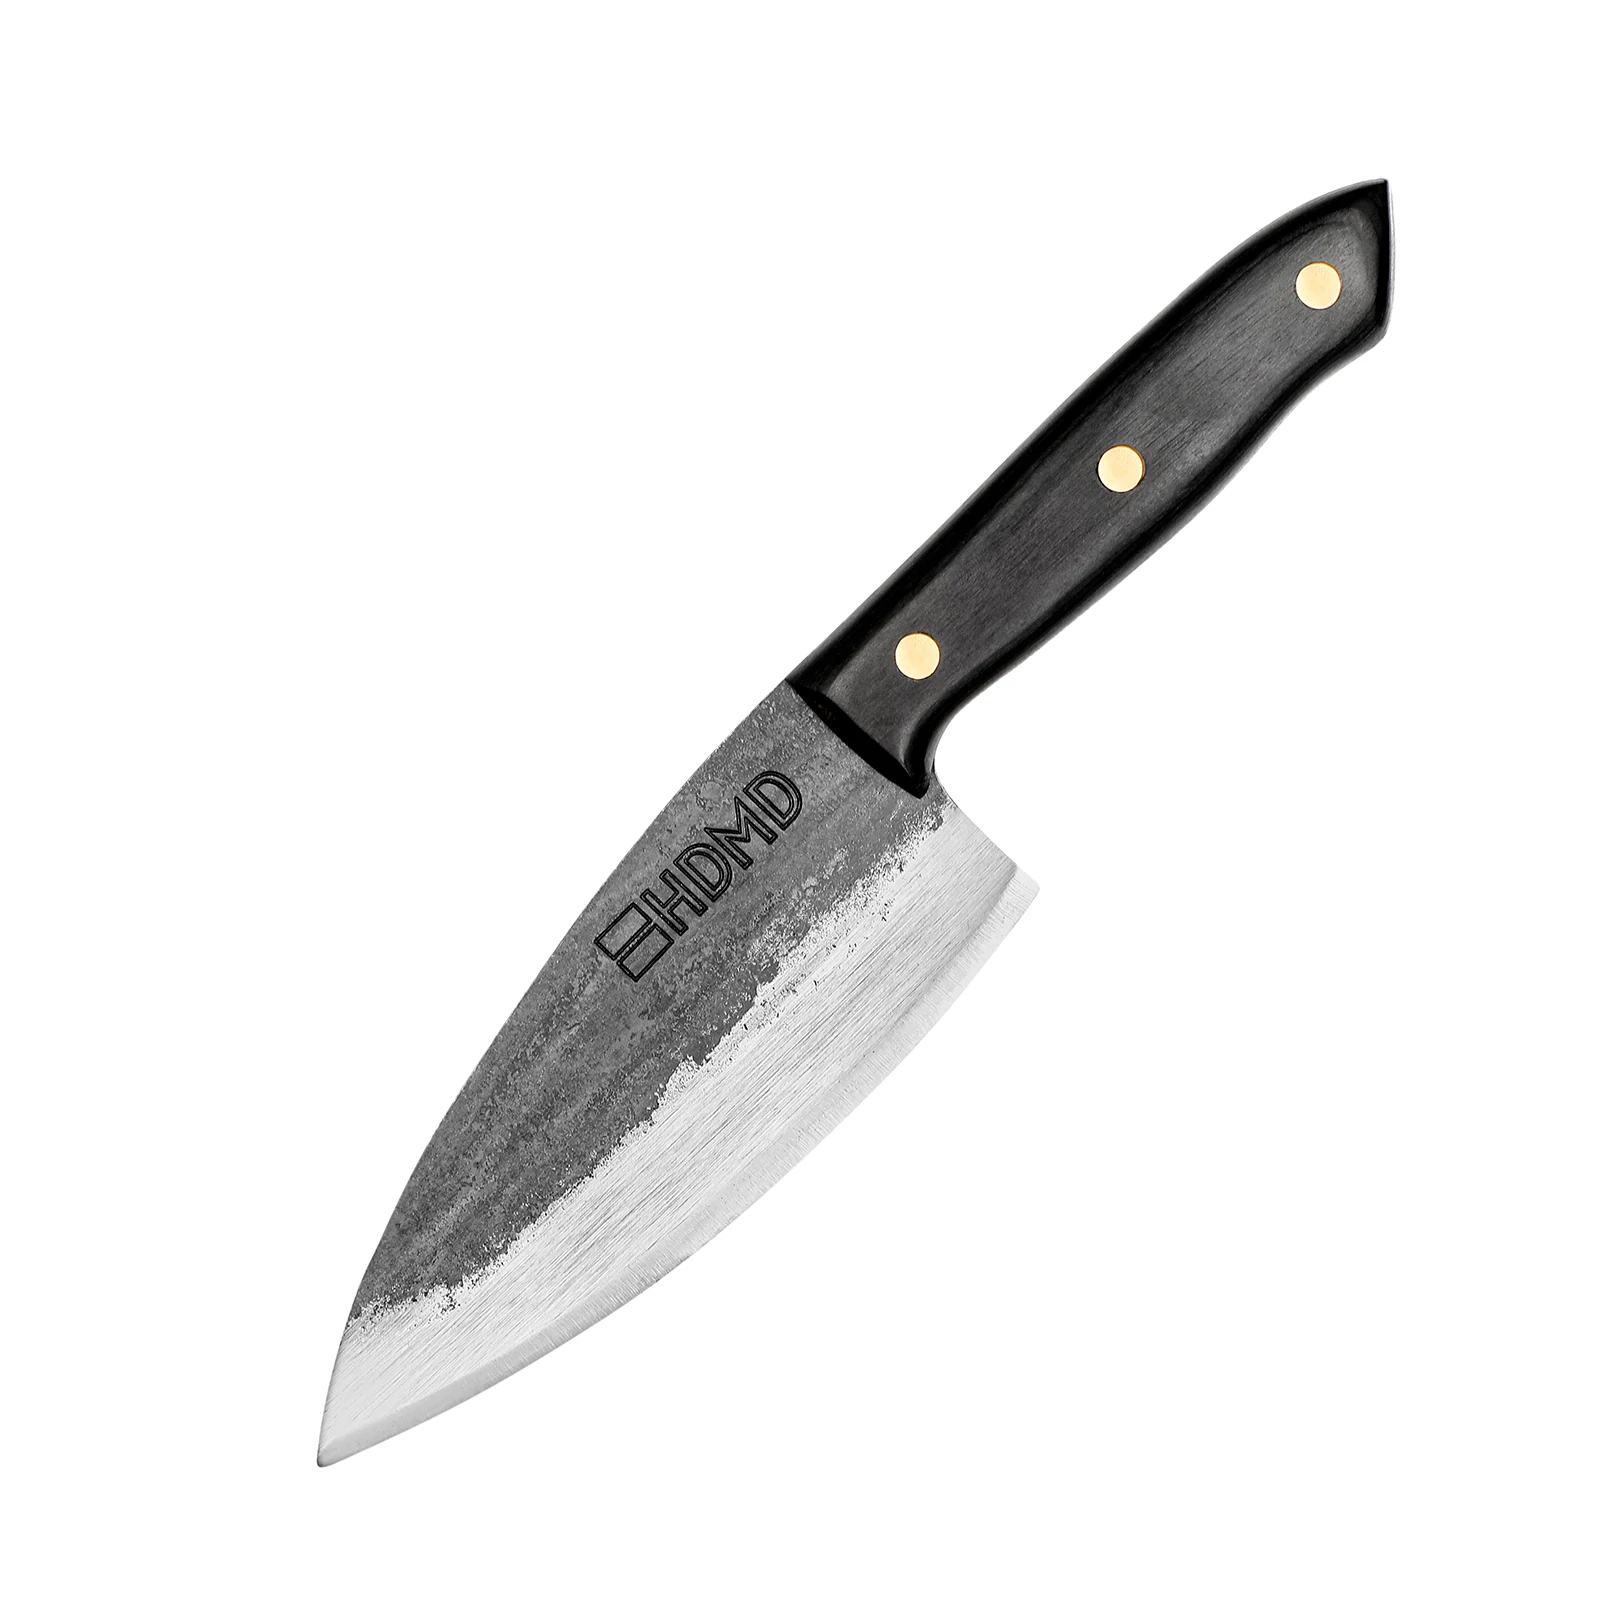
True cutting power in the palm of your hand
Oil or lubricate your knife sharpening stone
If your knife sharpening stone needs to have a liquid added for lubrication, do it now. The whole surface of the stone should be thoroughly covered with the lubricating substance.
Remember to remove all traces of oil from your hands before handling the knife to avoid slippage.
Check your angle
If you’re not using an angle guide, you’ll have to find your angle manually and here’s how:
- Place the bottom edge of the knife blade on a flat surface directly in front of you, in a straight line. This will give you a 90 – degree angle.
- Next, tilt the blade over halfway towards the surface you’re working on, this will give you a (roughly) 45 – degree angle.
- Lastly, you’re going to tilt the blade over halfway again to get you close to a 20 – degree angle. This is the optimal gradient for sharpening on a knife stone.
Note: If the knife blade is very thick, widen the angle slightly by a couple of degrees. If it’s a very thin bladed knife, narrow the angle slightly to compensate. Once you’ve gotten the correct “feel” through practice you’ll know which angle suits which of your knives best, it just requires practice!
Moving the knife across the sharpening stone
- Hold the knife by the handle in one hand, lengthways across the sharpening stone, with the blade facing away from you.
- With your other hand, secure the end part of the blade with your thumb and fingertips. This hand will guide and control the blade as it moves across the sharpening stone.
- Slowly, and with consistent motion slide the edge of the blade across the stone in an arcing or sweeping motion. You should keep consistent light pressure and move the whole blade edge from knife tip to bottom end across the stone to ensure that it’s evenly sharpened. At all times maintain an angle of roughly 20 degrees for optimum contact between the blade edge and sharpening stone.
- Continue sliding the blade edge across the sharpening stone in a sweeping, fluid motion until you are satisfied that the first side of the blade is sharp. If the knife blade is not extremely dull, 10 strokes will usually suffice. If the stone is getting dry, add either water or oil as directed.
- To do the other side of the knife blade, turn the blade over and repeat in the same sweeping and smooth motion, all the while maintaining even and consistent pressure. Use the same number of strokes that you used to do the first side of the blade, so if you used 10 strokes initially, repeat on the other side of the blade for that number.
- If using both coarse and fine grit stone surfaces, switch from the coarse surface to the finer grit one for polishing up. Using the same motion, repeat the process until you’re satisfied that the knife edge is honed to your liking.
- When you’re done, wipe the knife blade down carefully or rinse it thoroughly to remove any minuscule metal filings. After rinsing, dry well and test your “new” knife! A well sharpened knife should slice through a piece of paper with ease, or you can test it on vegetables and so on for an upcoming meal.
- If the knife is still not sharp enough, proceed again with another couple of strokes on each side of the blade, making sure that the number of strokes on each side of the blade match – so that you’re abrading both sides of the blades evenly.

Cleaning the sharpening stone
After you’re done sharpening and have cleaned your knife blades off, you need to clean your sharpening stone too!
Oil stones may need to be scrubbed with a stiff brush and then soaked in oil, whereas a water stone will need to be cleaned of any residue and stored in a dry container wrapped in a piece of towelling or something similar.
Do’s and Don’ts on how to use a sharpening stone
Do’s
- Pay close attention
- Take your time, work slowly and methodically
- Work in a brightly lit area so that you can see what you’re doing AND spot nicks or uneven wear on the knife blade
- Keep all instruction material for your sharpening stone so that you can refer to it for advice after buying
- Test the sharpness of a knife blade by using materials to hand such as those onions you need prepped for dinner!
Don’ts
- Don’t rush your knife sharpening, your actions should be smooth, consistent, and methodical for best results
- Don’t sharpen knives in poorly lit conditions such as at a camp site, it’s a recipe for accidents!
- Don’t discard instruction material or your user’s manual from your knife sharpening stone supplier, it’s full of handy advice and ‘how to’ information specific to the product
- Never test the sharpness of a knife blade against your flesh or anybody else’s, even as a joke. Even a dull blade can cause extensive damage to human flesh and every knife should be treated with respect and due care.
Your kitchen knives with a normal amount of usage will need to be sharpened on your stone two or three times a year for best performance, but you can use a sharpening stone whenever you feel that a blade is dull and could be improved.
In conclusion
Sharpening stones are an essential part of the knife owner’s kit and will give you the long-term performance you deserve from your knives.
Here at HDMD Knives we’re obsessed with high quality knives and looking after them properly, you’ll find loads of exciting info about knife care on this site.
Our stunning range of handmade knives offers something for every level of cook, whether pro or beginner, so do have a look at our product range and help us to help you both select and care for your treasured knife collection.