At the helm of many French dishes is the batonnet cut, a popular kitchen technique used to cut vegetables and fruits. An incentive to master this technique is the versatility of its uses. Batonnet is a french term that means “little stick,” and the cut is precisely that: a stick shape.
A batonnet cut is a cutting technique that produces stick or baton-shaped pieces of vegetables. The method involves cutting vegetables into long, rectangular strips measuring 1/4 inch by 1/4 inch by 1/4 inch and 2-2 1/2 inches. Some people prefer the dimensions larger at 1/2 inches by 1/2 inches by 1/2-3 inches.
This article will discuss everything you need to know about the batonnet cut, including the tools you need, cutting techniques, and the benefits of using this method.
Table of contents
What is the difference between a batonnet cut and a julienne cut?
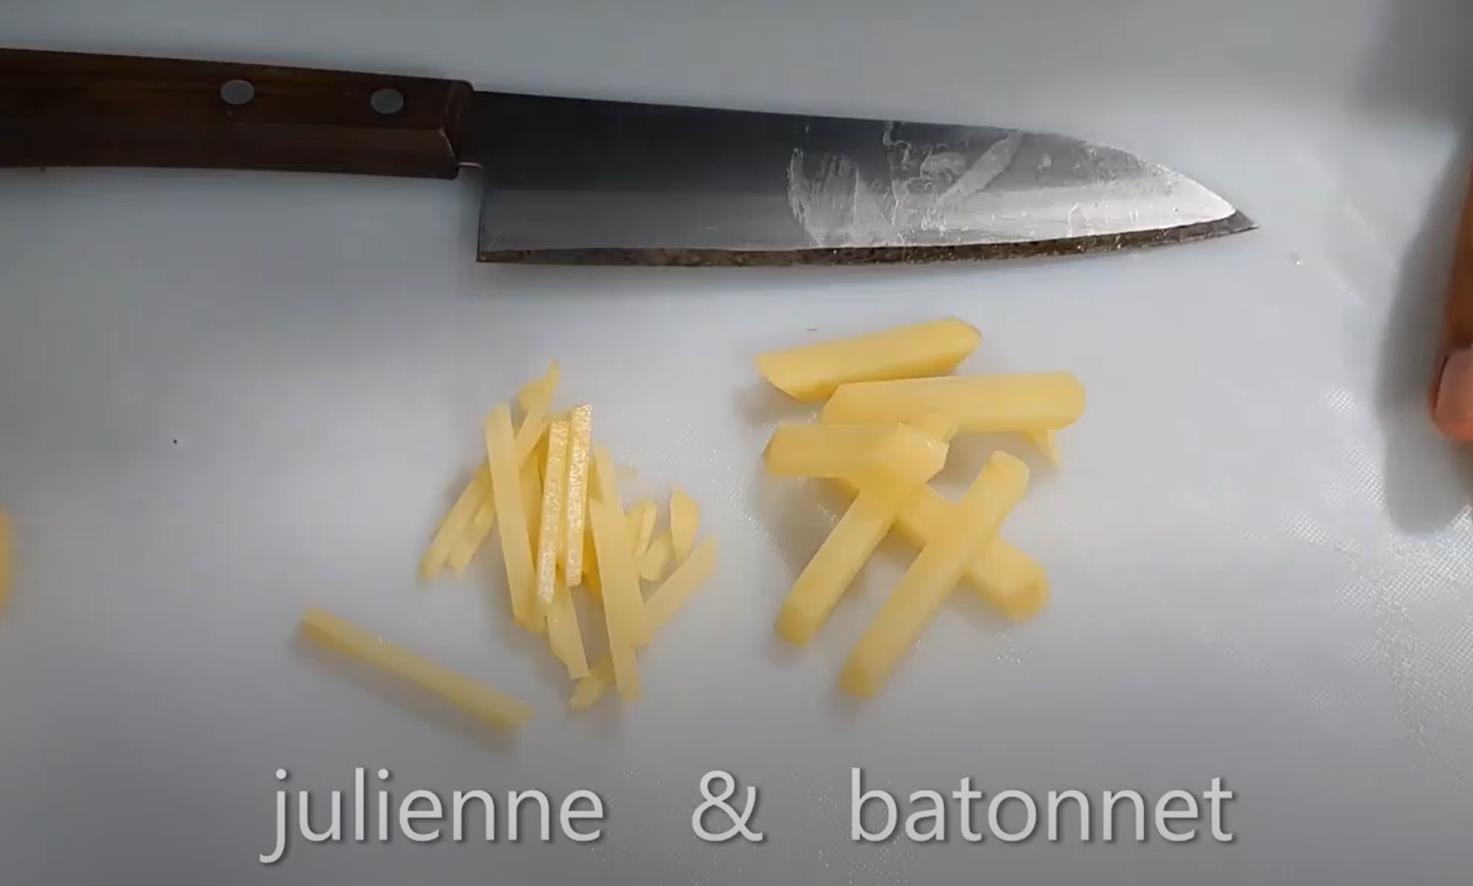
The main difference between the batonnet and julienne is the final size. Julienne cuts are thinner at 1/8 inches by 1/8 inches by 1-2 inches, while batonnet cuts are thicker at 1/4 inches by 1/4 inches by 2-2 1/2 inches. As per the dimensions, the batonnet cut gives more height and a linear appeal when serving food.
The julienne cut, also known as allumette, or french cut, is used in culinary arts. The primary goal of julienne cooking is to create a long and thin style appearance, especially when served with soups, salads, or stir-fry. Like the batonnet cut, the julienne cut refers to cutting vegetables into stick shapes.
Both cuts work best with carrots, white potatoes, parsnips, turnips, rutabagas, and cucumbers. At times, chefs use the julienne cut as a garnish for meat and vegetable dishes. In some cases, you can substitute one or another as per your preference.
The tools you need for batonnet cut
A perfect batonnet cut requires using the proper cutlery. Getting the tools right makes cutting a breeze. Below are the essential tools you need to create ideal batonnet cuts:
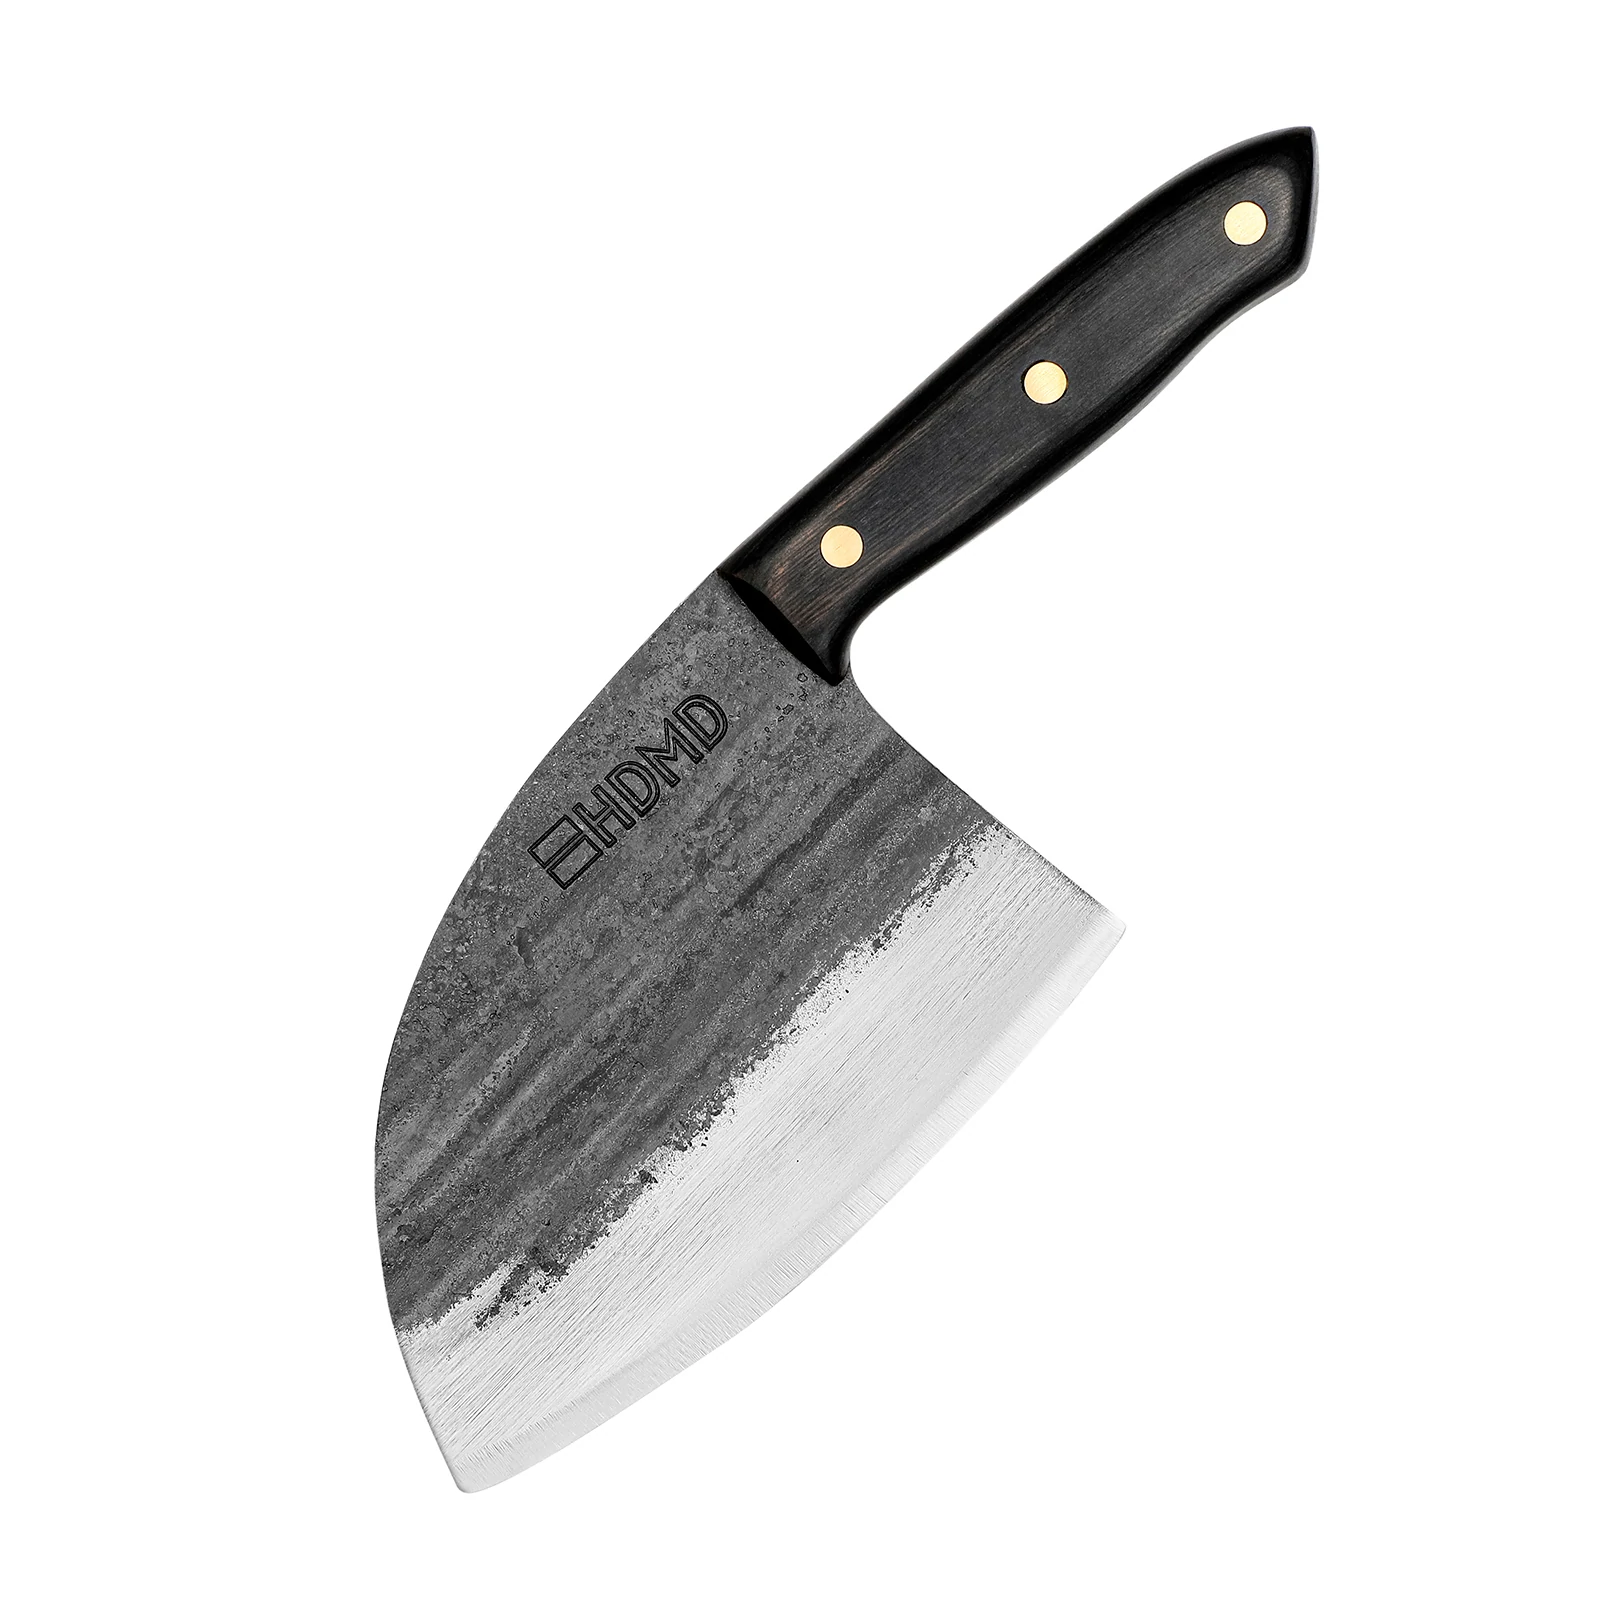
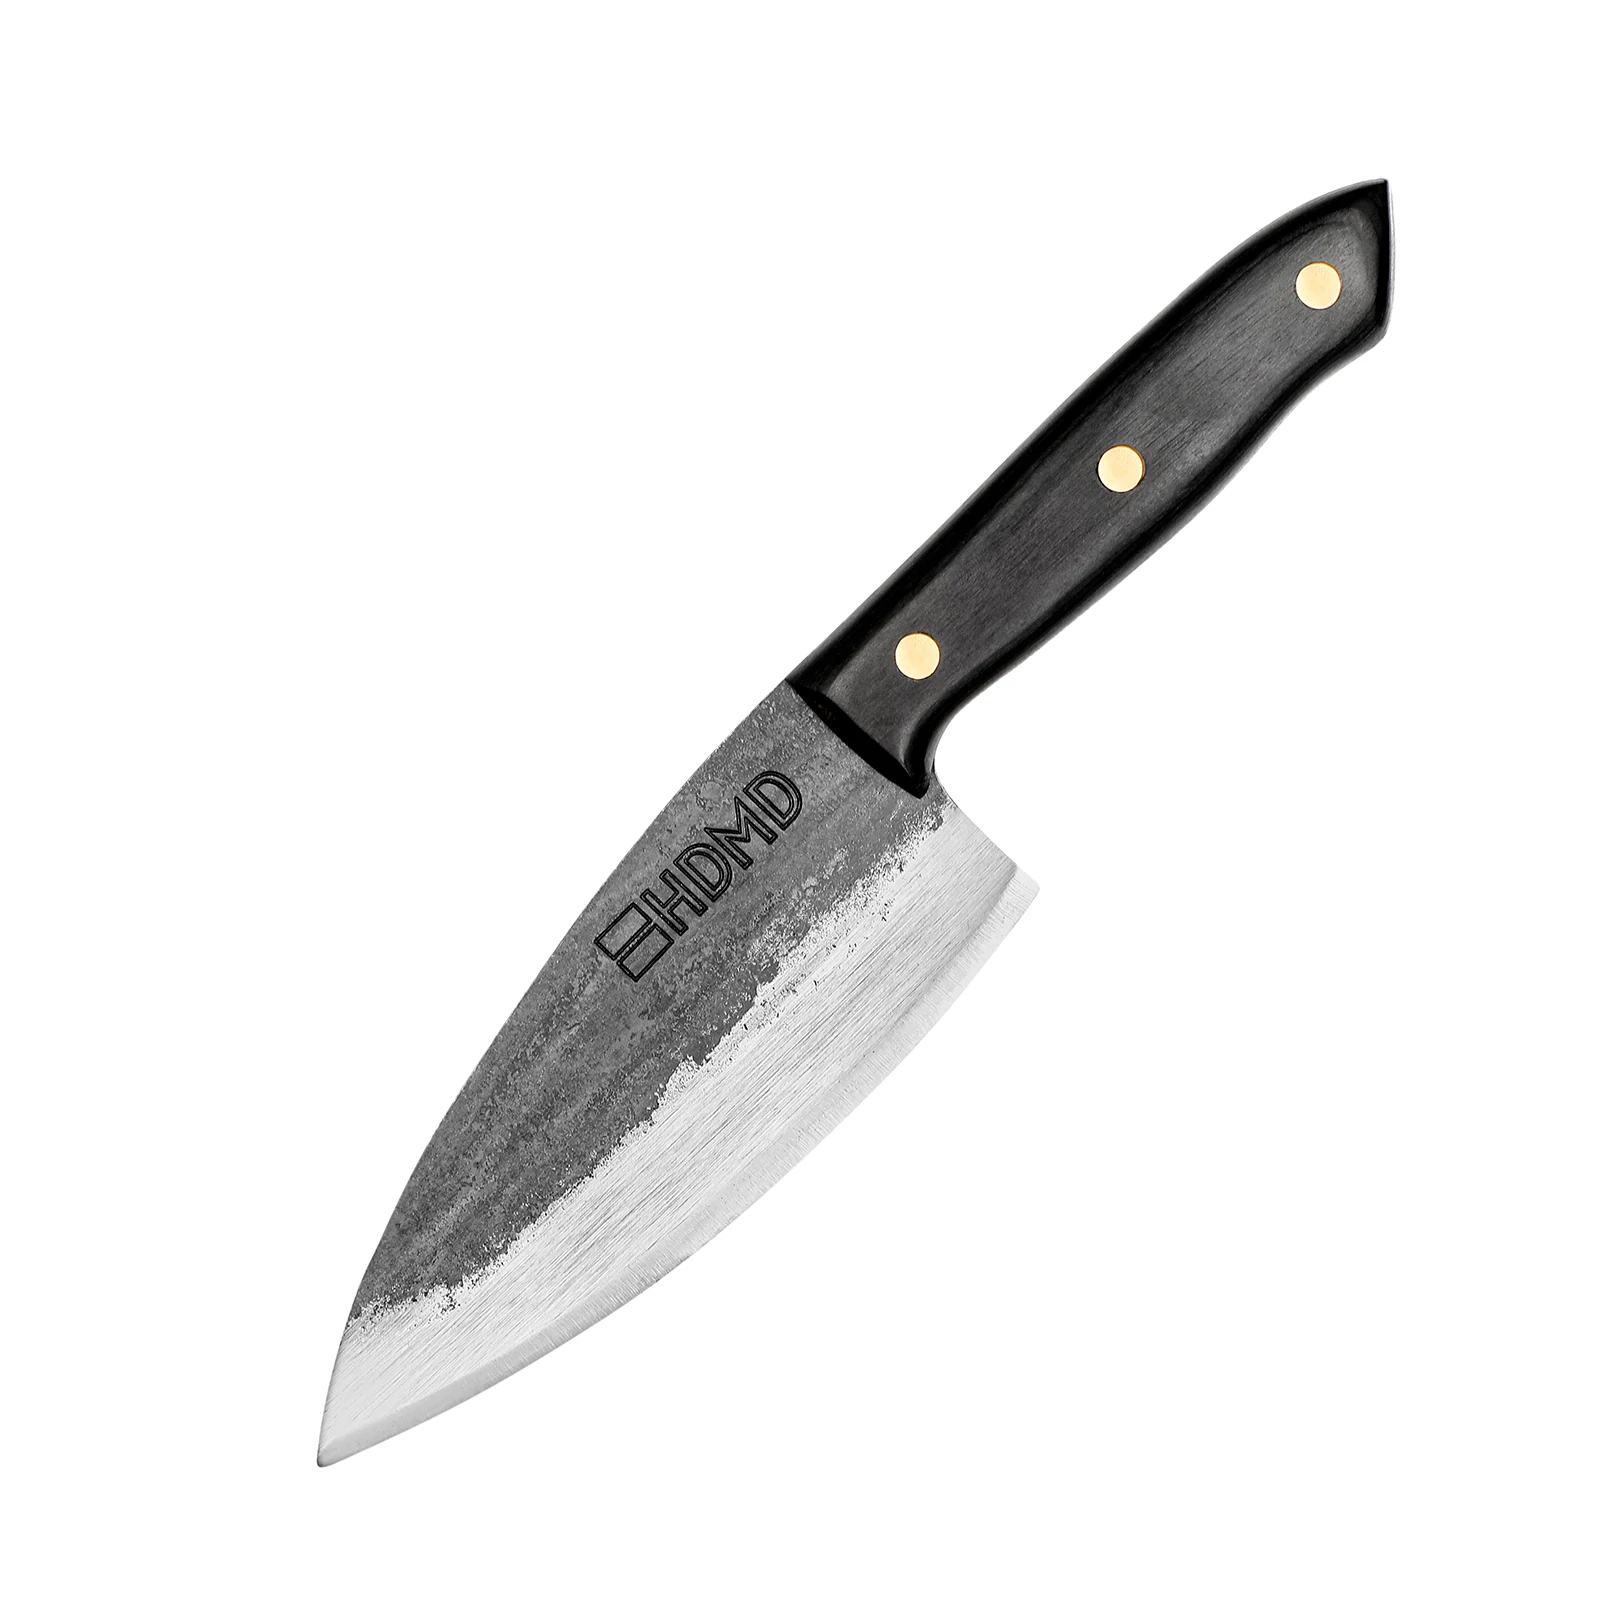
Chef’s knife
Not all knives are suitable for batonnet cutting, and even the shape of a particular knife blade may affect the outcome. You don’t want to end up with jagged edges or incorrect cuts. A typical chef knife is what you want to use if you want a solid batonnet cut.
To create proper batonnet cuts, a sharp chef knife with a straight blade offers the best results. Steer clear of using dull knives as they increase the chances of slipping, resulting in accidents. The perfect chef knife should be 6-14 inches long.
Handpicked for you
True cutting power in the palm of your hand
Cutting board
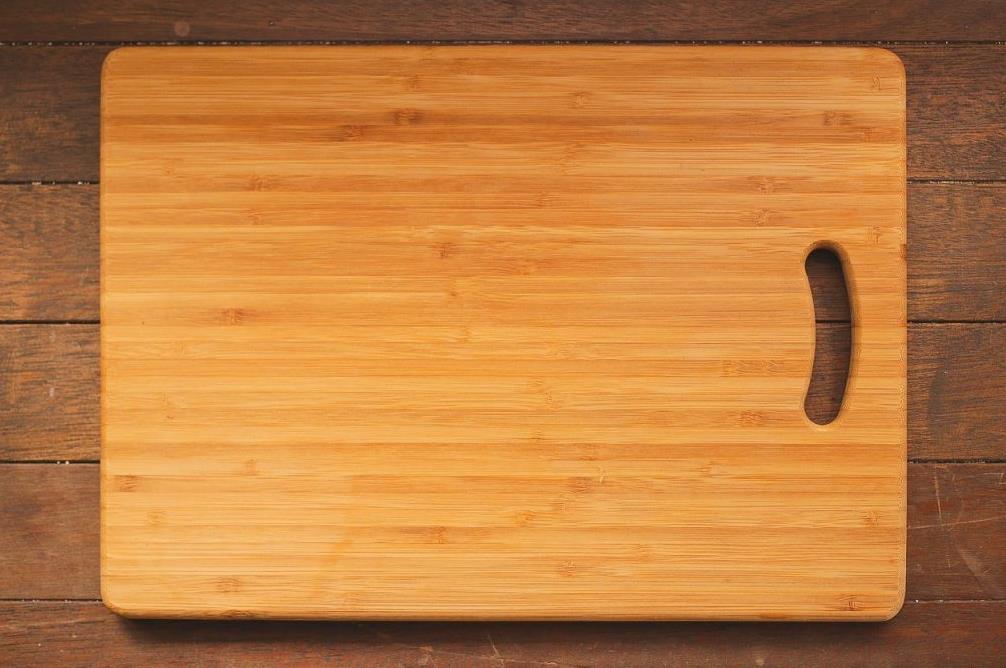
To keep your batonnet cut accurate, use a quality cutting board. A wood board is best since it won’t dull the blade compared to other materials like plastic. The best wood for cutting boards is easier on knives, durable, water resistant and fits well with the aesthetics of your kitchen.
Bowl

Eventually, you’ll need a bowl to hold the cut food. Choose a bowl wide enough to accommodate all your pieces but deep enough to keep the pieces tucked inside.
Consider picking a bowl with tall, straight sides, as this will make portioning easier. In some cases, you can use a plate or another non-porous surface to catch your pieces. Alternatively, you could aim for clean floor space.
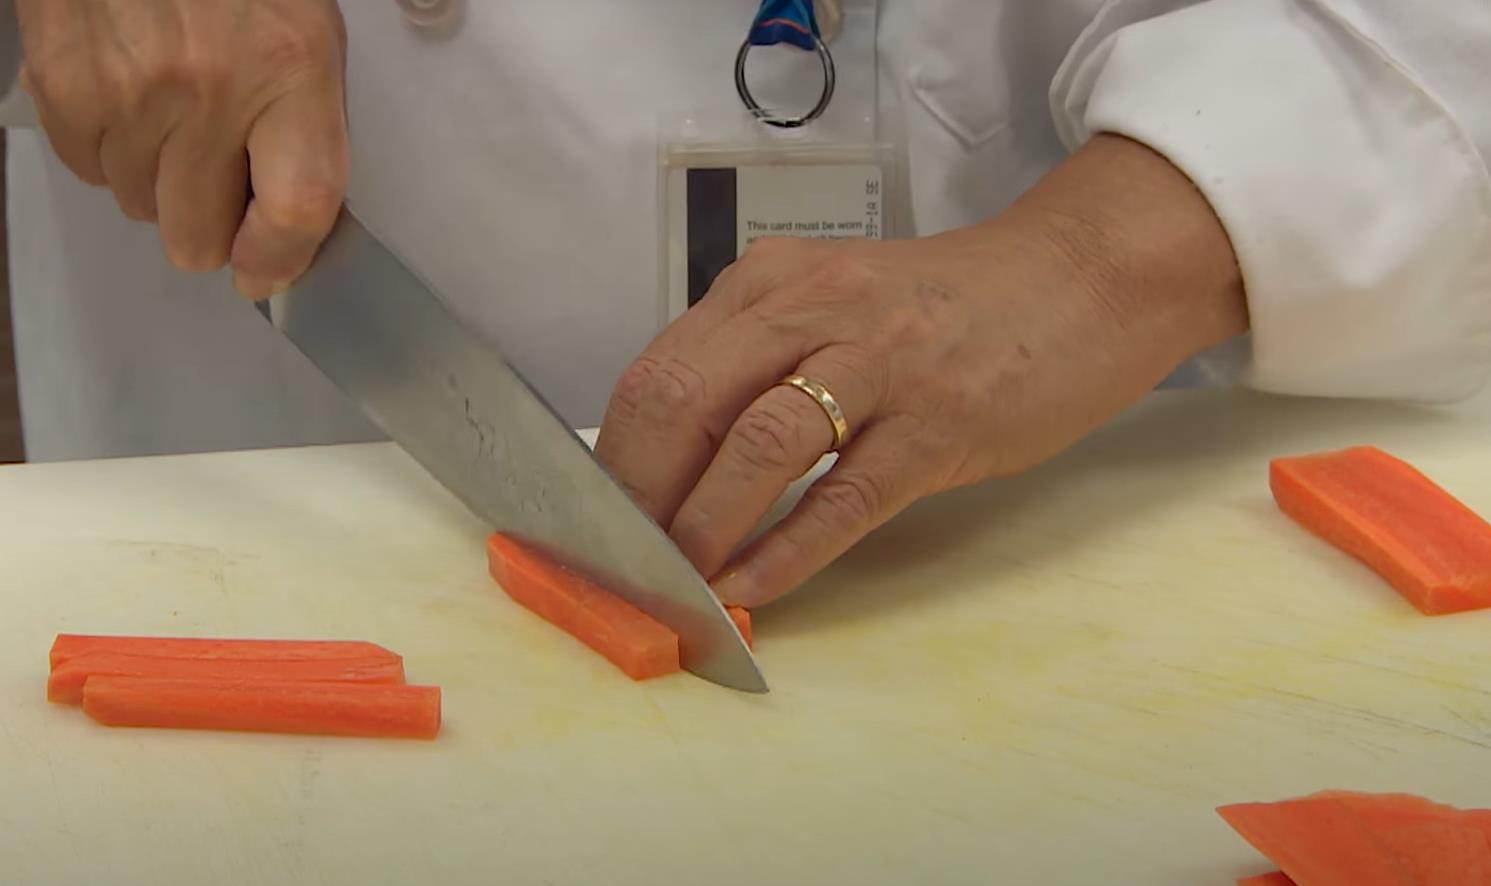
Batonnet cut a carrot
The right knife skills make all the difference when it comes to perfecting the batonnet cut. A carrot is an excellent choice to practice your batonnet chops on.
Follow these steps for a perfect carrot batonnet cut:
- Wash the carrots with water and pat dry. Dirt can interfere with the cut, so make sure your carrots are clean before you begin.
- Use a peeler to peel the skin off. It’s best to remove the skin because it doesn’t reflect that much quality in an end product.
- Cut the carrots in the middle, with two pieces measuring 2-3 inches.
- Remove the end pieces. These pieces tend to be harder to cook, regardless of the particular size.
- Slice one side of the carrot to create a flat surface and do so for the remaining sides of the carrot.
- With the flat surface on the cutting board, slice the carrot across its length into uniform planks measuring 1/4 inch thick.
- Stack the planks and slice them across into uniform 1/4 inch thick sticks.
Tips for the perfect batonnet cut
Safety is critical when making cuts like the julienne and batonnet cuts. The tips below help you create perfect cuts while ensuring safety:
- Before working with your knives, wash your hands and keep them sanitizedyour nails trimmed. In addition, make sure the cutting board isn’t wet or moist to avoid slipping.
- Hold the knife properly with your dominant hand, so the thumb and the pointing finger are on top of the blade. This grip provides more control, especially when you are first getting used to slicing
- Use your other hand to anchor the carrot on the cutting board while ensuring your fingertips curl at your knuckles with nails clawing in your palm.
- Cut with a gentle and smooth motion instead of using brute force.
- Start your slice at the tip and drag it to the base.
The benefits of a batonnet cut
Proper cuts allow your food to cook evenly and quickly. A batonnet cut comes in handy when you’re looking to serve your food on skewers or in salads.
Below are some benefits of a batonnet cut:
- Uniform shapes and sizes: By cutting your ingredients into the same size, you ensure everything cooks at the same speed. Uniform shape also ensures your food cooks evenly.
- Beautiful presentation: A proper batonnet cut is also great for making garnishes, which you can use to enhance your food presentation. For instance, if you’re serving roasted vegetables, you could place a nice slice on the dish for added effect.
- Easy storage: When you have a set size for your ingredients, it’s easier to stack and store them. In some cases, this will save you money by allowing you to buy in bulk without worrying about how you’ll keep all your cut veggies.
- Easy cooking: Prepping your veggies with the batonnet cut is also time-efficient. When you have uniform shapes and sizes, it’s easier to submerge your veggies in water or oil when boiling or sautéing. Everything will cook evenly, so you don’t have to worry about different cooking speeds between ingredients.
- Easy serving: When you want to serve your food on skewers, the batonnet cut is a great option. When making salads, you can also use it to make sure everything comes out in lovely, uniform pieces.
Batonnet cut recipe recommendations
The batonnet cut is excellent, not just for recipes with vegetables but also for dishes that require fruit. Here are some exciting recipes you may want to try once you master the art of this cut:
Glazed carrots with honey
Enjoy this quick and easy dish with chicken or shrimp.
Ingredients
- 1.5 pounds carrots
- A cup of water
- Ground pepper
- Three spoons of pure butter
- Orange zest
- Honey
Instructions
- Wash your carrots with water and pat dry.
- Peel the carrots with a peeler and proceed to batonnet cut according to the steps outlined above.
- Pour the water into a pot and bring it to a boil.
- Add the carrots into the boiler water and allow them to boil for three minutes or until tender-crisp.
- Remove the carrots and allow them to drain.
- Mix the honey, orange zest, and butter in a pan and heat until the mixture starts to boil.
- Once boiling, add the carrots back into the pan and allow every component to sauce over for five minutes.
Baked sweet potato fries
Perfect for a delicious and crispy side dish.
Ingredients
- 1 large sweet potato
- 1 Tablespoon of cornstarch
- 1/2 tablespoon of cinnamon
- Salt and pepper
- 2 tablespoons of olive oil
- 1/2 onion sliced
Instructions
- Wash and clean your sweet potato.
- Batonnet cut the sweet potato into thin spears.
- Heat the oven to 400 degrees Fahrenheit, and lay a foil on a sheet pan.
- Add the sweet potato slices in a plastic bag and mix with the cornstarch until every spear has a coat of cornstarch.
- Add the oil, salt, pepper, and cinnamon in a plastic bag and shake until well mixed.
- Arrange the sweet potato spears on the sheet pan and bake for 25 minutes.
- Remove from the oven, flip over to the other side, add the onions and bake again for 15 minutes.
If you want your sweet potatoes to have a savory flavor, you can eliminate the cinnamon and add rosemary and thyme.
Closing
The batonnet cut is an excellent technique that you should master to enhance your cooking skills. By having uniform pieces, not only are your dishes going to look more appealing, but they will also cook evenly. Whether you are making a tasty glazed carrot dish or want to make oven-baked sweet potato fries, the batonnet cut is an invaluable and versatile technique that you should learn and master.
Visit our store to find high-quality knives you can use to make excellent batonnet cuts.