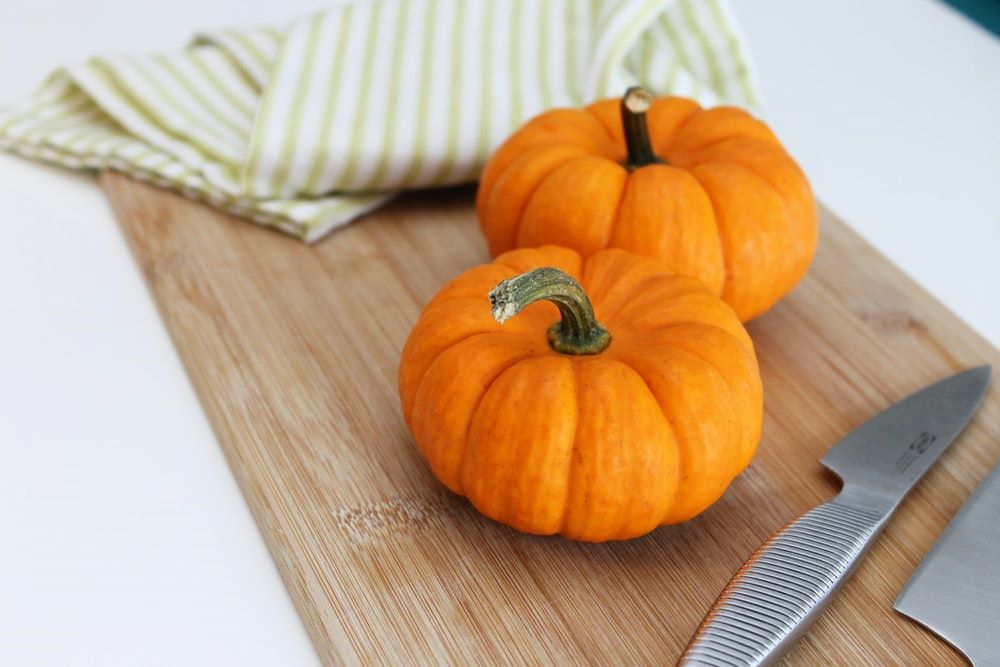
Fall is here and so are pumpkins! Whether you’re preparing to carve out your jack o lanterns, or are simply looking for an easy, yet delicious recipe for enjoying these sweet and savory winter harvests, look no further because we are here to help.
Before we start, you must learn how to cut a pumpkin properly. Cutting a pumpkin may not be the easiest task in the world due to their tough skin, but following these simple steps will help you learn how to cut a pumpkin safely and easily.
How to cut a pumpkin:
- Wash the pumpkin and pat dry.
- Place it on a steady chopping board.
- Use a sharp knife to cut through the hard exterior.
- Insert the knife straight into the pumpkin top-down, away from the stem.
- Move your knife down towards the chopping board.
- Repeat from the other side.
We will be discussing these steps in greater detail later on in the article.
For now, show some pumpkin lovin’ for these versatile vegetables (the culinary world considers these fruits as veggies since they aren’t really sweet) as you begin to learn more about them in our article. First things first, let us uncover how to select a pumpkin.
Table of contents
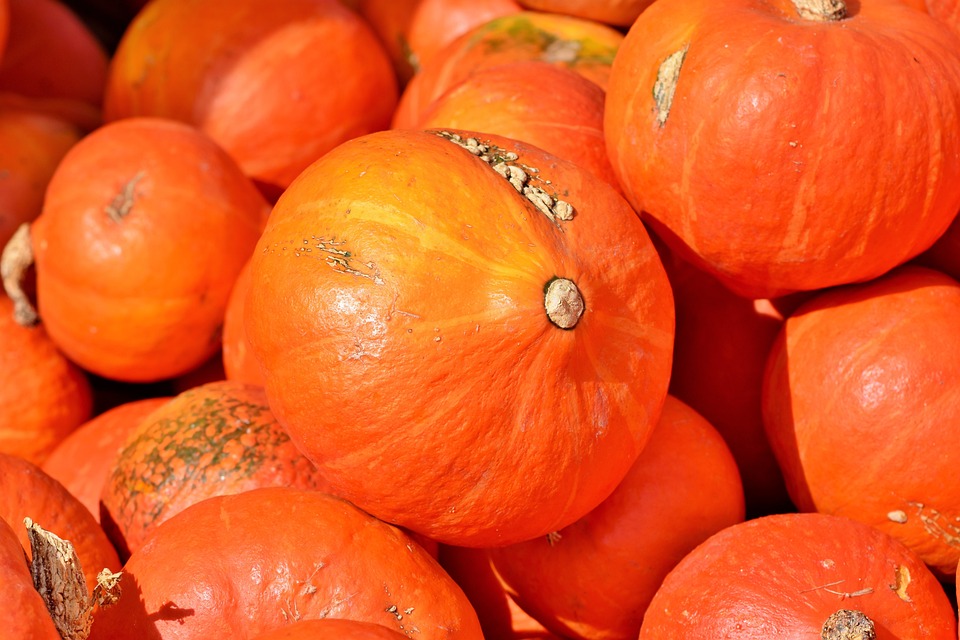
How to select a pumpkin

You should always select a pumpkin depending on your use. Ask yourself whether you will be using it for cooking, or carving out your jack-o-lantern, and choose accordingly:
- Choose a “pie” or “sweet” pumpkin when you wish to cook it. These are smaller in size with sweeter flesh and less water.
- Select larger pumpkins for carving out jack-o-lanterns with smooth surfaces.
- Pick “fresh and heavy” pumpkins with at least 1 to 2 inches of firm, secure stem.
- Avoid the orange gourds that have blemishes or soft spots in them.
- Don’t worry about the shape as it isn’t particularly important.
- Make sure that the base is balanced for sitting firmly on the chopping board.
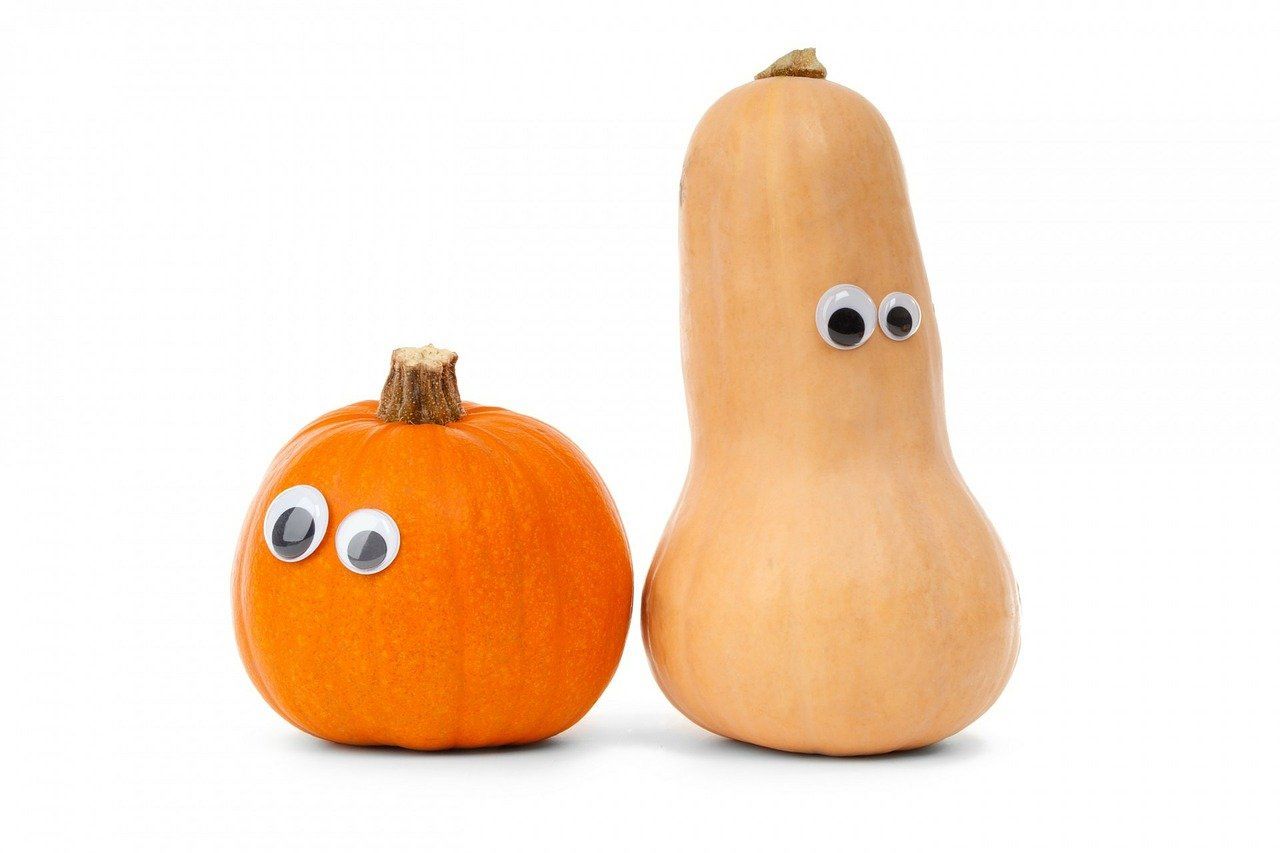
Difference between pumpkin and butternut squash
Sweet and tangy, orange squash. What am I? You say pumpkin, we say butternut squash. Are you wrong? Or are we?
Well, to be honest, neither.
When choosing a pumpkin, you might come across a butternut squash and wonder, what’s the difference? Well, pumpkins and butternut squash are both squashes, a kind of a fruit. What makes them different is their shape and size, their harvest times, as well as nutritional profiles:
| Pumpkin | Butternut Squash | |
| Harvest Time | September-November | All year round |
| Taste | Slightly earthy, not sweet | Sweet |
| Nutrition | Source of vitamin A,C, B6Contains potassium, magnesium, thiamin as well | Slightly more Vitamin A & CContains magnesium, potassium, and Vitamin E too |
| Calories & Carbs | Slightly lower than butternut | Slightly higher than pumpkin |
| Stem and Seeds | Hard & jagged stem; seeds rich in fatty acids | Light & hollow stem; fibre and protein rich seeds |
How to prepare a pumpkin
Preparing a pumpkin for cooking or carving requires learning how to cut a pumpkin, deseeding as well as peeling it:
Tools you’ll need
Here are the basic tools you need for cutting, de-seeding and carving the pumpkin:
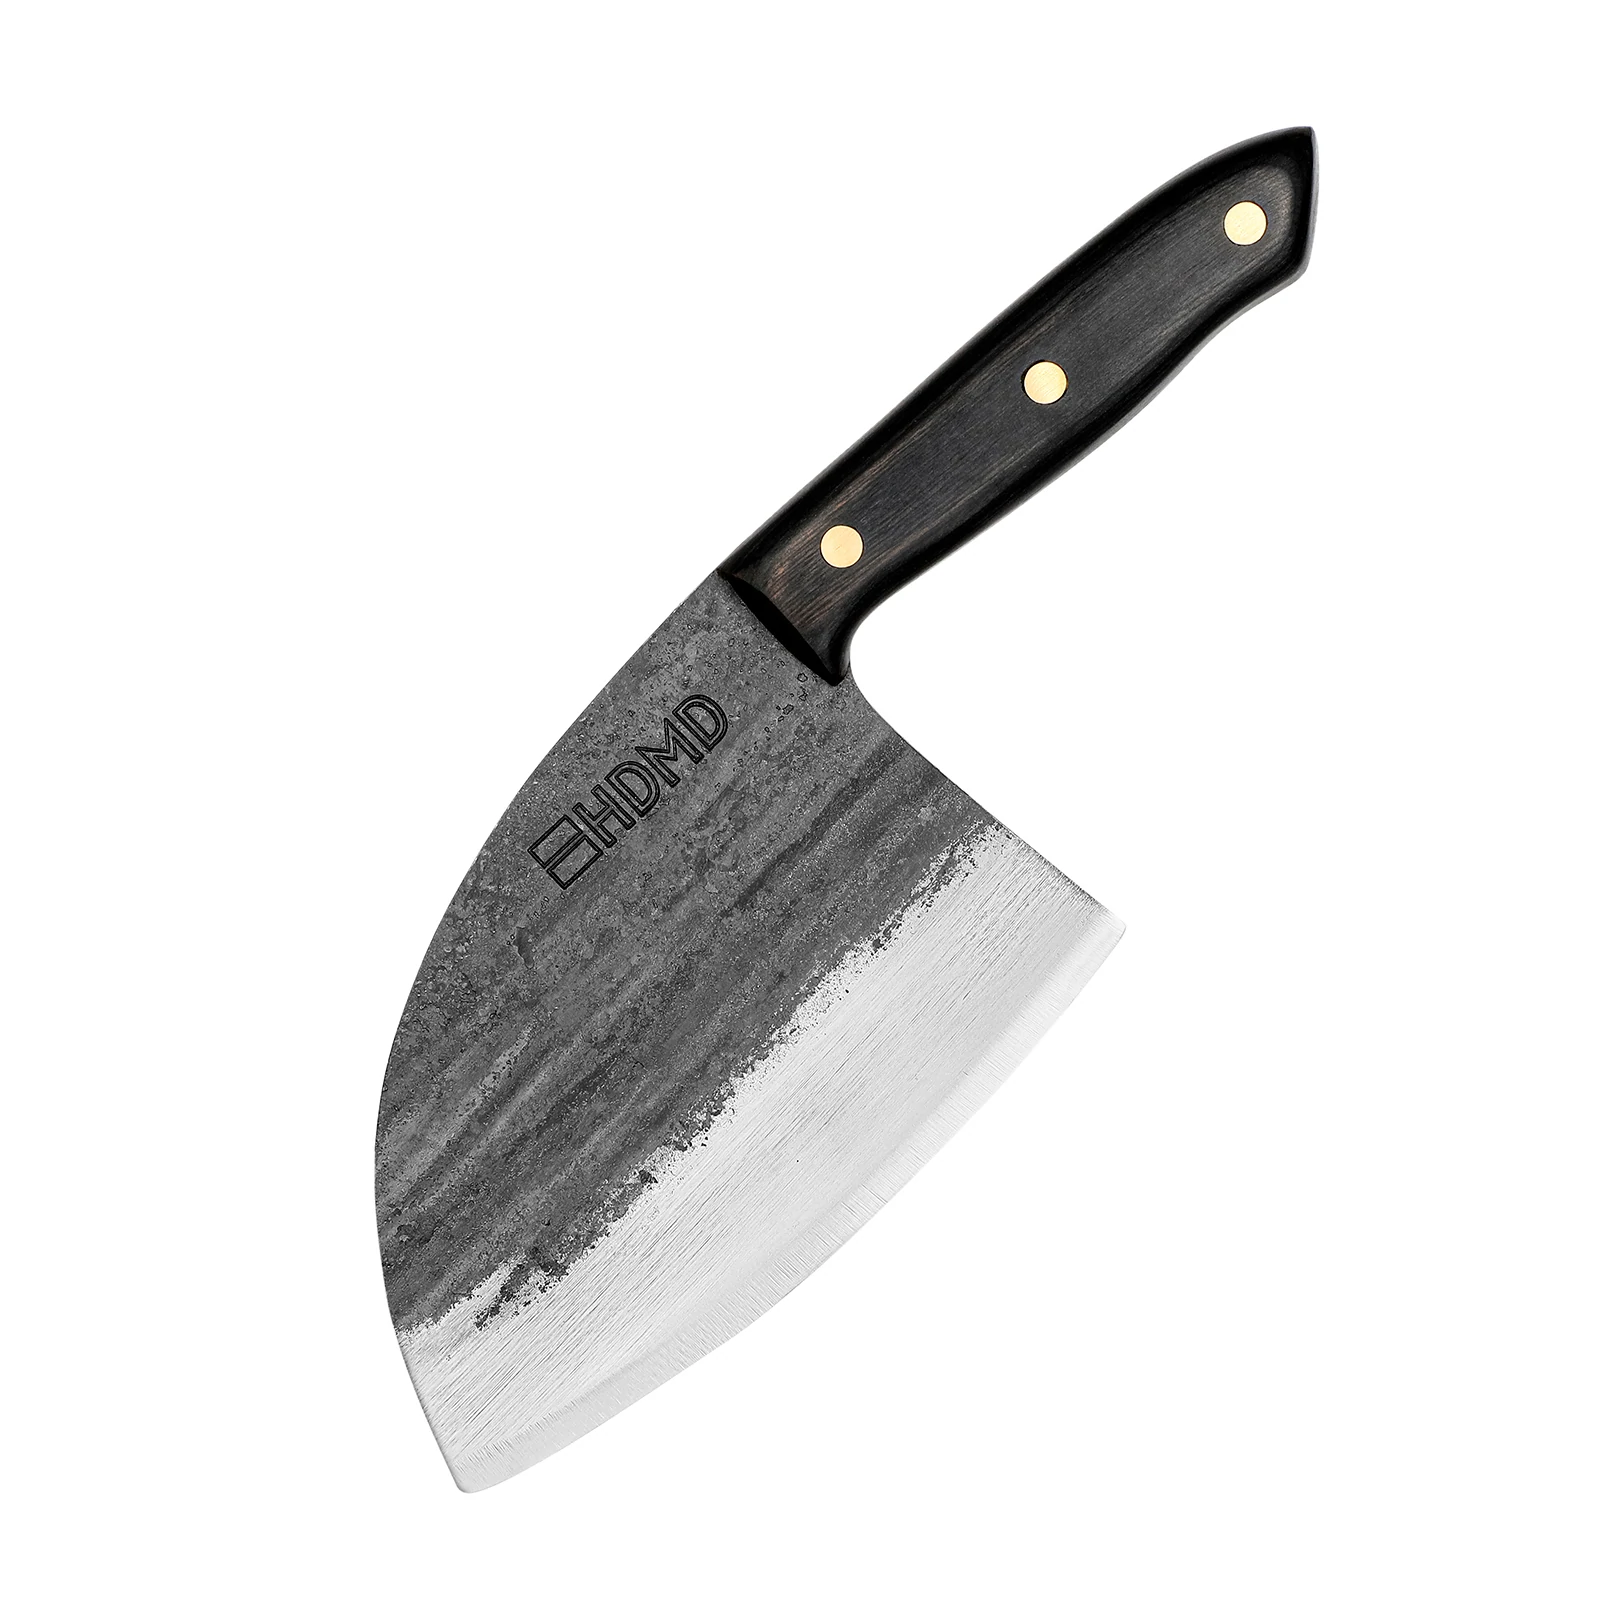
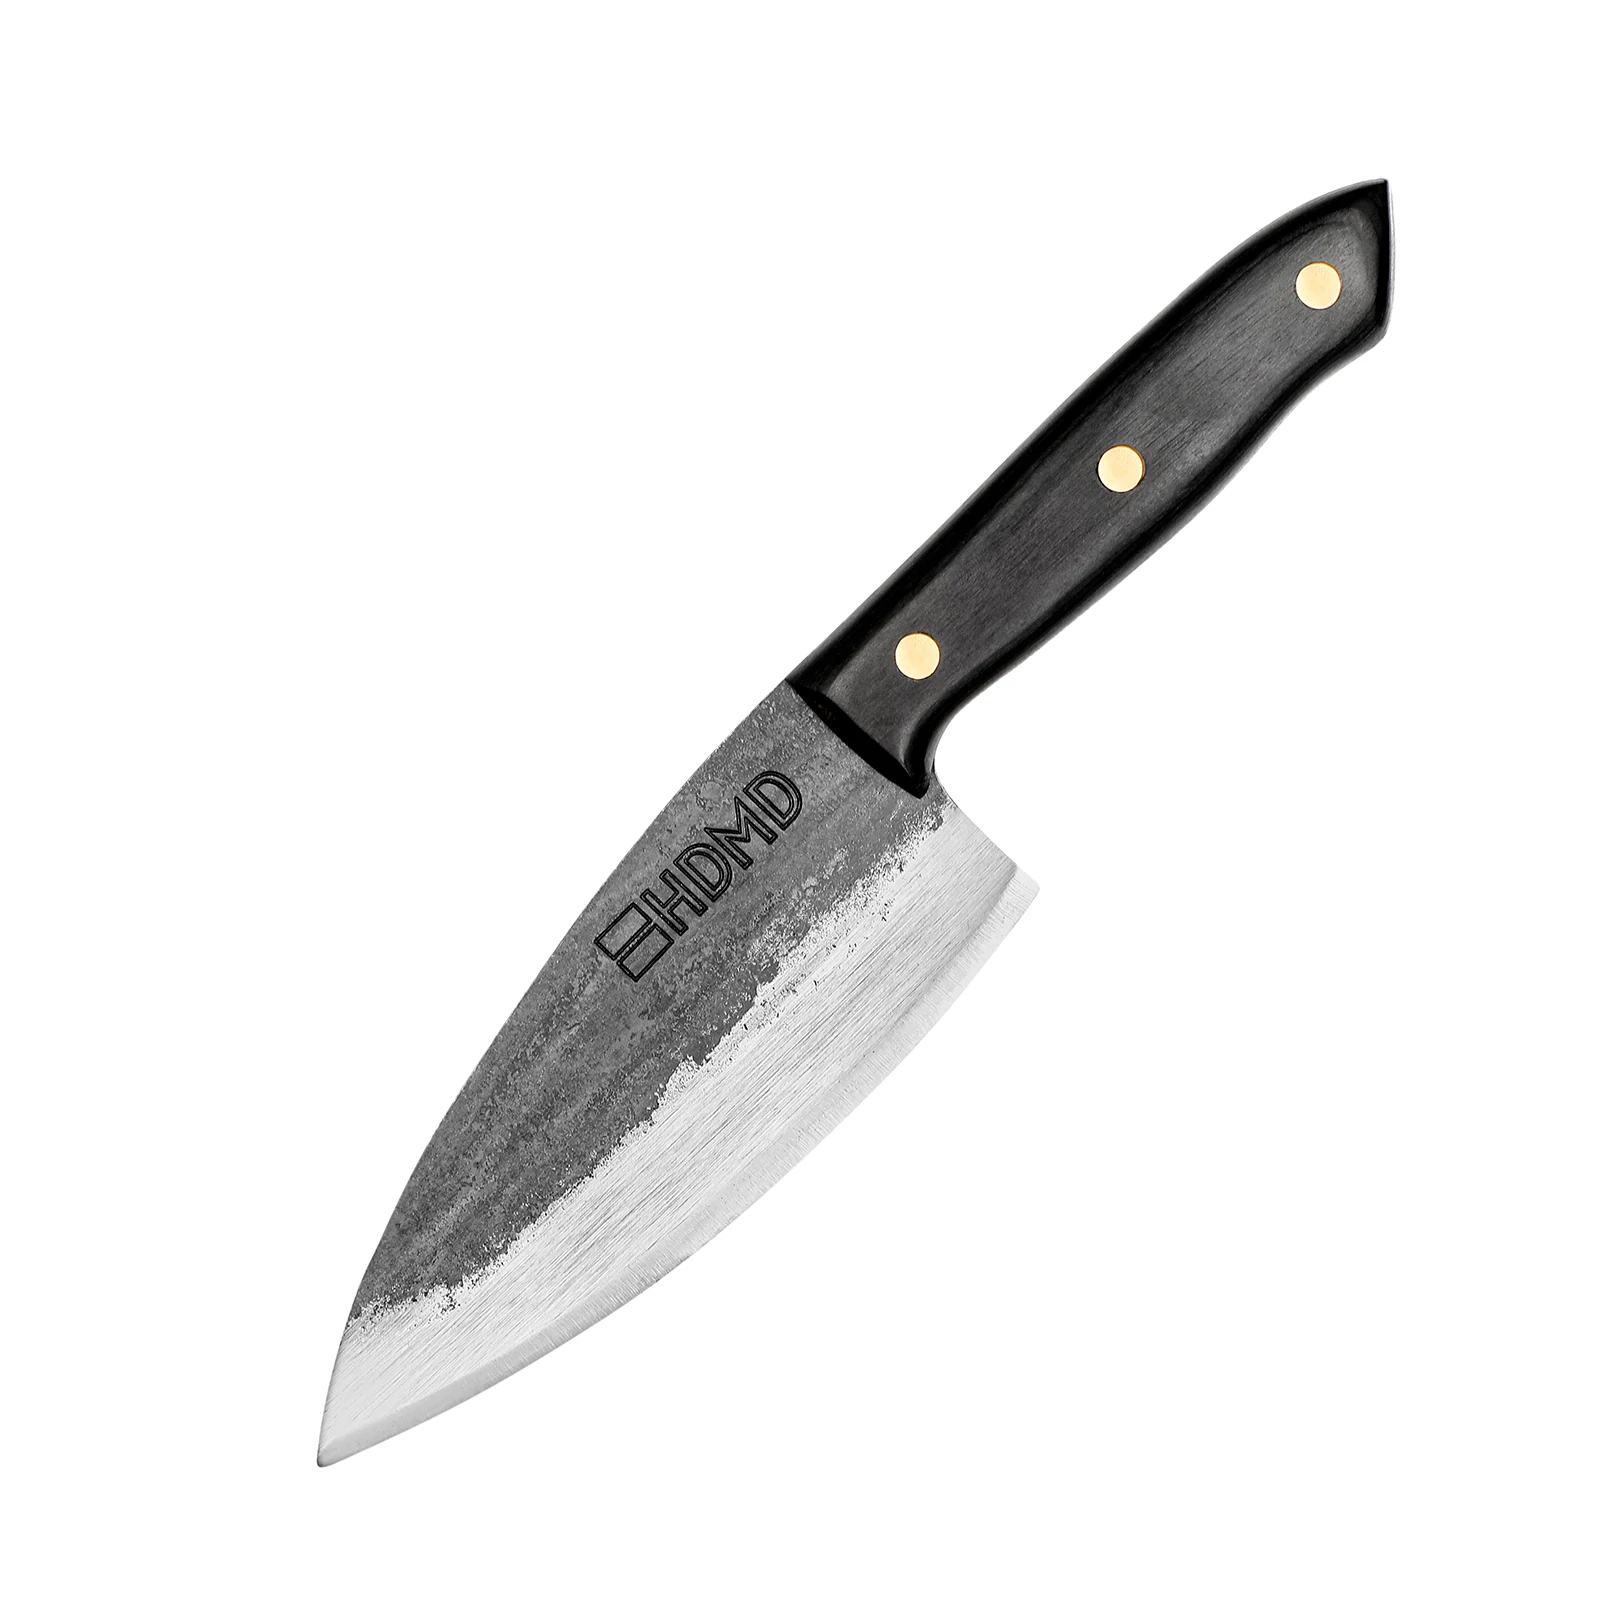
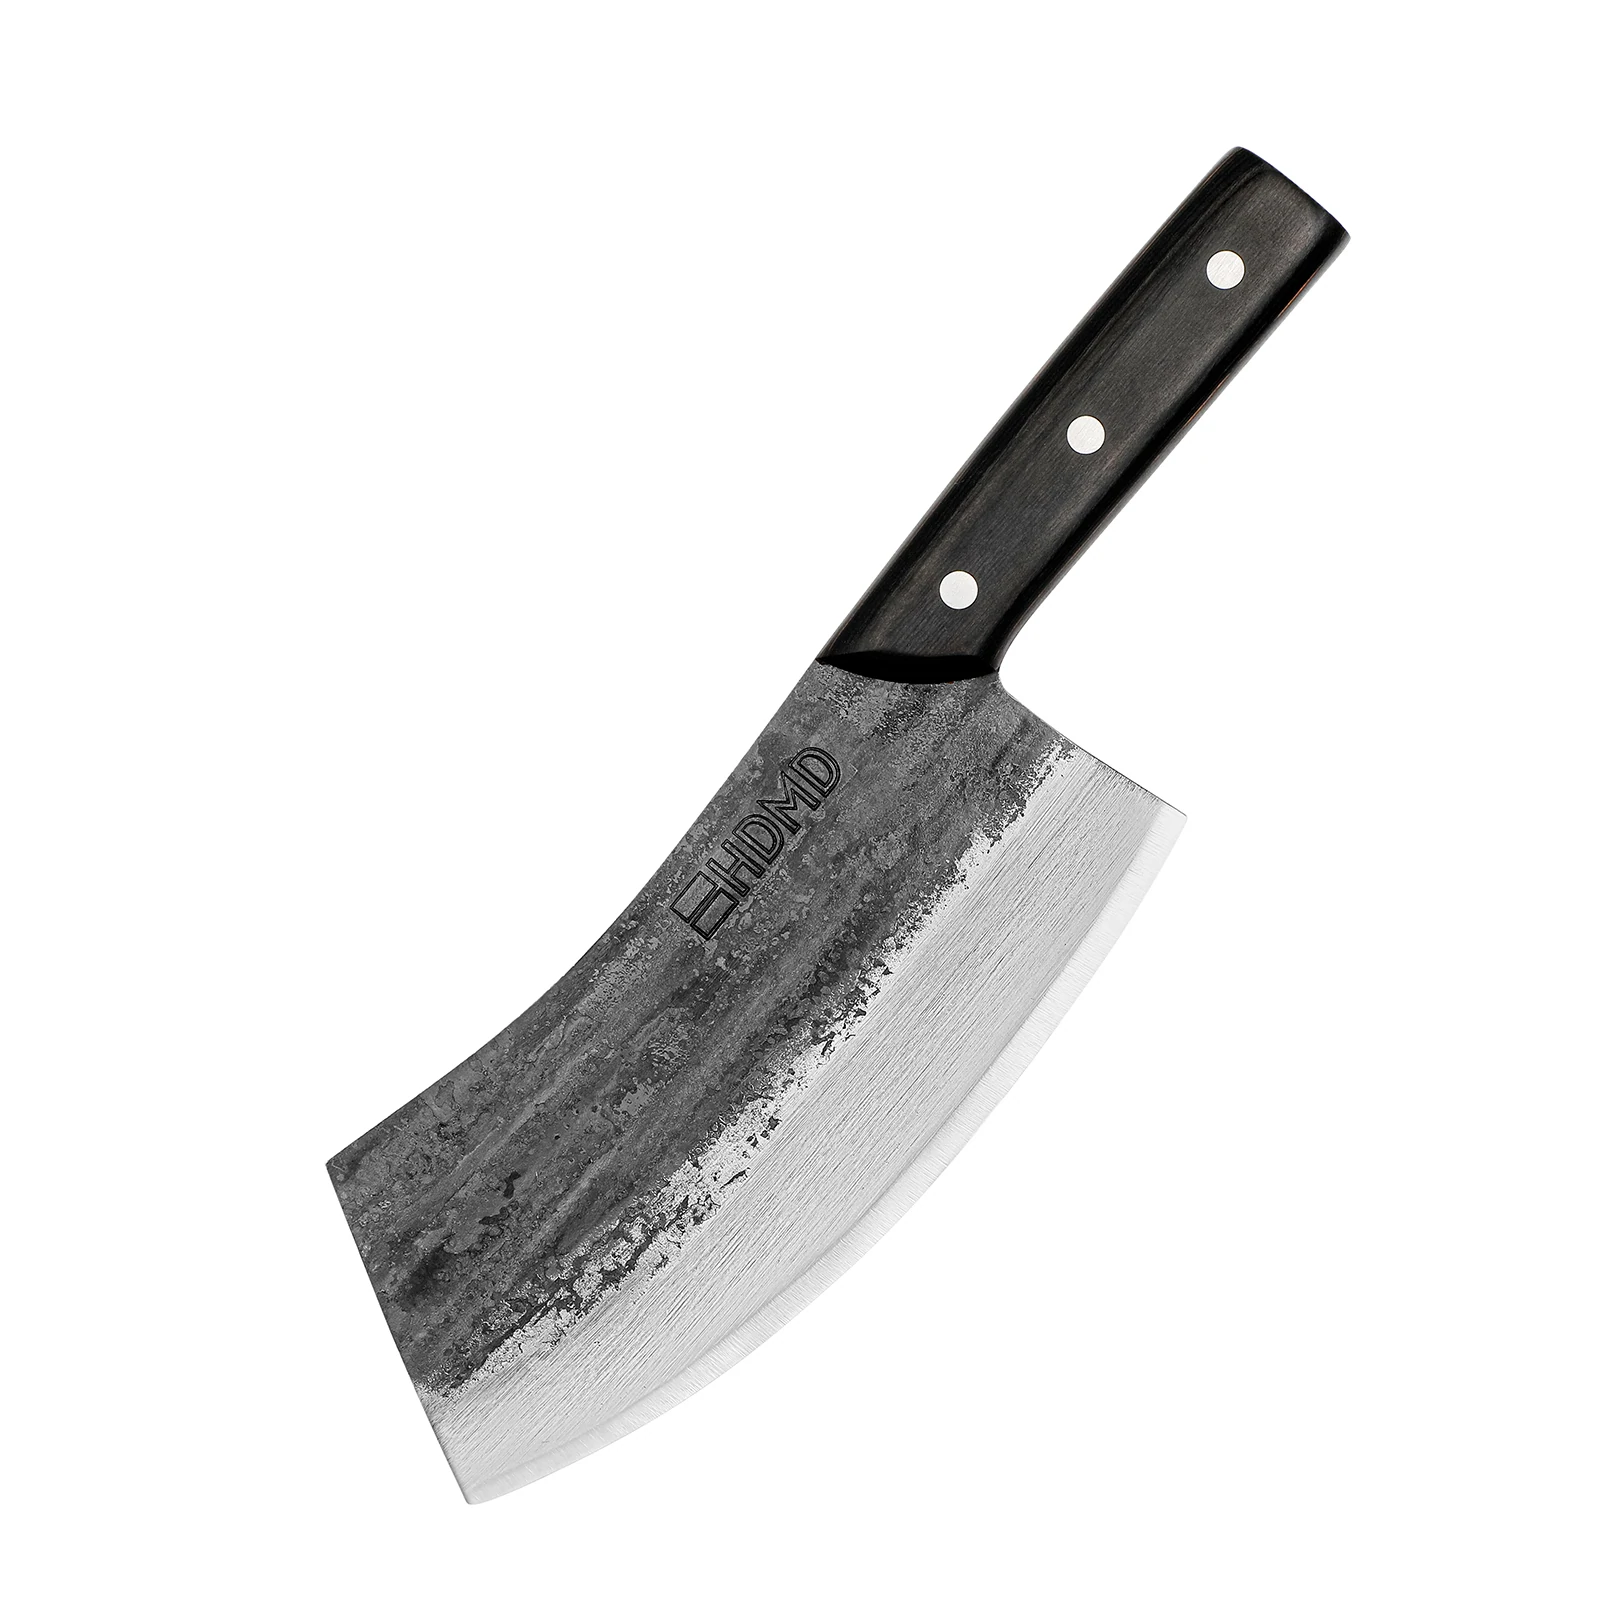
- A sharp knife to cut the pumpkin
- Kitchen gadgets such as apple corer and melon baller. If you don’t have these, a tablespoon and your hand will do, too.
Handpicked for you
True cutting power in the palm of your hand
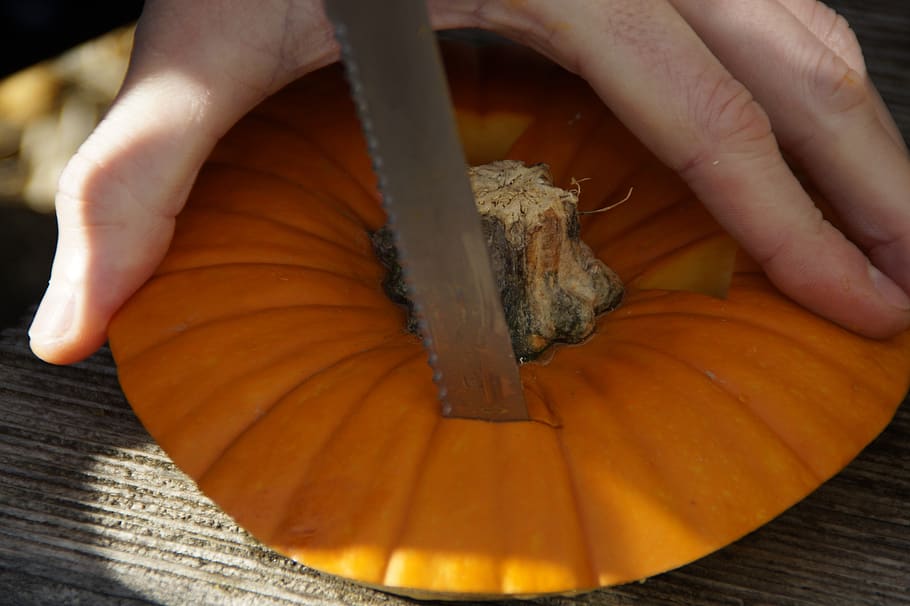
How to cut a pumpkin
Earlier in the article, we briefly explained how to cut a pumpkin. Here are the step by step, detailed instructions on how to cut a pumpkin so that you can do it perfectly, easily, and safely each time:
- The first thing you need to do is wash your pumpkin and pat dry.
- Make sure you have a large, sturdy chopping board that doesn’t move around
- Use your dominant hand to hold the knife and your free hand to hold the stem of the pumpkin.
- Using a sharp knife, begin by cutting the pumpkin, slightly left or right of the stem as the stem itself will be tough to cut through.
- Insert the knife in a top down direction.
- Start moving the knife down towards the cutting board.
- Pull out the knife from the pumpkin and repeat the above steps from the other side.
- Remove the stem.
Voila, you now have two halves of a pumpkin.
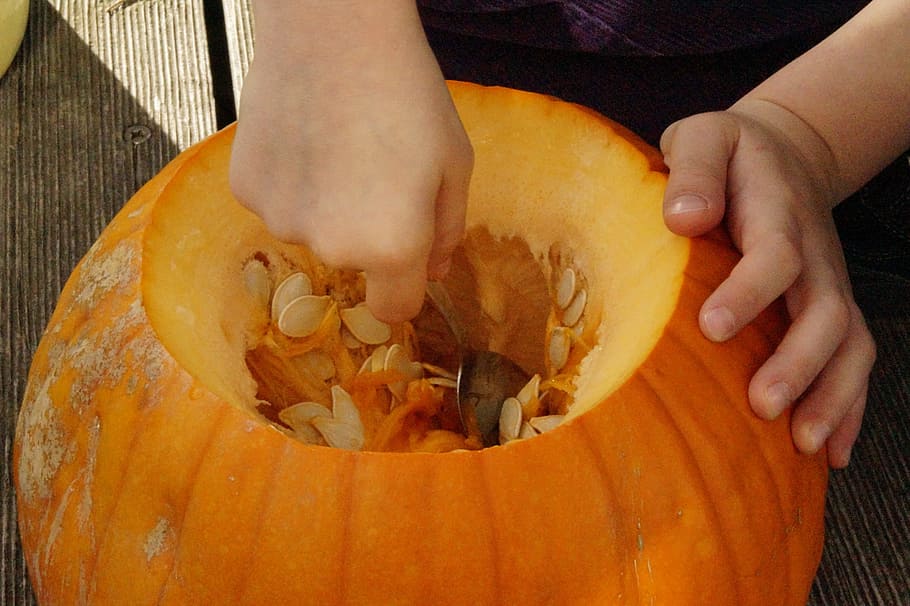
How to deseed the pumpkin
Now that you know how to cut a pumpkin, the next step is to learn how to deseed it:
- You can use an apple corer or your hand to scoop the soft flesh of the pumpkin.
- Remove the seeds as well, either for making roasted pumpkin seeds or for discarding.
- Finish scooping the seeds with a spoon and scrape out everything that is stringy, slimy or mushy.
How to peel a pumpkin
In the entire pumpkin preparation process, the toughest part is peeling the pumpkin.
For this part, you must ensure that you have a sharp knife handy to avoid wasting pumpkin flesh. For easier peeling, cut the pumpkin into wedges first. Using the knife, cut between the skin and flesh and glide through.
Another way you can peel the pumpkin is by roasting it. Roast pumpkin with the skin. Once done, remove the skin by hand when hot.
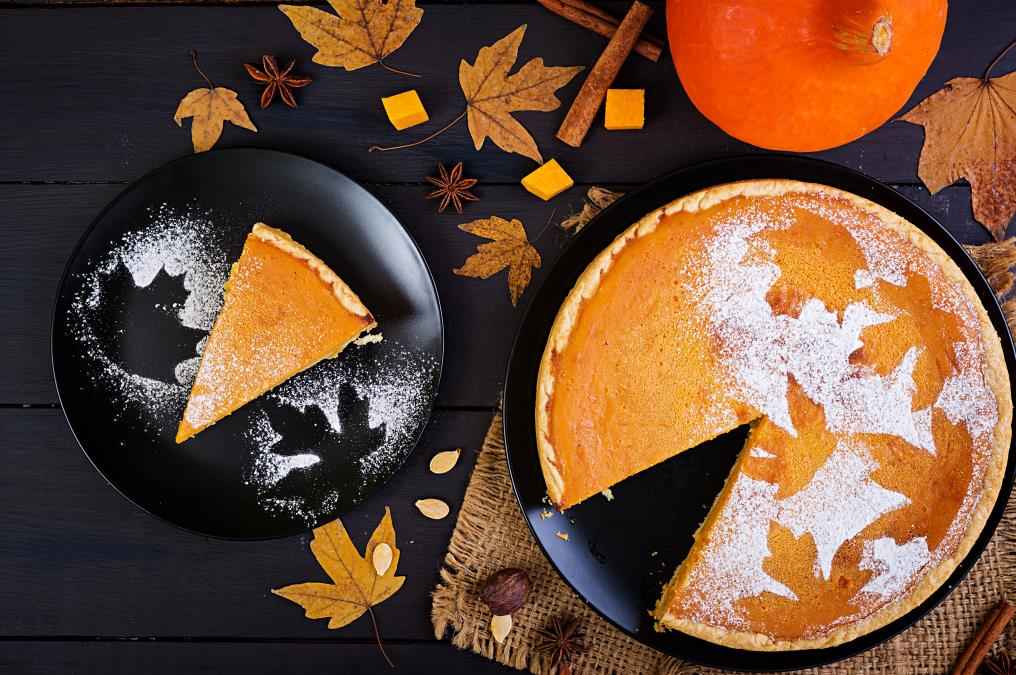
Simple pumpkin recipe
There are a lot of yummy pumpkin recipes out there that you can try, as well as a number of ways they can be cooked. Here are a number of ways you can cook a pumpkin:
| You can either: | In: | Within: |
| Boil it | Flavorful sauces | 15 minutes |
| Roast it | A drizzle of oil | 30-70 minutes |
| Pressure cook it | Water | 4-5 minutes |
Now that you have prepared your pumpkin and know some basic ways you can cook it, it’s time to get down to some pumpkin cooking! From sweet to savory, there are a large number of recipes that can be made using a pumpkin. Here is one of our personal favorites:
Ingredients
- All purpose flour: 250 grams
- Sugar: 1 tablespoon
- Salt: 1/2 teaspoon
- Cold butter: 125 grams
- Eggs: 3
- Fruit vinegar: 1/2 tablespoon
- Pumpkin: 500 grams
- Butter: 50 grams
- Cinnamon powder: 1 teaspoon
- Nutmeg power: pinch
- Cloves powder: pinch
- Maple syrup: 6 tablespoon
- Milk: 100 ml
- Sugar: 50 grams
- Whipped cream: 4 tablespoons
- Cornstarch: 40 grams
- Cranberries: 2 tablespoons
Preparation
- Preheat the oven to 200℃.
- Pour the all-purpose flour on a clean surface, mixing with the sugar and salt.
- Make a well, with butter scattered around.
- Add the egg into the well with vinegar and lukewarm water.
- Combine into a dough and wrap it in plastic.
- Chill for thirty minutes.
- For the pumpkin, dice it and add melted butter, cloves, nutmeg, cinnamon, and maple syrup.
- Add milk in the pumpkin mixture and cover and cook for ten minutes.
- Mix until it becomes a puree.
- Mix the prepared puree with sugar, cream, cornstarch and egg yolks.
- Beat the egg whites separately and fold into the puree.
- Knead the pastry dough and make a circle slightly bigger than the baking dish.
- Line the pastry on the dish and prick it with a fork several times.
- Spread the pumpkin mixture on the pastry and bake for approximately 40 minutes.
- Take out of the oven and leave it to cool down.
- Mix cranberries with sugar and garnish on top before serving.
Who knew baking a pumpkin pie would be this easy? Try it and enjoy it with friends and family.
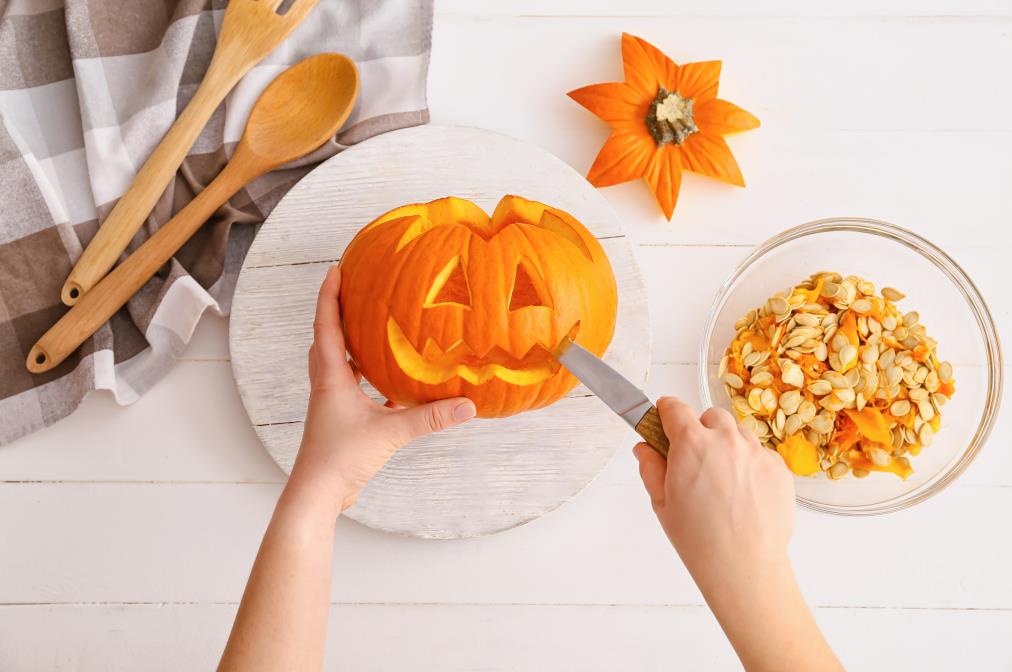
How to carve the pumpkin for Halloween
Oh wait, we almost forgot to show you how to carve your jack-o lanterns! Here is a step by step guide:
Step 1. Place your thoroughly washed pumpkin on a large, sturdy chopping board.
Step 2. Mark the pumpkin with a pen or marker for slicing off the top of the pumpkin.
Step 3. Use a sharp chef knife with your dominant hand to carefully slice over the markings.
Step 4. Using a knife that is smaller yet sharp, cut around the top of the pumpkin for hollowing it.
Step 5. Use a spoon to remove the top of the pumpkin.
Step 6. Use a spoon to remove all the seeds.
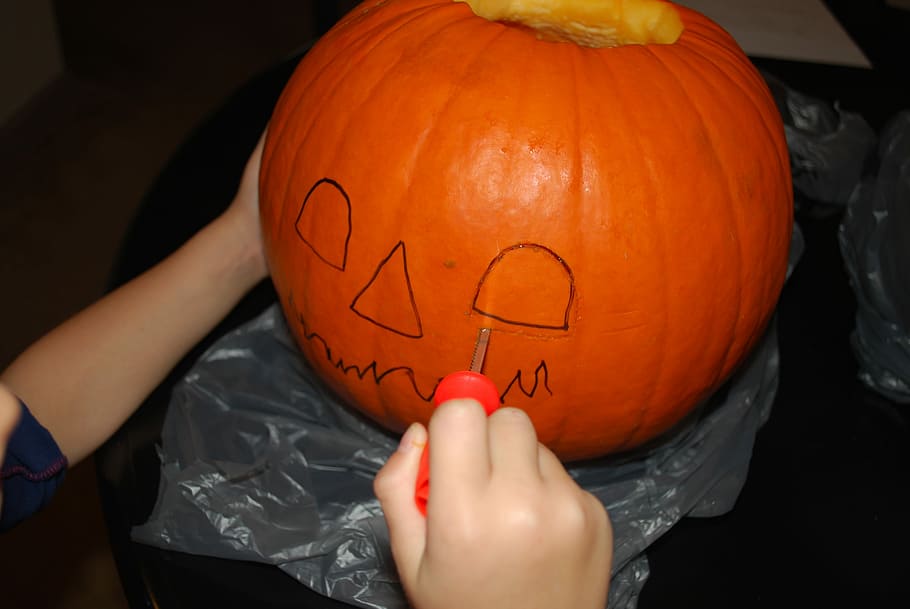
Step 8. Now that you are left with a hollow pumpkin, thin out the flesh from where you wish to carve it by using a spoon once more. This is going to be the face of the pumpkin.
Step 9. Use a pen or marker once again to mark out the eyes, nose and mouth on the face of the pumpkin.
Step 10. You can also add details like teeth using a sharp knife like this:
Step 11. Securely hold the pumpkin, and begin to carve out the shapes.
Step 12. Use a rocking motion with your knife for the carving process. In areas where this isn’t feasible, an up and down motion will do, too.
Step 13. Push all of the pieces of carved flesh and remove any markings with a wet cloth.
Step 14. When you’re done, place some tea lights inside the pumpkin after lighting them up.
Step 15. Put the lid back on.
And voila, your pumpkin is all set for decorations for Halloween.
If you are still unsure about how to cut a pumpkin, then watch this video and we are sure you will become a pro at it in no time!
FAQs on how to cut a pumpkin
How do you keep a pumpkin from rotting after it has been cut?
After the pumpkin has been cut, you can make it last longer by patting dry and coating the pumpkin with protective coating. This can be petroleum jelly, vegetable oil, or even furniture wax.
How do you roast pumpkin seeds?
After removing the seeds, wash them thoroughly. Dry for a day or two. Add a cup of dried seeds in a bowl and mix with ½ tablespoon oil. Toss them and throw on a baking sheet. Bake at 350 degrees for 45 minutes approximately.
How to preserve a jack-o-lantern?
You can preserve a jack-o-lantern by covering it with a damp cloth when not on display.
In conclusion
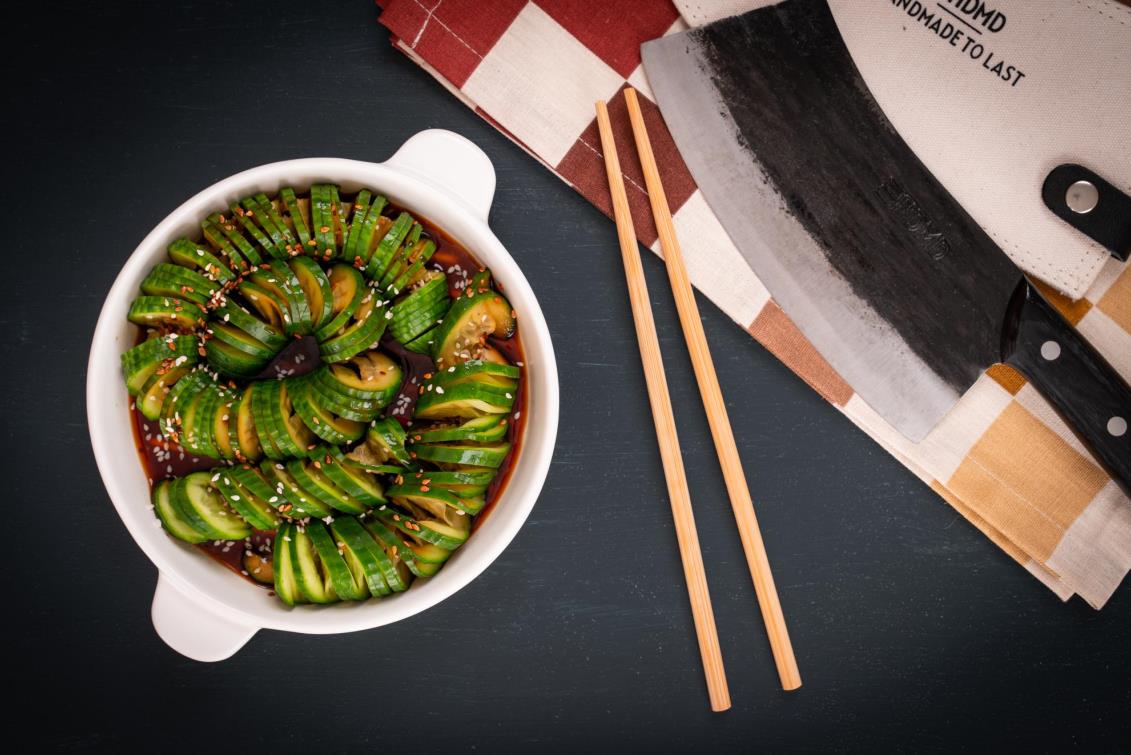
Make the most out of this pumpkin season. If you’re looking for the perfect knife to cut your pumpkins, head over to the HDMD store now and shop our premium range of hand-forged knives for cutting perfect pumpkins each time!


