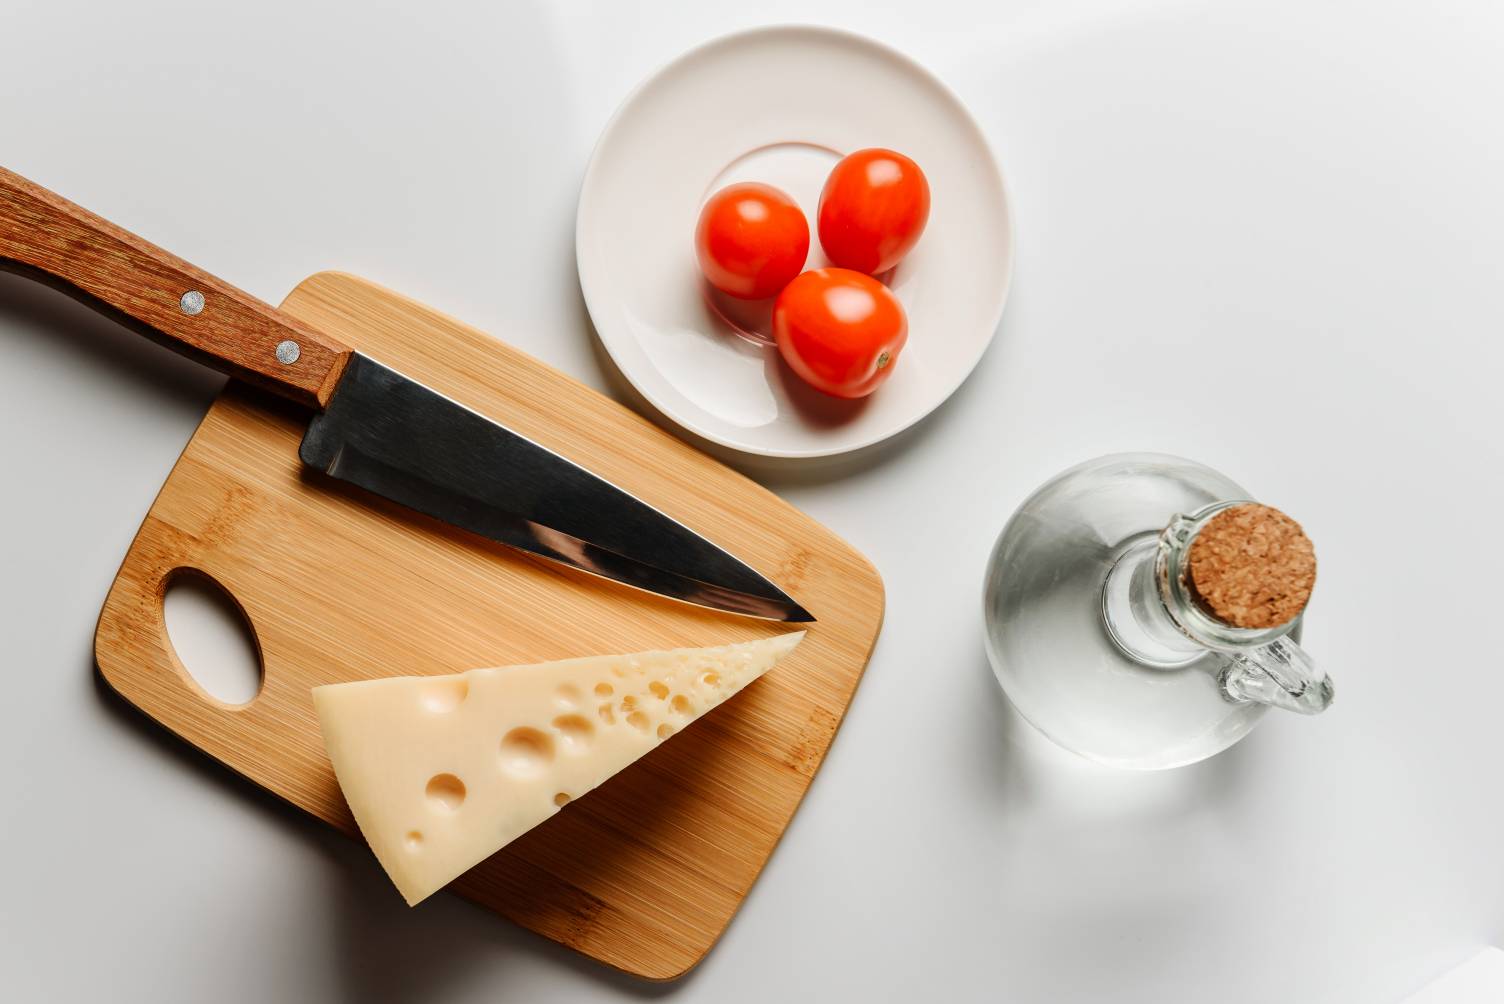
The cornerstone of every meal preparation is a great knife. It is the most indispensable tool in the kitchen. A versatile, quality and comfortable-to-use knife will help you in a variety of tasks. Oftentimes, a chef knife that can slice meat, mince veggies, or even smash garlic bulbs is all you need.
Learning how to use a chef knife like a pro will enhance your meal preparation and presentation skills. Without further ado, let’s get the learning started.
Table of contents
What is a chef’s knife used for?
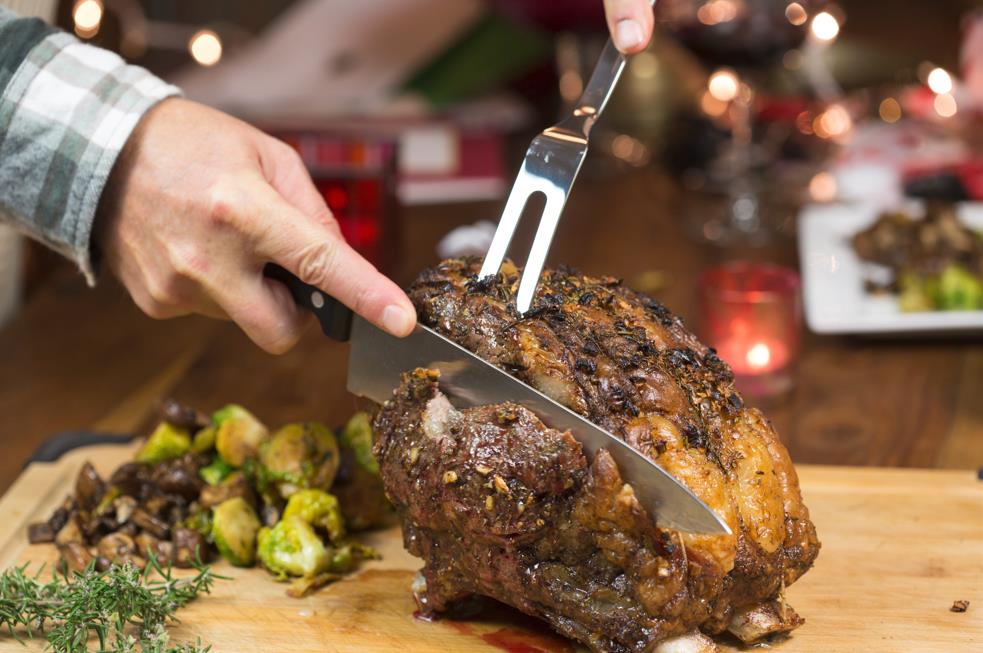
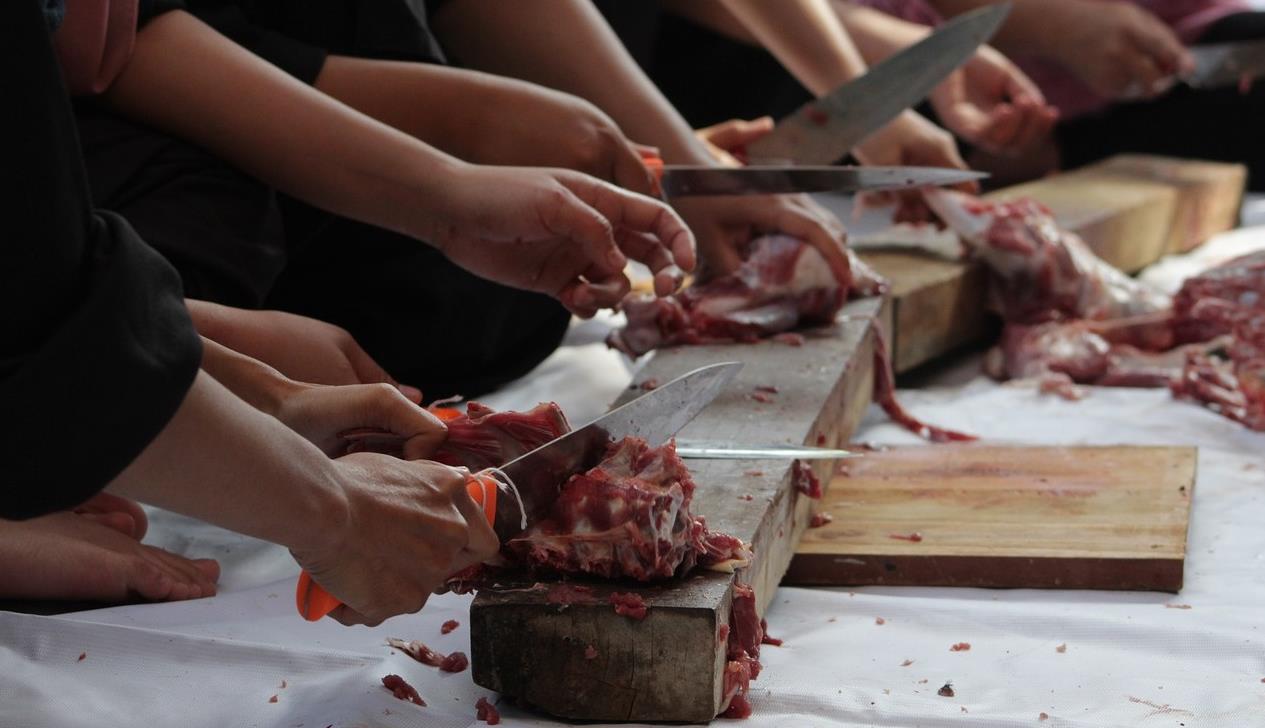
The chef’s knife was originally crafted for slicing and disjointing huge chunks of beef, but now it has become a general-purpose utility knife. This heavy-duty knife has become a must-have tool in every home and commercial kitchen/restaurant.
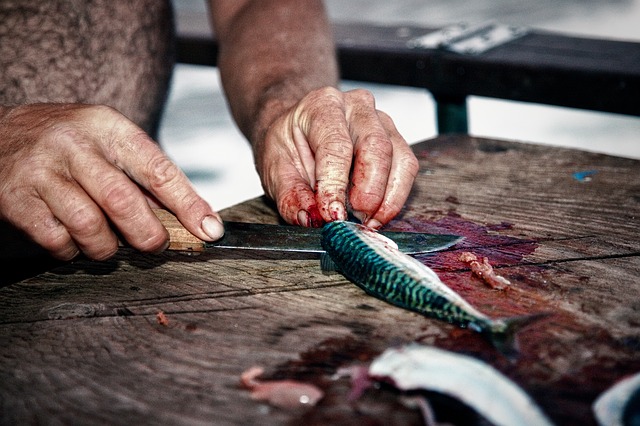
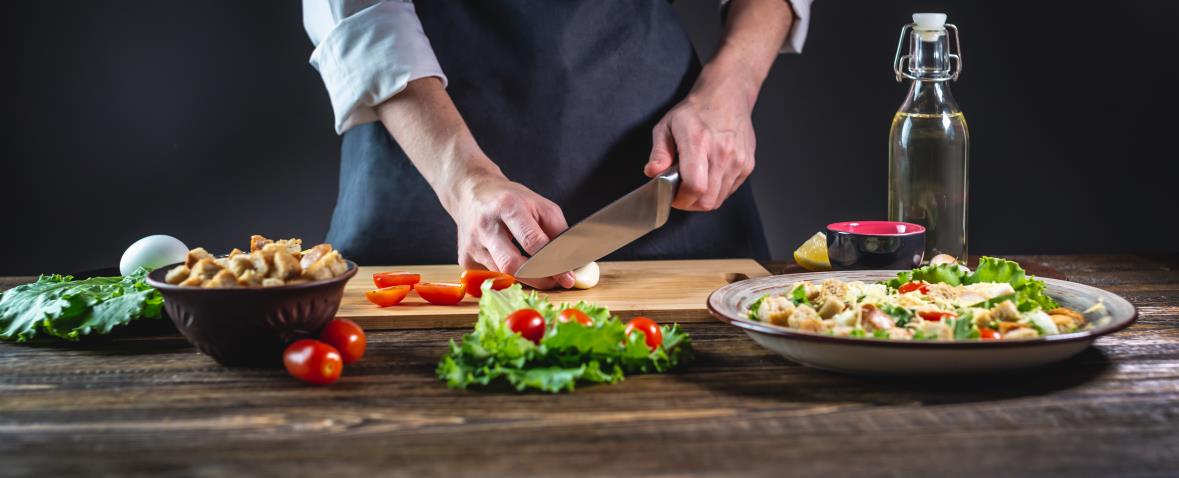
The modern chef’s knife can practically be used to disjoint meat cuts, slice/cut meats, dice the vegetables, slice herbs, chop nuts, and chop onions.
It is not ideal for carving dense meat, cleaving bones, disjointing certain cuts, slicing bread, mincing, and peeling. Those specific tasks have corresponding knives.
The anatomy of a chef’s knife
The traditional chef’s knife is 8 inches long and 1 ½ inches wide. But there are available models ranging from 6 to 14 inches in length.
Basic parts of a chef’s knife:
Blade – It gives essence to the functionality and purpose of a chef’s knife. It is the main body of the tool and contains the edge, tip, point, heel, and spine. Each of these sections is utilized for cutting, chopping, slicing, or smashing ingredients.
Point– It is the part of the blade where the spine and the tip of the knife strategically meet. It is the most fragile part of the knife but functions significantly when you need to score, pierce, or do other non-impact tasks during meal preparation.
Tip– It represents the knife’s first third portion along with the point. This part is perfect for delicate cutting and slicing. During the mincing task, you can use the tip of the knife as an anchor ( or keep contact with the cutting board) as the blade moves up and down behind.
Cutting edge – It refers to the blade’s sharp portion running from the point to the heel. This is the actual edge that typically comes in V-shape, with slanting straight sides.
Heel – It is the knife’s widest and strongest portion of the blade used to cut or chop hard ingredients like chicken bones, squash, carrots, or nuts. The heel is found in the blade’s rear area near the handle. It comes in handy when you need more force to cut the ingredients.
Handle – It is the part of the knife that you grip. It extends from the bolster of the knife up to the butt. The handle comes in various materials, weights, and shapes to suit the preferences of users. However, the characteristics of a good handle remain the same – durability and superior resistance against moisture.
Butt –It is the handle’s back end and the most durable portion of the chef knife.
Spine – It is the blade’s thickest portion and can be found opposite the cutting edge. The thickness impacts its overall stability as well as the strength of the knife’s edge.
Bolster– It is the thick portion at the front of the knife’s handle, the area where the handle meets the spine (non-cutting) edge. Forged knives have a bolster. It adds weight to the chef’s knife, helping you balance it during use and prevent fingers from slipping.
Tang – It is the blade’s metal portion that extends all the way to its handle (full tang) or partial only (partial tang). A full-tang body construction delivers better balance, stability, and strength.
Special mention to the rivets that keep the handle securely attached to the tang. These round, metal studs should seamlessly flush with the knife’s handle to ensure comfort and prevent tiny debris of food from collecting in the gap.
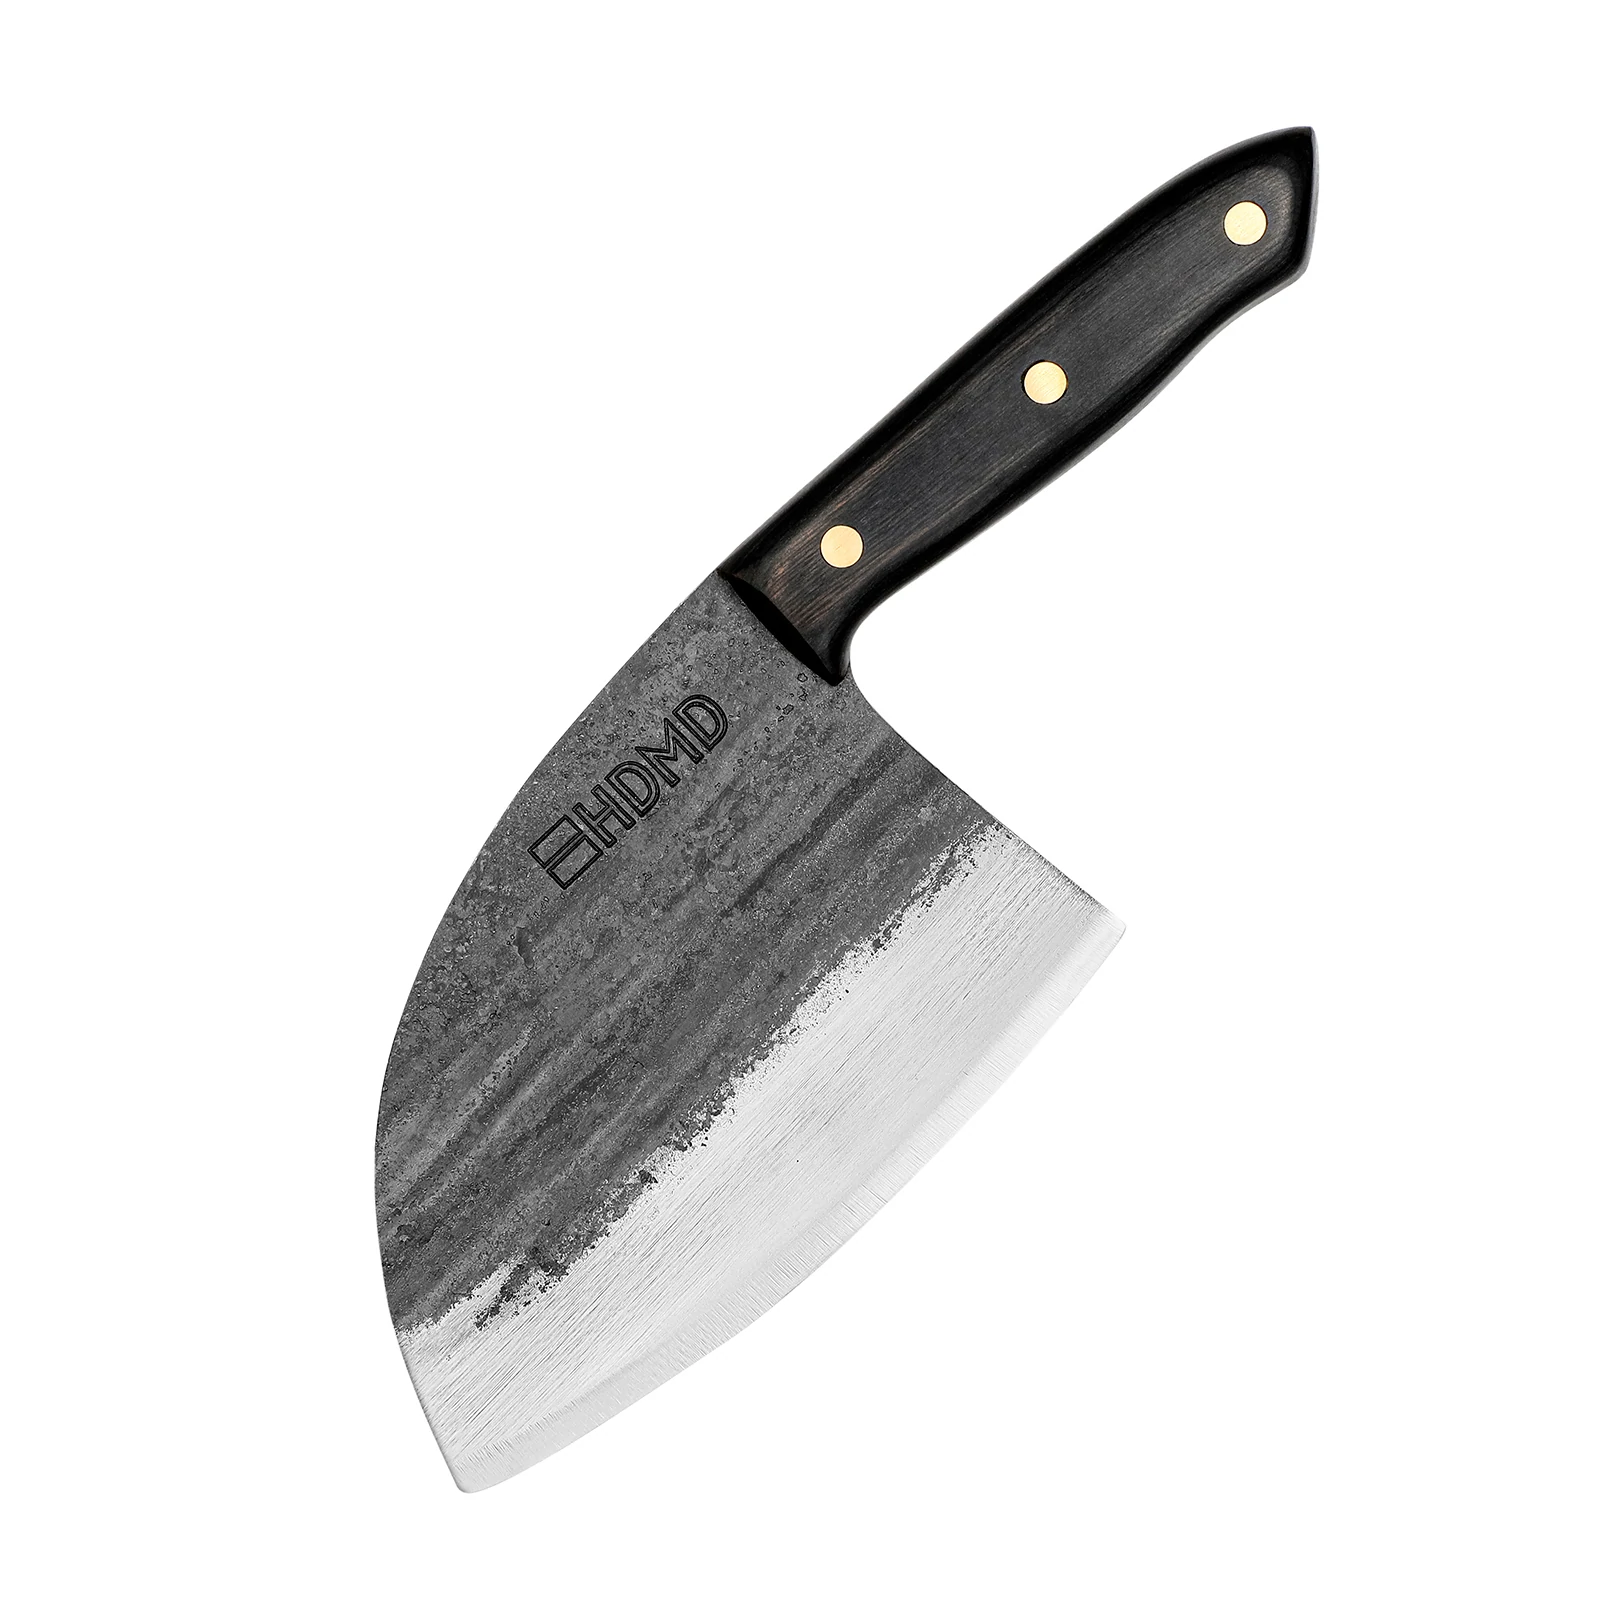
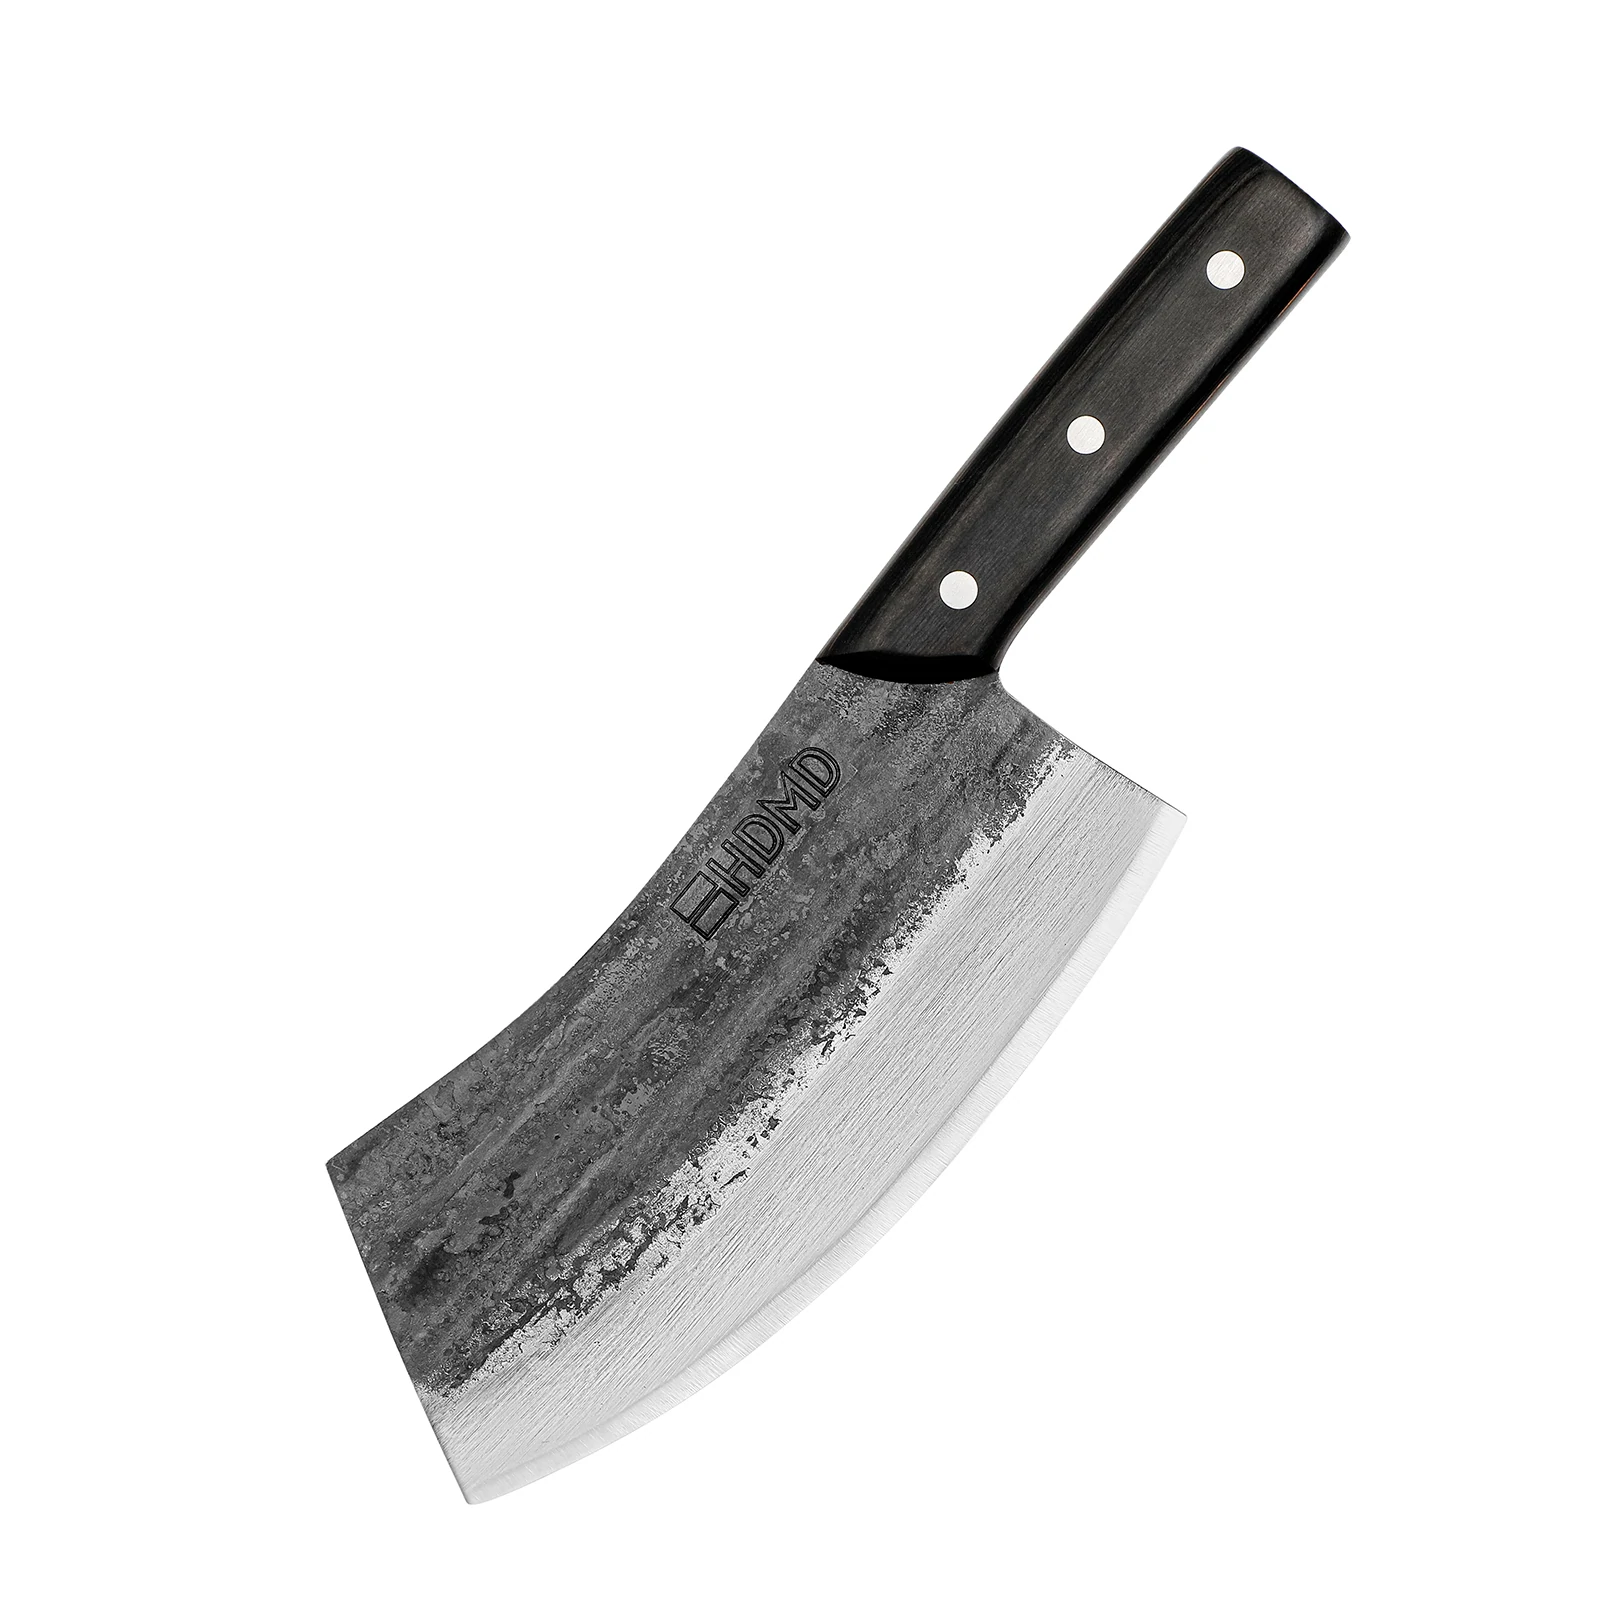
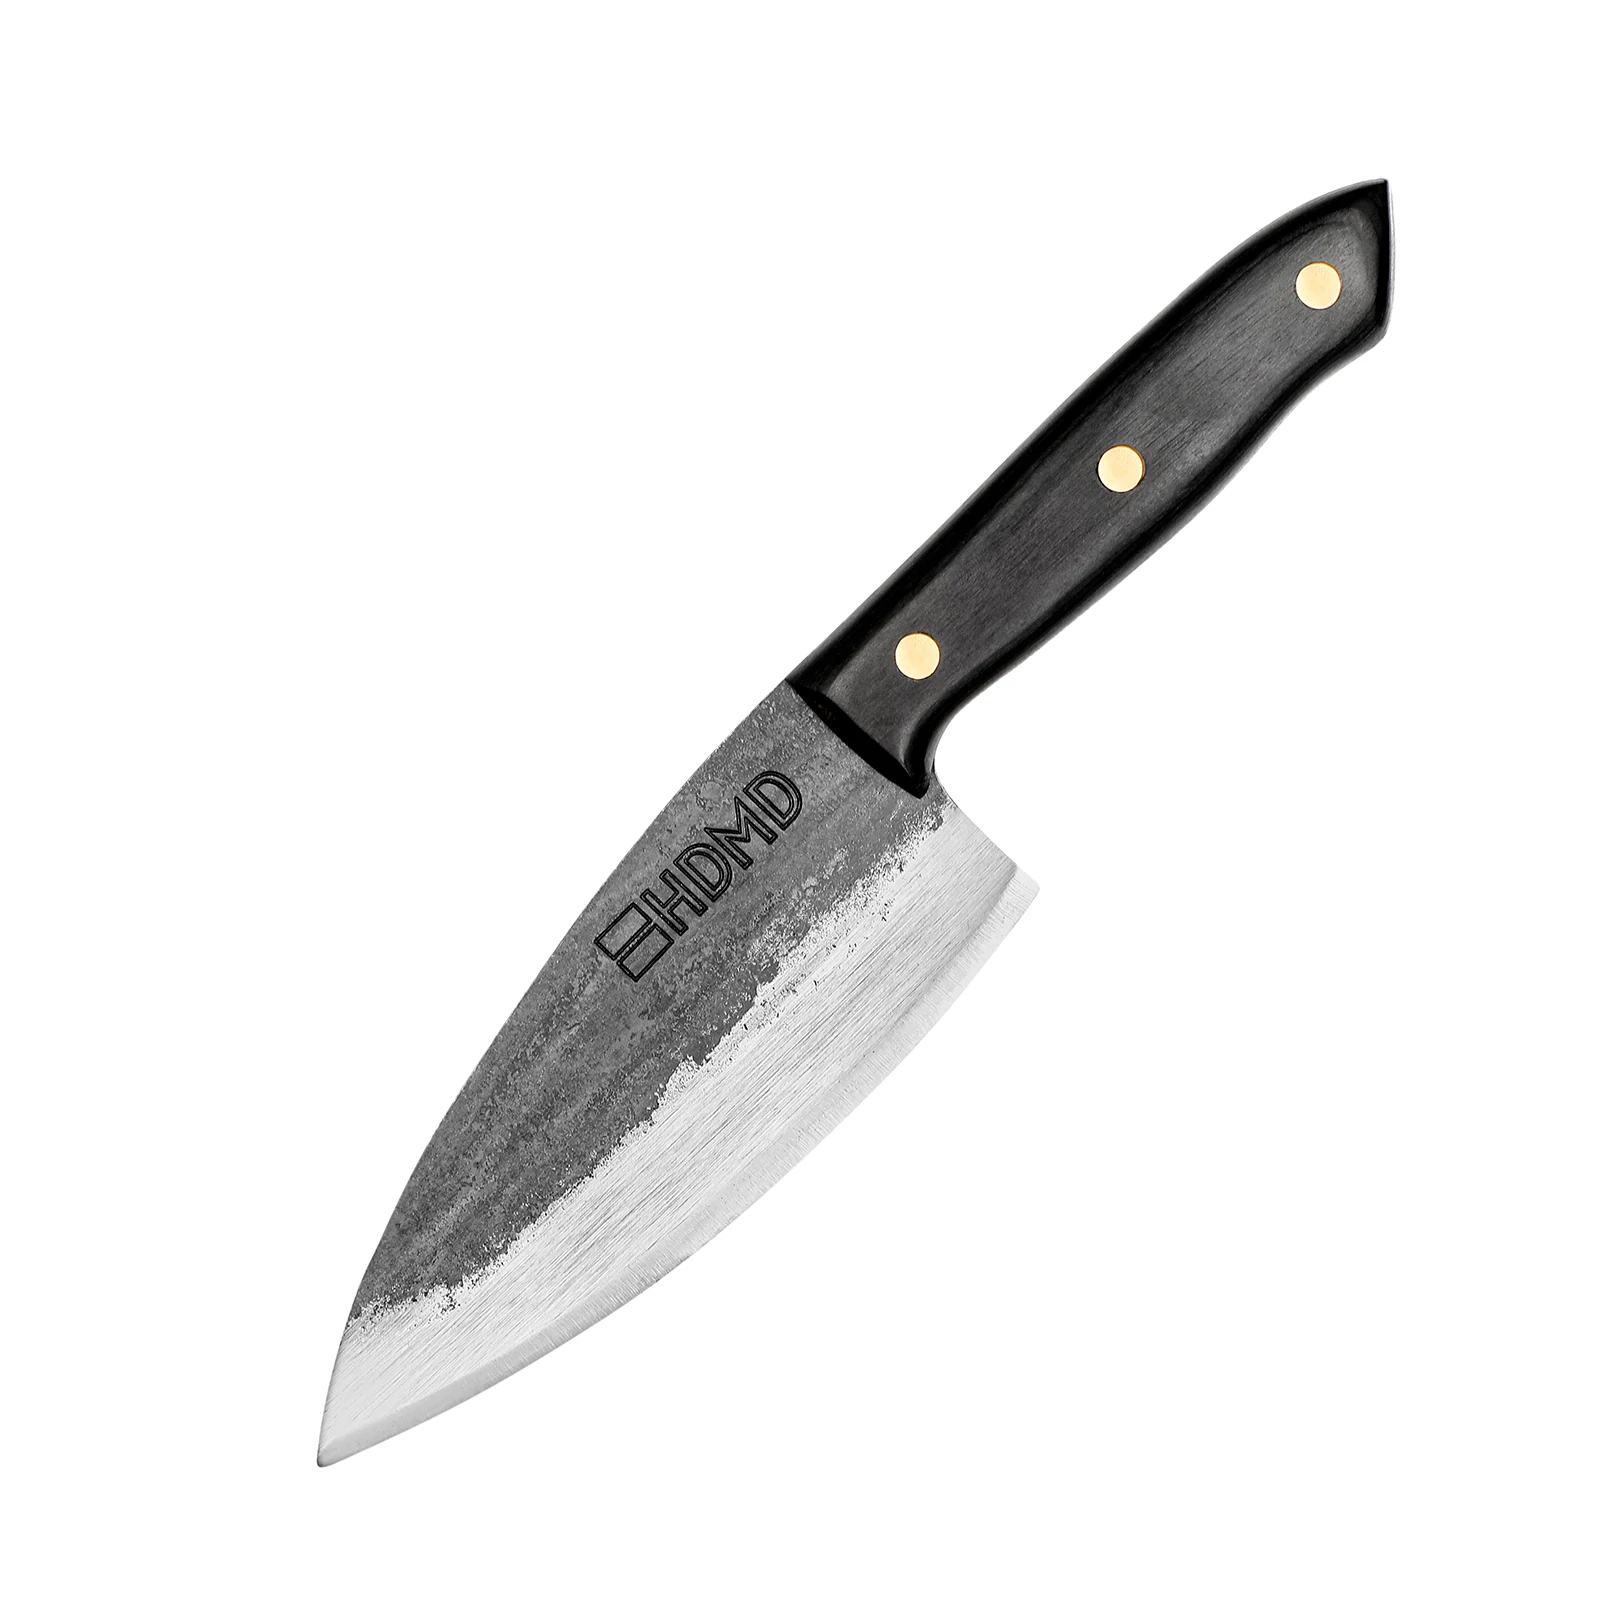
Best chef knives
True cutting power in the palm of your hand
How to use your chef knife
Using your chef’s knife according to its purpose and functions will make your cooking experience a breeze and enjoyable. Check out the following techniques:
Hold /grip a chef knife
- Find the knife’s bolster and place your index finger underneath it close to the heel. Some chef knives have a bolster. If your knife has no bolster, you can put your index finger against the knife’s blade.
- Position your thumb on the opposite side of the handle.
- Wrap the remaining fingers loosely around the end of the knife’s handle to secure your grip.
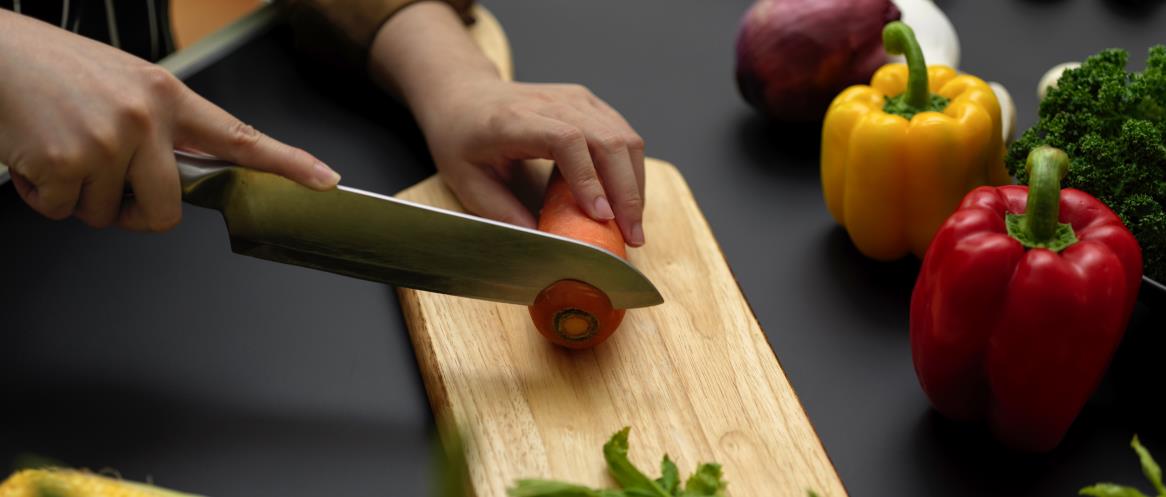
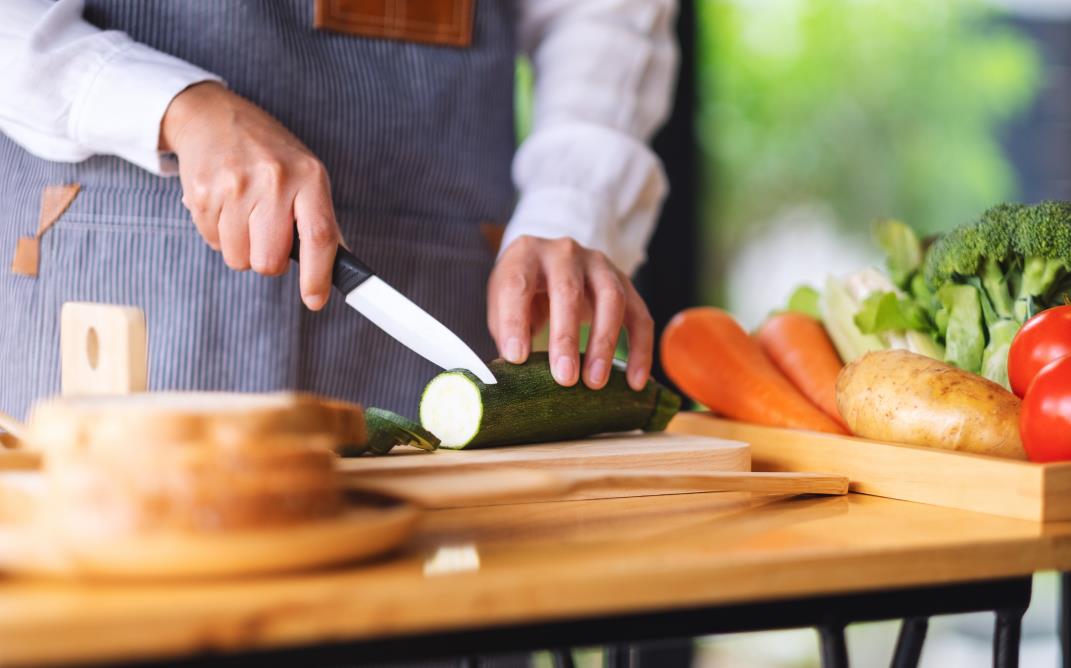
Slice using a chef knife
- Place the ingredient on the cutting board. Fruits and vegetables are the most commonly sliced ingredients.
- Cut the top or bottom end if it is round or irregularly shaped, stabilizing the flat side on the cutting board.
- Place the knife’s tip against your cutting board over the ingredient, angling it down toward the point you want to slice.
- Draw the blade straight back to the ingredient, and with a rocking motion, push it down and forward to make slices.
- Make sure that the tip remains against the board while making a circular-like motion while you slice.
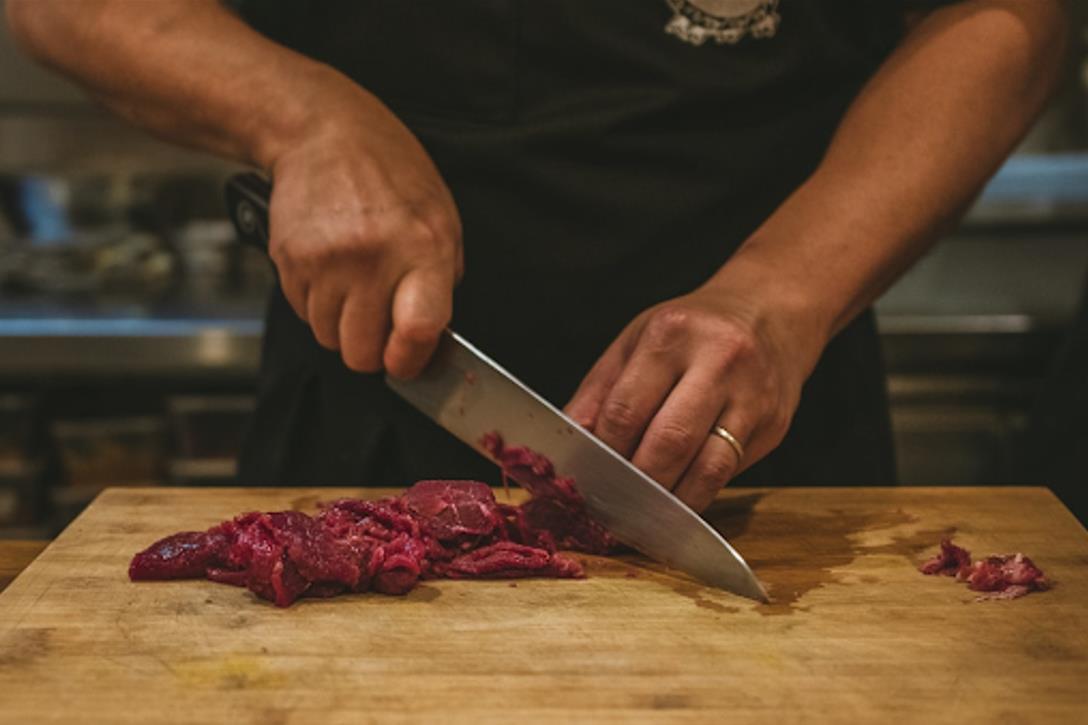
Chop with a chef knife
- Grip your chef’s knife and slide your hand near the heel and bolster the portion of the blade with a weight that delivers powerful chops.
- Put the ingredient on the cutting board and position the edge parallel with the board.
- Chop it downward, pushing the knife slightly forward to make uniform up and down motions.
- Keep your guiding hand (non-knife hand) in its ‘claw grip’ position (fingers curled inwardly while gripping the ingredients with fingernails.)
Mince using a chef knife
- Place the ingredient (garlic, onions, herbs, ginger, shallots, nuts) on the cutting board.
- Anchor the knife’s tip against the board, finding a pivot point that helps you rock the blade repeatedly and quickly down the ingredient.
- Position your guiding hand flat on the blade’s spine near the bolster to make tiny, uniform pieces by moving the knife 2-3 inches up and down in a left-right style.
- Use the spine of your knife to gather the minced ingredients on the cutting board for a finer cut. Avoid using the edge for scraping up the ingredients, as it can dull the blade.
How to use the vital parts of the blade wisely
Understanding how to use a chef knife and its parts help you maximize its functionality. Knowing which part of the blade to utilize for a certain task gives you the fastest and best results.
Tip & Point
The pointed tip portion of your chef knife is designed to guide cuts in fruits and vegetables. It helps you pierce and separate sinew from the meat as well as cut fragile shapes into pastries. Never use the tip to cut open packages and other non-food items.
Heel
Being the heaviest and thickest portion of the chef knife, the heel helps chop or cut dense items like meat with bones and carrots.
Spine
This thick, blunt top part of the blade lets you apply pressure on your chef’s knife during heavy cutting. It helps you grip the knife better as you move with a rocking motion.
Knowing how to use a chef knife skillfully is vital if you enjoy cooking and preparing sumptuous foods. Your wrist is the pivotal joint that supports the up and down motion of the blade.
Proper hand position on the blade’s bolster gives you control, helps you do the task right, and optimizes the knife’s functions. Once you are accustomed to handling a chef knife, your hand’s muscle memory will automatically know how and where to cut effortlessly.
Here are some ways to master your knife skills
- Use a cutting board because the right surface keeps the blade sharp. Never cut on countertops, concrete, marble, or granite directly.
- Hold your knife properly. A good grip gives you better control that speeds up the chore and provides more accurate motion. It also prevents slippage and accidental harm to yourself.
- Keep the fingers of your guiding hand curled in a claw shape to avoid harming them as you hold the ingredient.
- To control the thickness of cuts, always use the second joint of your guiding fingers to guide the blade.
- Hone and sharpen your knife to make it glide smoothly through any item with minimal pressure.
Learn the basic cuts
- Chopping is to make imperfect, evenly sized pieces.
- Dicing is to make cube-shaped cuts. Small dice is about ¼ inch, medium dice is ½ inch, and large dice is ¾ inch.
- Mincing is to make fine, uneven cuts. The trick is to keep cutting and chopping, then cut more.
- Slicing is to make thin (or thick), long strips of the ingredients.
- Julienne is to make ‘shoestring’ cuts. It is used for cutting onion, celery, and potatoes.
How to maintain a chef knife
A premium quality knife can last longer if you know to properly take care of it. Whether you are a professional chef or a home cook enthusiast, the chef knife is your best friend. Keeping it sharp after every use guarantees durability and good performance on the next cutting session.
Sharpening
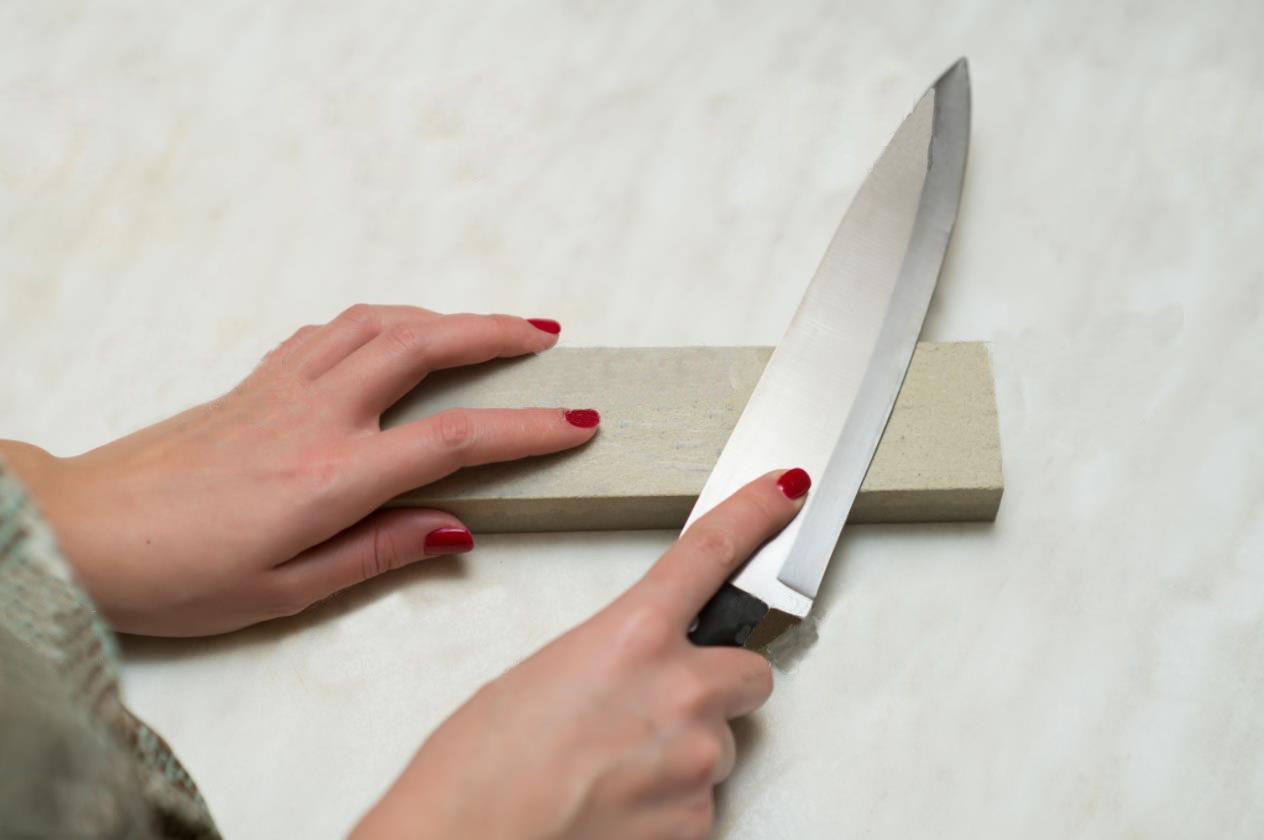
Regular blade sharpening is necessary to maintain the ability of your chef knife to cut through on anything. A dull knife can slow down the completion of your task, produce an inefficient outcome, damage the knife itself, and harm your fingers.
You can choose to have your chef knife sharpened professionally every two months or learn how to do it using premium and reliable whetstone. To do it right, sharpen the blade at an angle of 20 to 23 degrees and in the same direction using long, uniform pressure and strokes.
In addition, honing the chef knife after several uses keeps the cutting edge sharp. For honing, you need a steel rod or an electronic kit.
Cleaning
After using, clean your chef knife with soap and preferably hot water (not boiling). Tap water will do. Even if the material is stainless steel, washing it right away makes it less prone to rusting. Leaving it dirty leads to dark spots and damage to the blade because of the adverse reaction of the acid, chemicals from food, and moisture.
Handwashing the chef’s knife is the safer way to clean it. Even if it is dishwasher safe, you will never know what goes inside that can cause damage to the blade. Also, the chemical in the detergent can cause discoloration or pit out.
After washing, dry your knife with a soft cloth instead of drying it on a dish rack to reduce the risk of rust.
Buying guide: What to look for in a chef knife?
When selecting a knife, remember that there’s no such thing as the best knife, only the right one that works best for your needs and style of cooking. For this purpose, you must buy one that feels comfortable and natural in your hand.
The blade’s material
The material plays a crucial role in the performance of the knife. There are various types of steel used for chef knives.
Chef knives constructed from German Steel are sturdy, hold their cutting edge for a longer time, and are easy to sharpen. On the other hand, knives that are crafted out of Japanese Steel are razor-sharp and perfect for delicate cutting.
The handle comfortability
When choosing the right chef’s knife, make sure that the handle comfortably fits the size of your hand. It prevents developing pressure points in the palm that results in inaccurate cutting or slicing as well as tensed grip and poor hand movements.
The material used determines the comfortability, weight, and shape of the handle. The common materials are wood, metal, plastic, and composites.
The construction
Knives are either forged or stamped. Forged knives are made by applying extreme heat to the steel then molding it to the desired shape. They offer better quality but cost more. The stamped knives are produced by machines that punch out the steel. You need to sharpen the blade of the stamped knife more often.
The weighting
Weighting refers to the distributed weight or balance throughout the chef’s knife. This element provides the ‘perfect balance’ in your palm. You can judge the weighting of the knife when you grip it by the handle. If it feels natural as you maneuver the blade, then it’s good for you.
The size
Professional chefs usually have a set of this type of kitchen knife to suit the tasks they need to accomplish inside the restaurants or hotels. For home cooks, the ideal size of the chef’s knife is 8-inch because it offers more versatility and functionality.
A 6-inch chef’s knife delivers better agility that is comparable to a paring knife. However, it falls short when you need to work with volume or slice large items like watermelons. A 10-inch chef’s knife allows you to cut more volume but can be intimidating for ordinary cooks.
Takeaway
Finding your perfect match in meal preparation is important. As one cliché says, a knife is like your ideal dance partner. It should be graceful, comfortable, and fit in your hand. A quality, heavy-duty chef’s knife helps you create wonderfully finished dishes with a uniform, accurate presentation of all the ingredients.
Knowing how to use a chef knife is a kitchen trick that scales up your cooking and meal presentation. For exceptional chef knives and other products that guarantee high performance at an affordable price, visit our online store today.