Whether roasted or boiled, carving a whole cooked chicken is different from cutting a whole chicken fresh out of the grocery store. Though knowing how to transform an entire chicken into pieces helps, there are a few things you should know before starting. This article will summarize everything on how to carve a whole cooked chicken.
Table of contents
Understand the chicken parts
Not all chicken parts are the same. Therefore, they require different ways of cutting to separate from the body. Knowing each piece is crucial since you won’t split the breasts the same way with the wings. A cooked or uncooked chicken will have the following parts.
- Legs (Drumstick)
- Thighs
- Breasts
- Wings (Drumette and Wingette)
- Back
- Neck
Six chicken parts are listed above, but breasts, wings, legs, and thighs will most concern you. Not many prefer not eating chicken necks and backs, and these parts are what we’re left with after carving the whole chicken anyways.
Before you get started
You’ll need to make preparation and be sure that you have everything you need. Before beginning to cut a whole chicken while it’s sizzling hot and juicy, understand how to work with the chicken or any other fowl, for that matter.
As explained above, you’ll need to know each part and get a rough idea of where the joints are located, as carving a whole chicken is all about them.
To carve a whole cooked chicken, you’ll need:
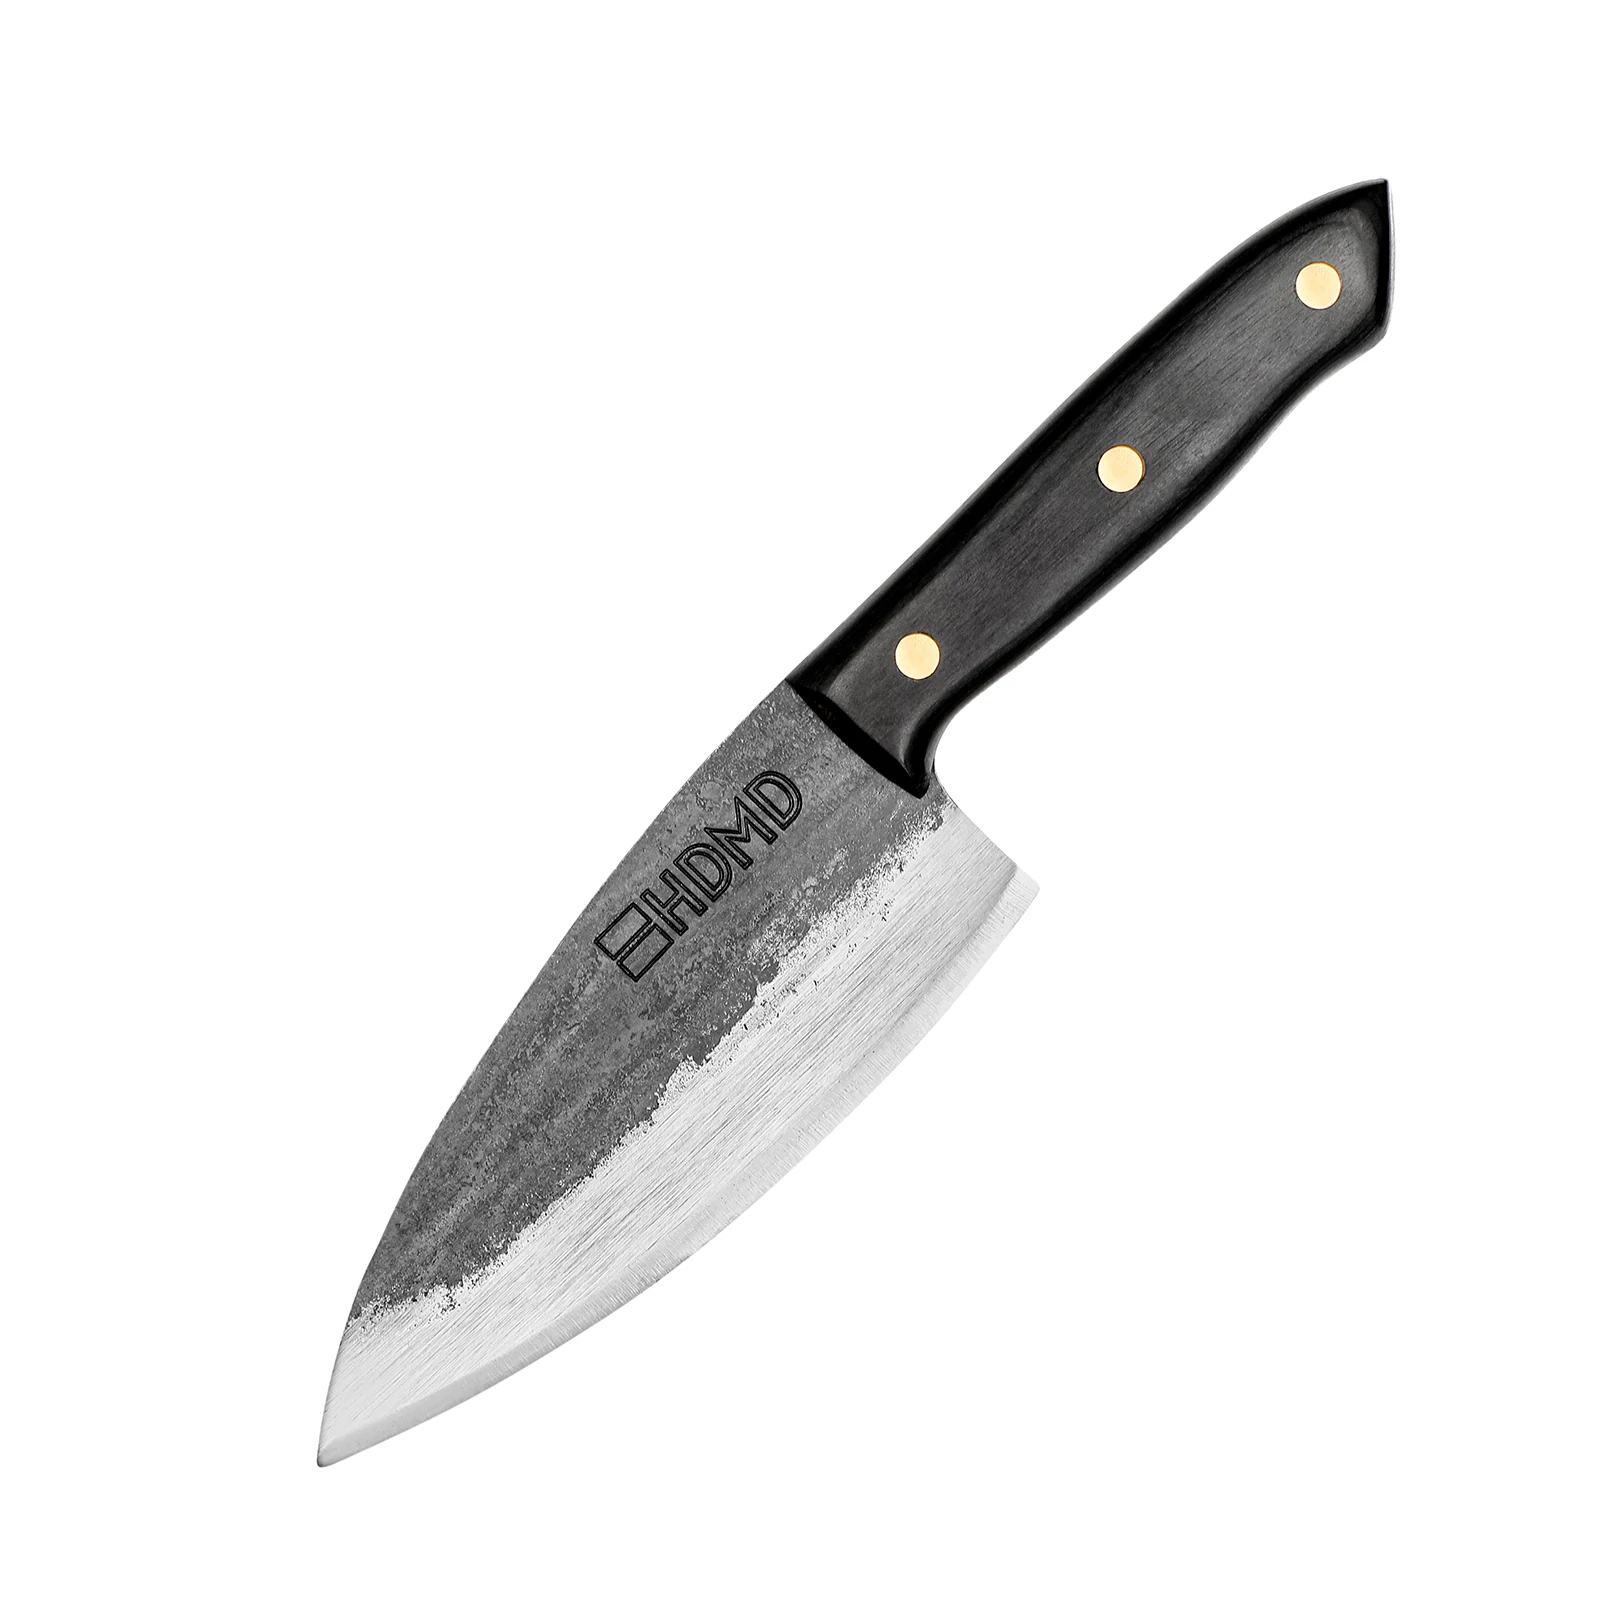
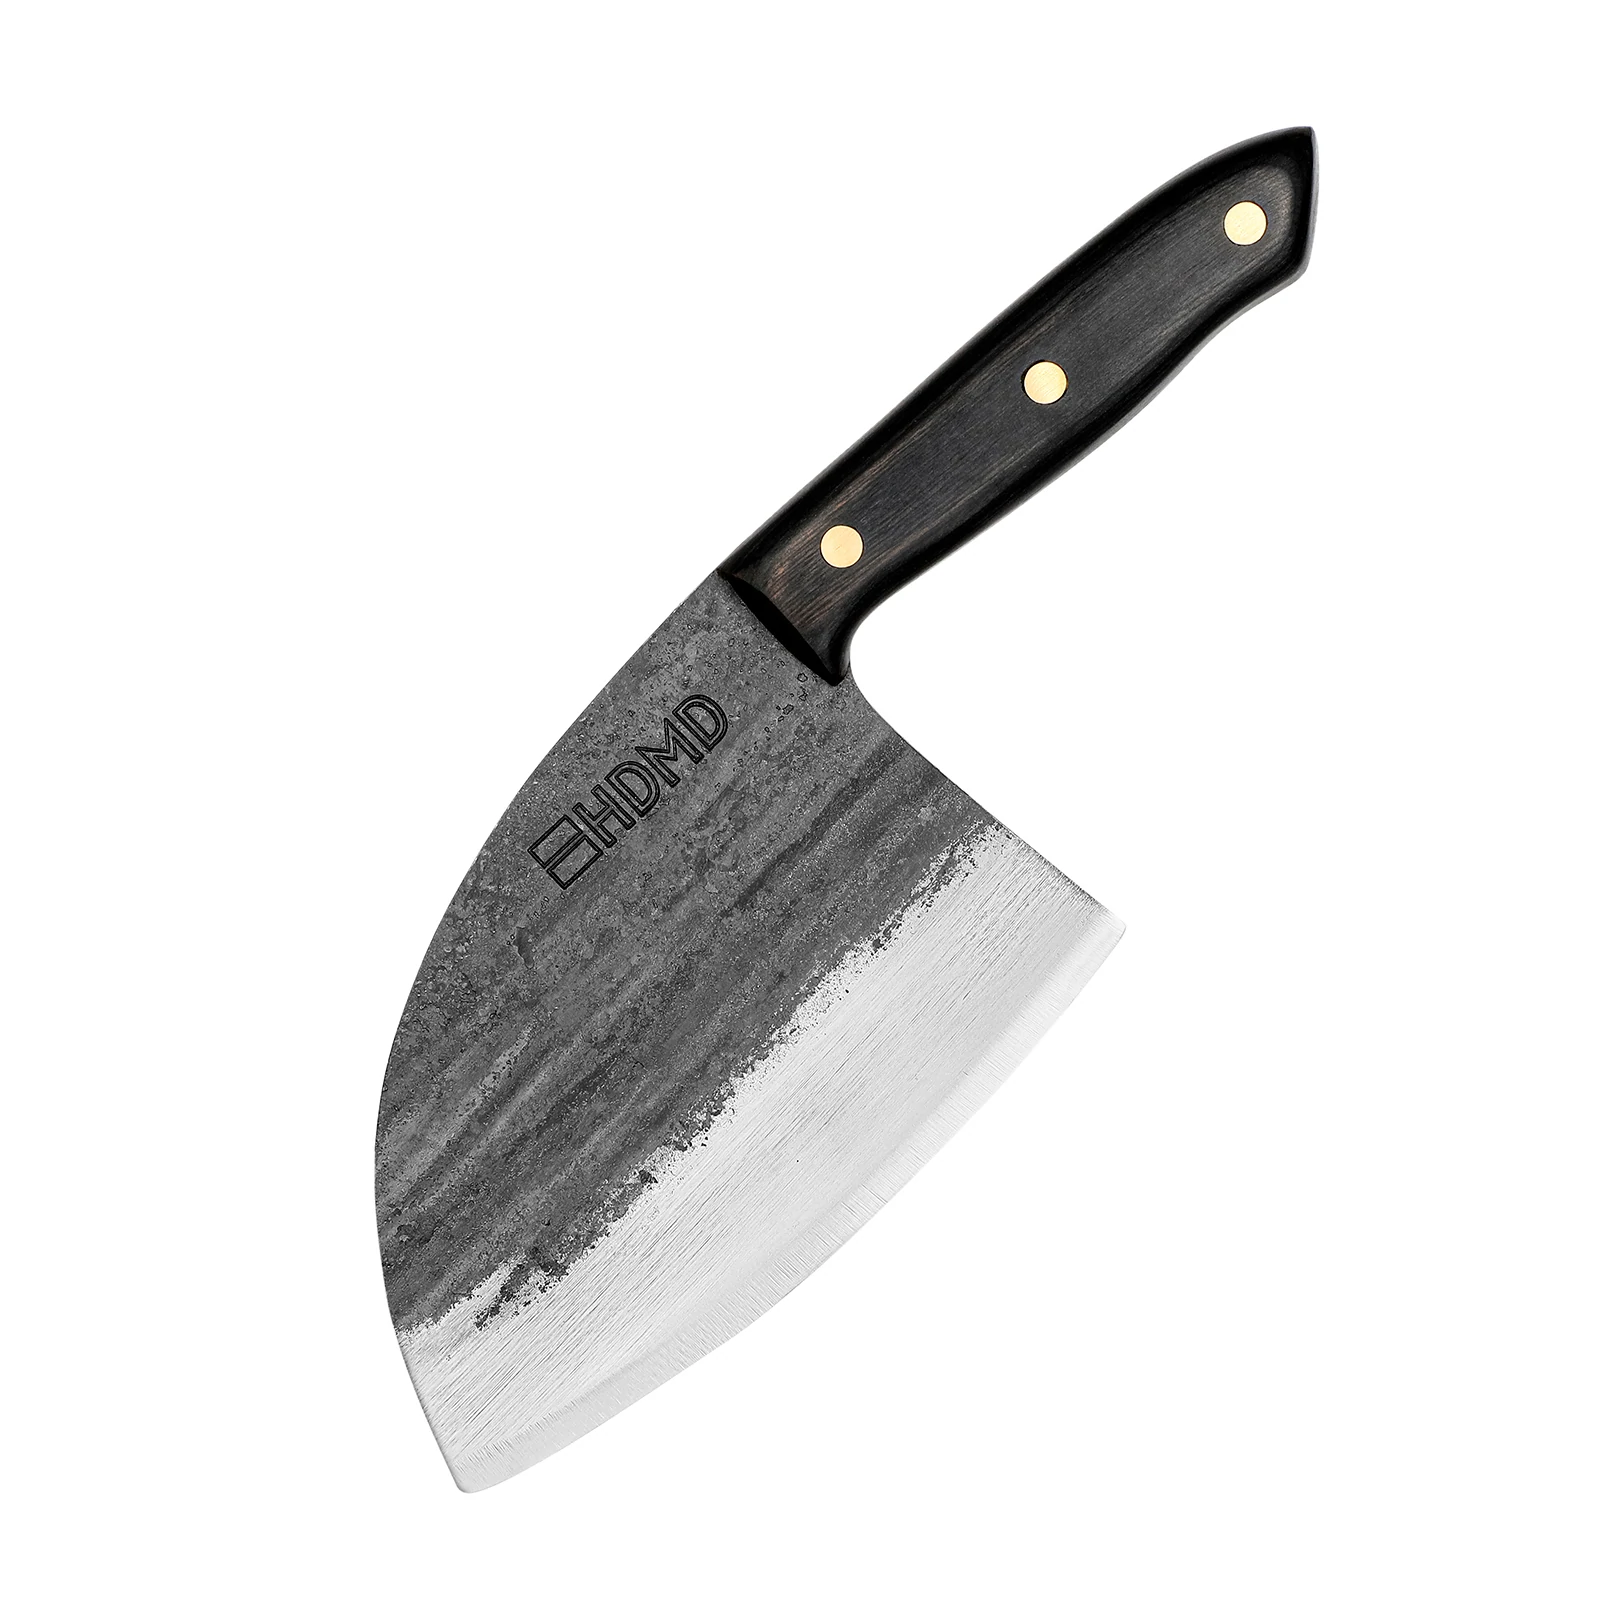
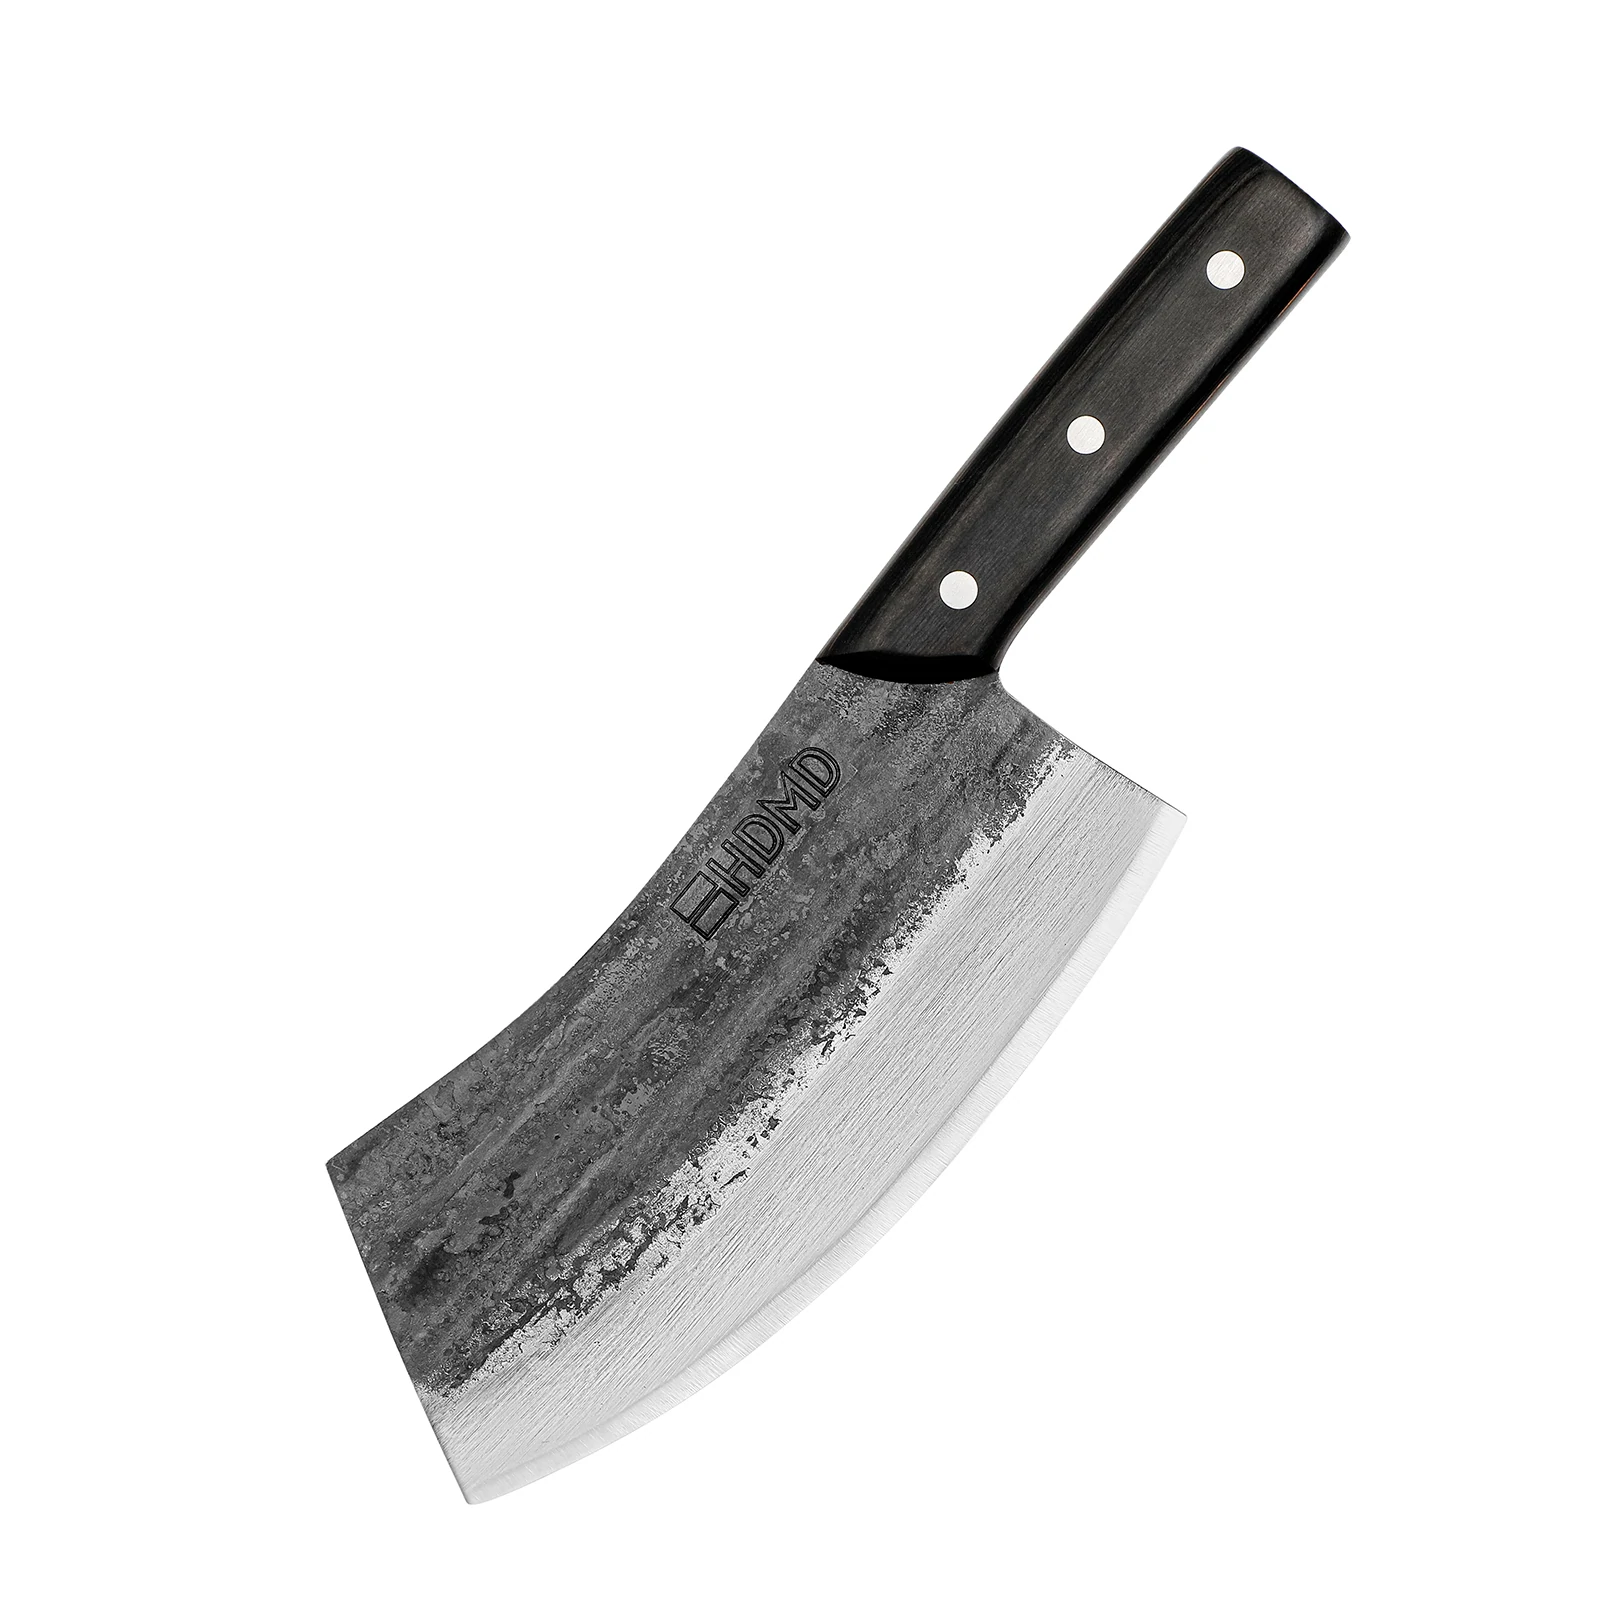
- a sharp carving knife or chef’s knife
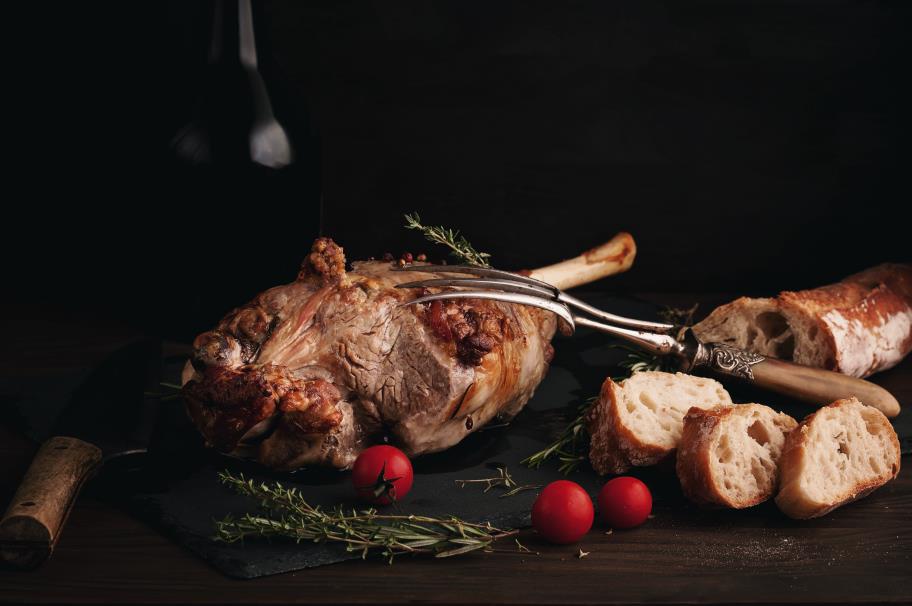
- a carving fork
- a stable surface
Handpicked for you
Get 11% off and free shipping – limited time only!
Though a carving fork isn’t essential, it helps a lot. We recommend using one if it’s available. If not, you won’t need to stress much as your fingers will do the trick just fine, but be careful not to cut your fingers.
Prepare the chicken onto the cutting board
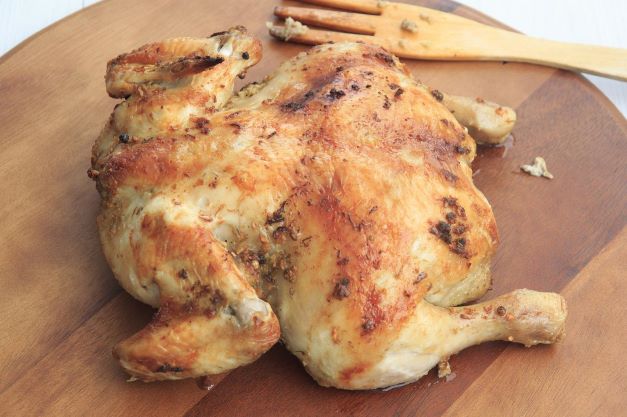
With everything ready in hand, take the chicken out from where it was cooking and make sure to empty all the excess juice. This will help keep your cutting board cleaner so that you won’t splash any juice all over your apron or shirt. It will also help the chicken stay stable. Plus, you can use all that juice to make some gravy to pour on top of the next batch of whole cooked chickens.
Place the whole chicken breast side up on the cutting board and let it rest for about 15 minutes. Leaving cooked chicken to rest, like steaks, allows the meat to redistribute the juices, giving you more tender and juicier bites.
Once everything is ready, you can start cutting the whole cooked chicken by following these steps.
Step 1: Legs/Thighs

Start carving a whole cooked chicken by keeping it staple using your carving fork or fingers. Cut the skin between the breast and the thigh. This will open up the leg and create the gap you need to find the leg joint.
You will need to separate the leg and thigh from the body by cutting right through the joints. However, finding where to make that cut can be challenging with cooked chicken. If you can’t find the joint, have a feel for it with a finger or gently pull the leg off the body and separate it by cutting from the chicken’s back. Using the tip of the knife can help nudge out the leg from the body.
Last but not least, separate the leg and thigh from each other by cutting between the joints holding the two parts together. Do the same for the other side, and you’ll have two delicious chicken drumsticks and thighs.
Step 2: Breasts
The same as legs and thighs, you’ll carve one side first, then follow up with the other side. To start removing the breast, place the carving fork in the middle of the breastbone. Don’t stick it into the breast you’re separating, as this can open up the meat entirely and turn into pieces altogether. If you don’t have a carving fork, position your hand on the other breast and hold it steady.
Starting from the neck side of the chicken, guide the blade against one side of the bone and slice through the legs you removed. Making this cut along the breastbone’s length will make the meat come loose. You can then follow up with this cut by following along the breastbone underneath the meat or cutting the bottom of the breast.
In both cuts, you will separate the breast from the breastbone completely. Do the same with the other breast. If there is still some meat on the body, use it to make broth for later. The scraps are also suitable for storage, and you can use them later for foods like quesadillas.
One vital thing to watch out for when cutting chicken breasts is not to remove the skin, especially when it’s crisp. The skin will have the majority of the seasoning that adds flavor to the meat. If you don’t like the skin, remove it by pulling with the help of your knife where necessary.
Step 3: Wings
Gently pull the wing and cut the joint connecting the drumette to the body. As you’ve already removed the breast, finding the joint won’t be as hard as the legs. You can then pierce through the joint between the drumette and the wingette.
Most people prefer removing the wing tip as it doesn’t have a lot to munch on. Even so, you can keep them if that’s what you like or use them later for other recipes.
Plating the chicken
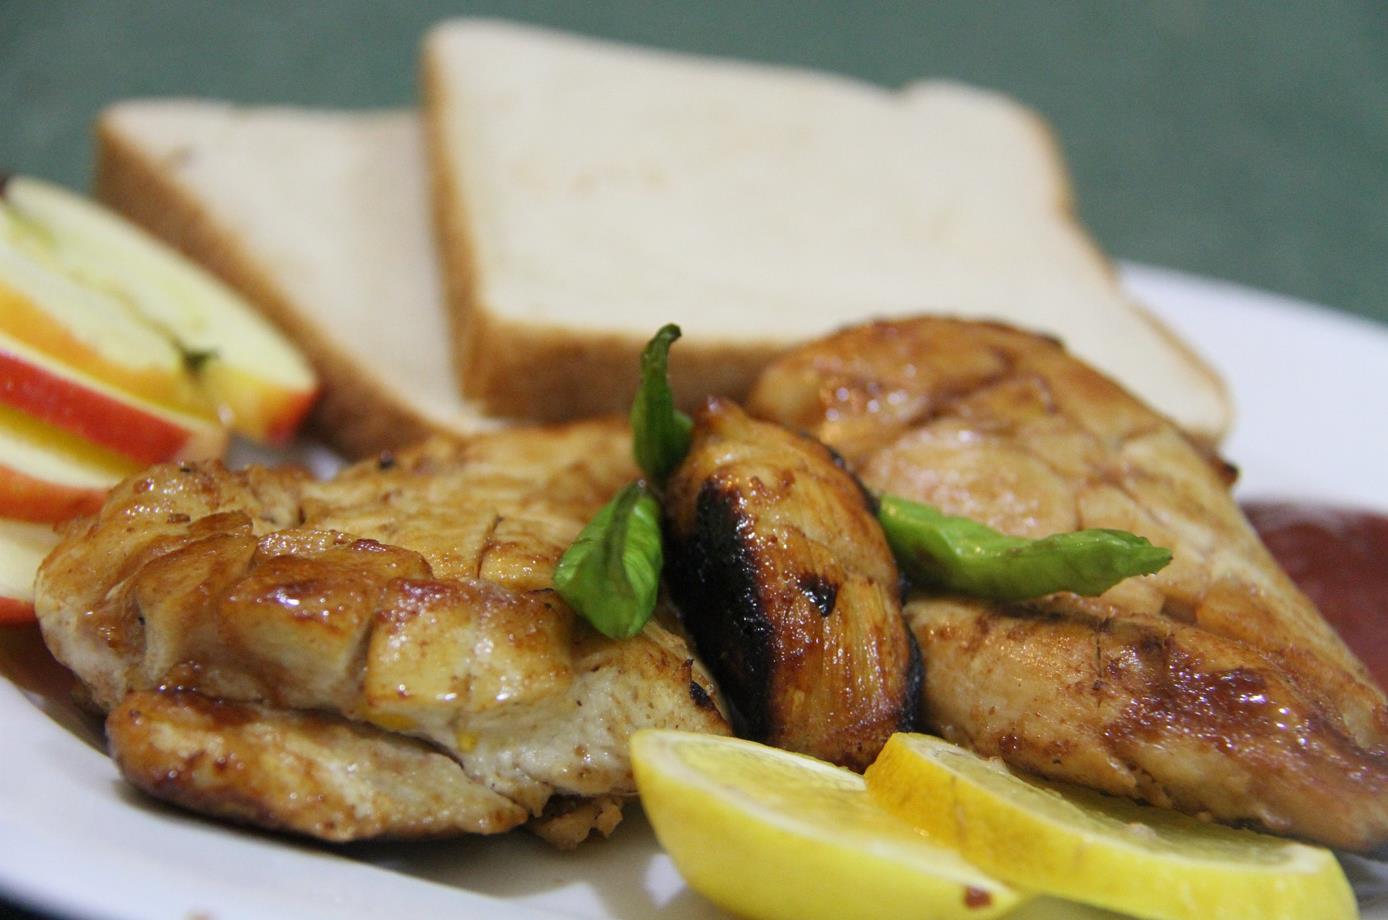
There are many ways to present a chicken on a nice plate. While each piece will be presentable enough on its own, you will most definitely want to slice the chicken breasts into chunks so that everybody can have them.
When plating the carved chicken, don’t just throw everything on a large platter. Placing every piece like dominoes that have fallen and put a sauce on the side for everyone to take a spoonful or on top is an excellent way to serve a whole cooked chicken. A nicely plated chicken with your preferred choice of sauce like gravy made from the drippings will give every bite an extra kick.
The same as any other skill, you’ll get better at carving whole cooked chickens as you do it more. Whether you just started trying these recipes or have been dealing with entire chickens often, you’ll surely need a knife that measures up to the task. Head over to our shop page to browse through the handmade kitchen knives.

