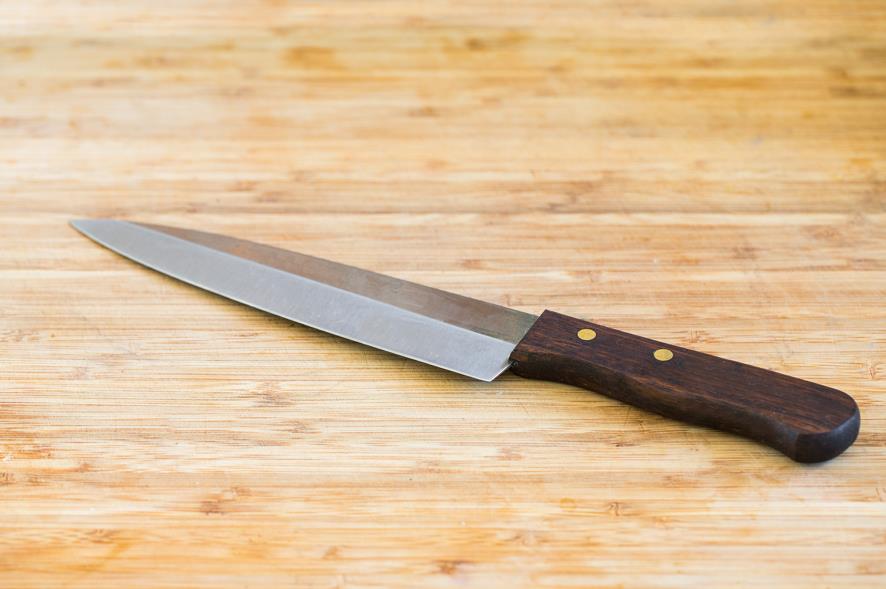
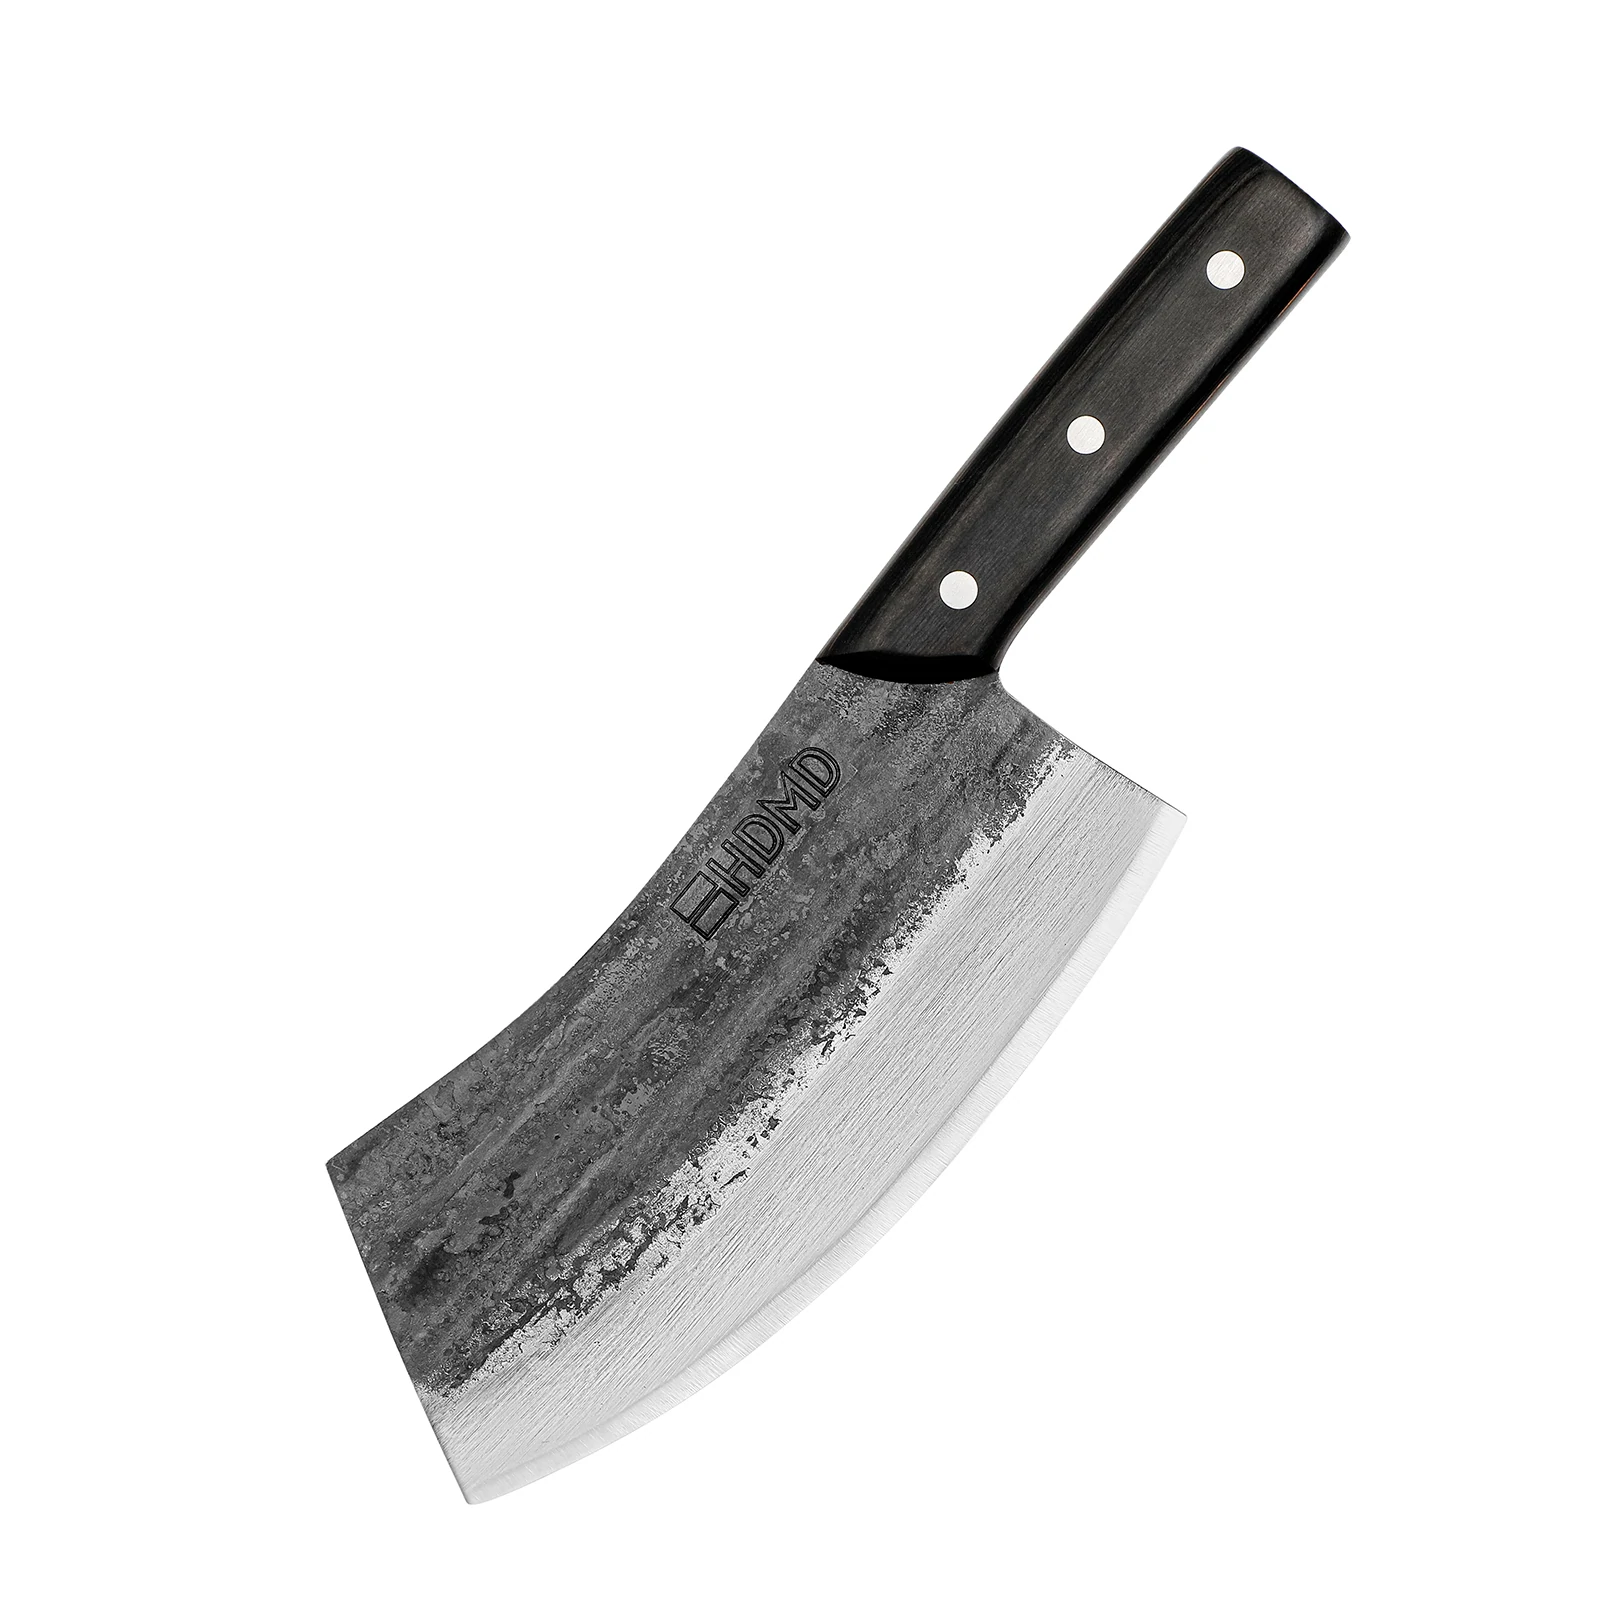
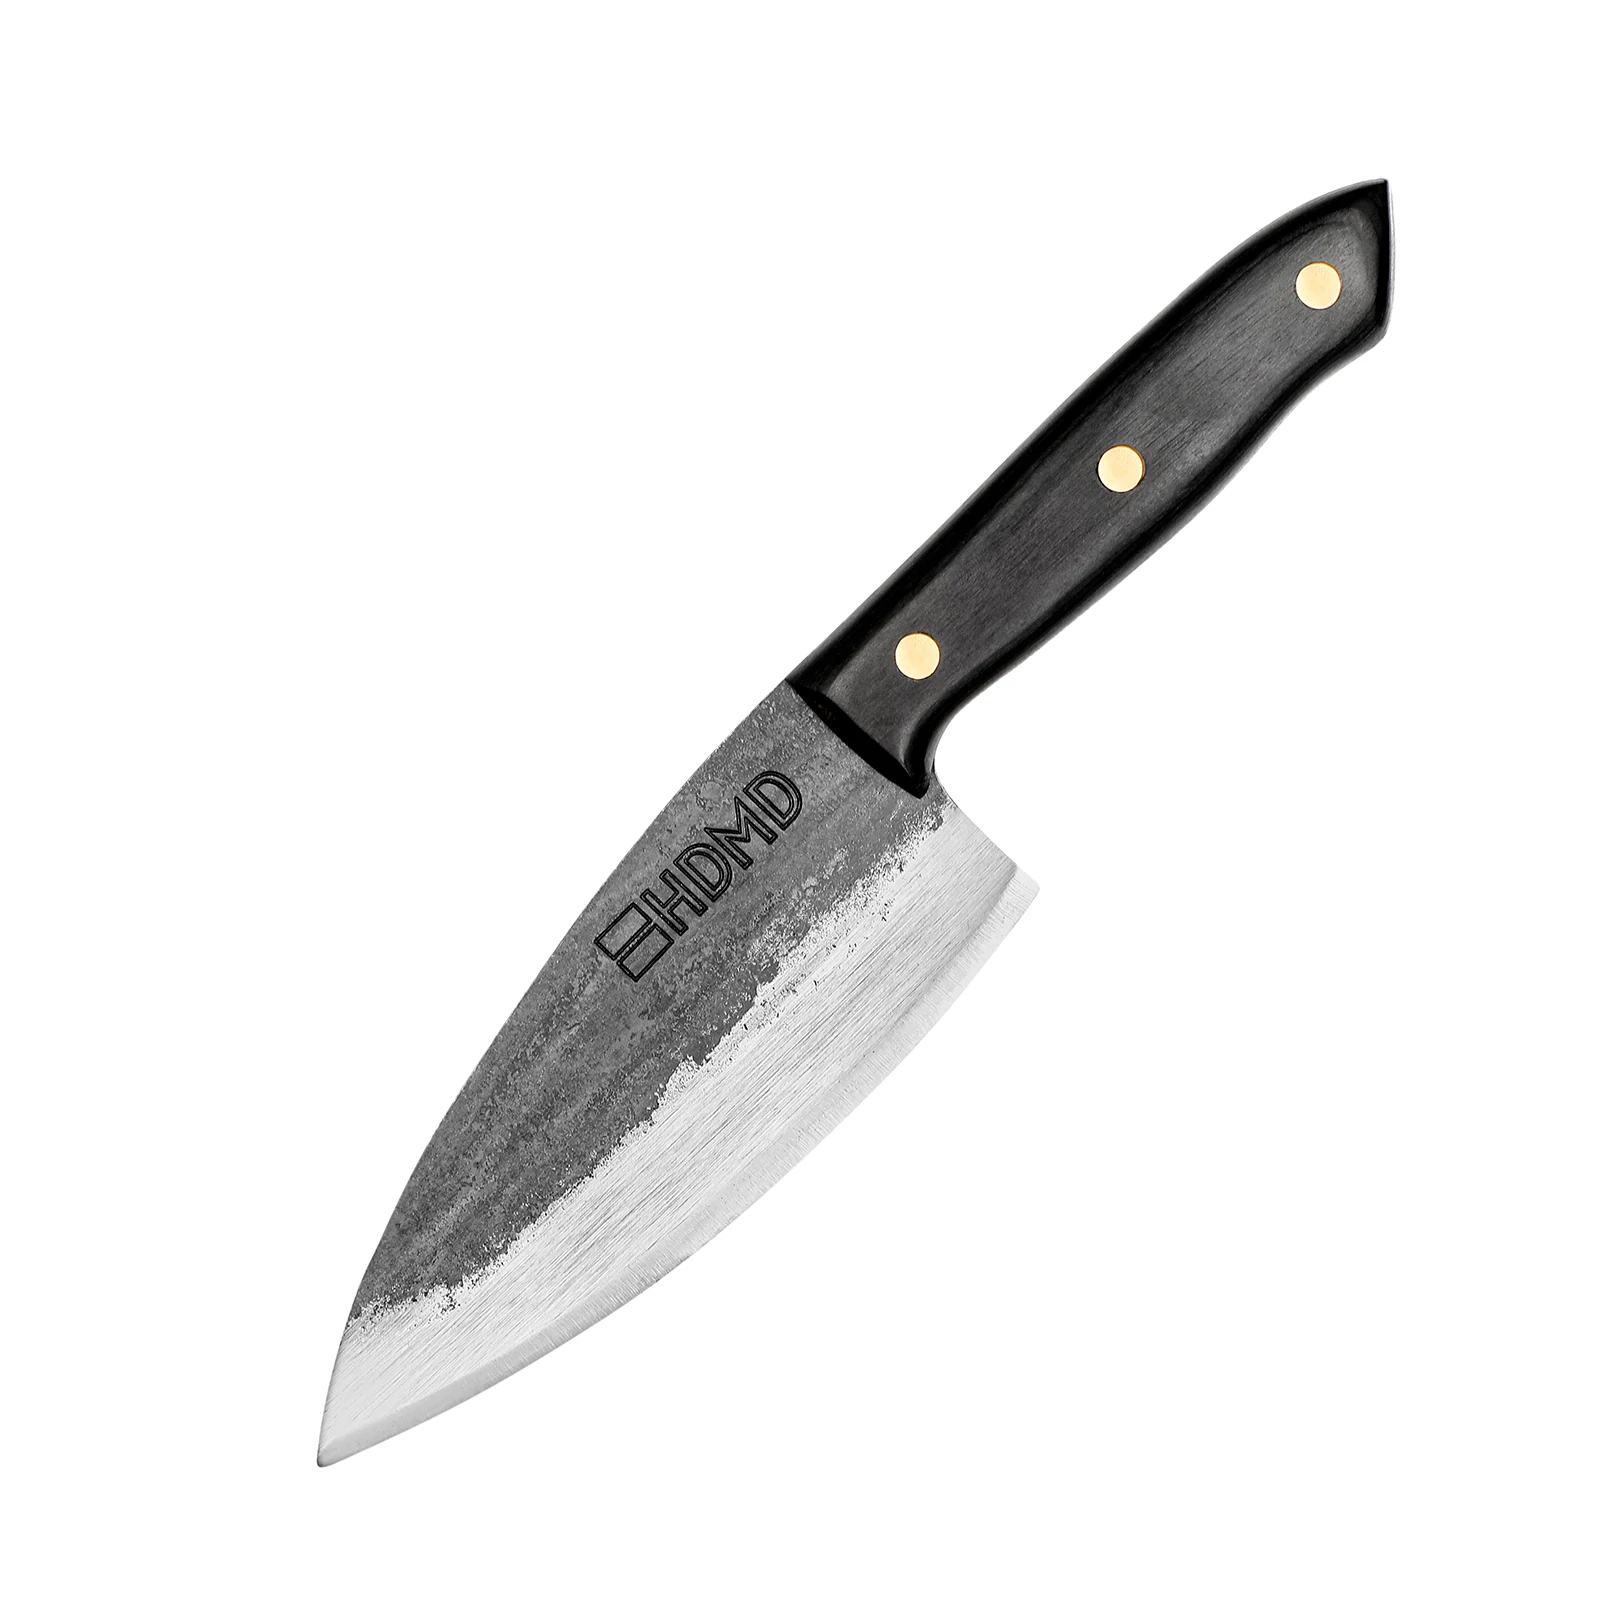
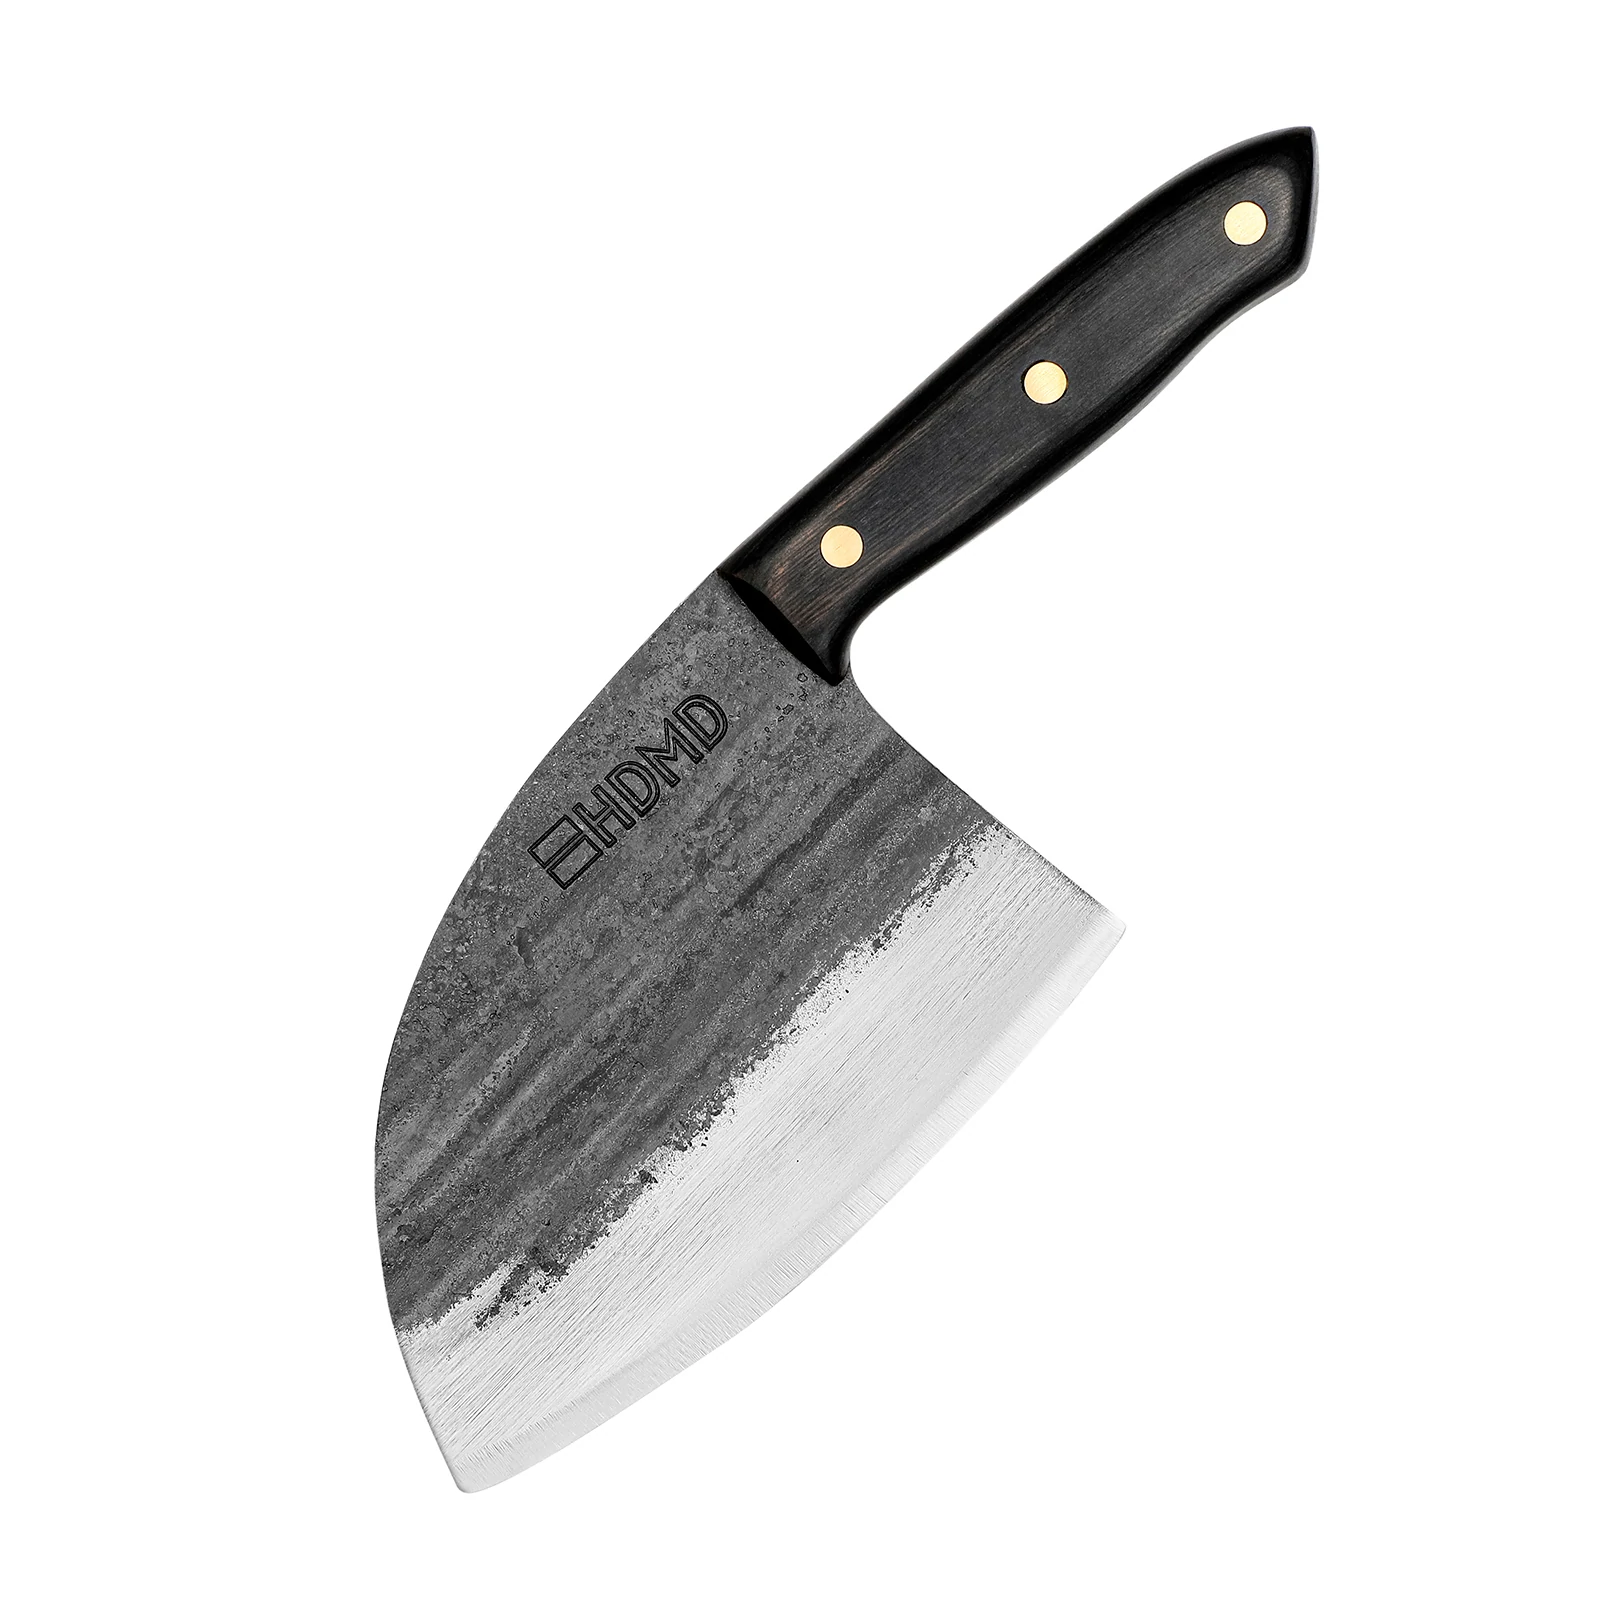
Some knives have a single bevel that forms the cutting edge. This type of edge is more prevalent in Japanese knives like the Yanagiba, Sujhiki, and Deba. This edge is favored by Japanese chef’s because unlike a double bevel knife, which is almost always the case with western-styled kitchen knives, single bevel knives have a thinner, sharper edge.
There are many differences between single and double bevel knives, and sharpening covers a big part of it. The single bevel knives aren’t sharpened the exact way as their double bevel counterparts. The same goes the other way around. This difference in sharpening may create some confusion, but it doesn’t have to be complicated. In this article, we’ll cover the necessary steps to sharpen a single bevel kitchen knife and give general tips on sharpening.
Table of contents
What exactly is a single bevel edge/knife?
Most western and some Japanese kitchen knives have a double bevel, meaning that the cutting edge is ground on both sides. This type of edge creation gives us what’s known as the V-edge.
With single bevel kitchen knives, this is different. Only one side of the edge is ground, while the other remains flat or hollow ground for better food separation. This way of forming the cutting edge creates an extremely sharp blade but is more prone to chipping.
Single bevel knives aren’t as suitable for beginner cooks due to this. When operated wrongly, they are susceptible to damage. Additionally, they have a distinct cutting angle. That’s why there are single bevel knives made exclusively for left-handed people.
Sharpening differences
You only sharpen one side of a single bevel knife as the cutting edge is only on one side. This means it will take half the time to sharpen a single bevel knife compared to a double bevel blade. Although this might lead to some of us thinking that it’s easy to sharpen single bevel knives, some steps are different in the sharpening process. These small differences are vital to sharpening the knife correctly.
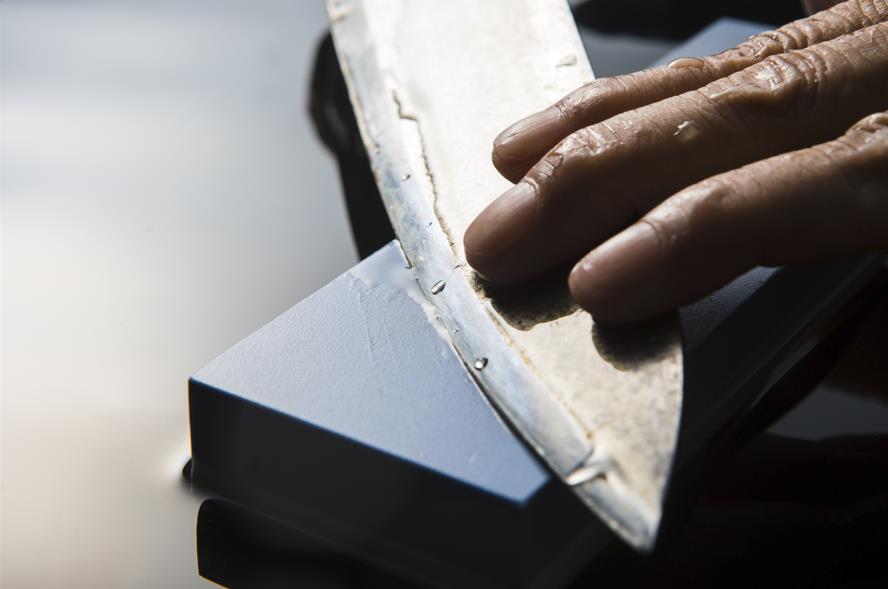
The sharpening angle is the most critical difference. Double bevel kitchen knives are mainly sharpened at between 20 and 25 degrees on each side. Depending on the blade, the sharpening angle may even be as high as 30 degrees. Compared to single bevel kitchen knives, which are sharpened at 15 to 17 degrees, it’s very different. When moving the blade back and forth on the sharpening stone, the single bevel knife will stay a lot more flat compared to double bevel ones.
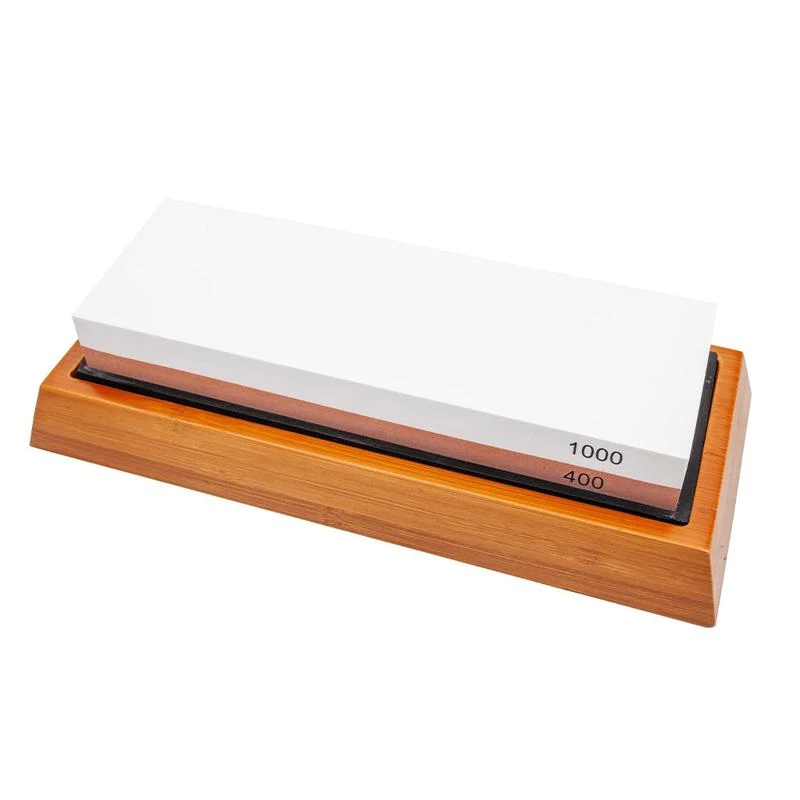
Selecting the right sharpening stone
Whetstones, also known as water stones, are the favored type of sharpening stones for single bevel knives. Different water stones have different grits. Since we need more than just one grit size, you’ll need two stones or one stone with two grits on each side.
For the initial sharpening to remove metal from the edge to create a new one, you’ll need a 1,000 grit sharpening stone. These sharpening stones are classified as medium-grit and standard for sharpening kitchen knives. If you’re repairing a chipped edge, you’ll need a coarser stone, such as a 220 grit sharpening stone.
We’ll then move to a higher grit stone, around 4,000, to polish the edge and remove the burr. Here is every step of the way to sharpen a single bevel kitchen knife.
Prepare the stone
Submerge the whetstone in water until the air bubbles stop coming out. Doing this removes the air pockets in the stone by filling them with water, making it more efficient and long-lasting.
It’s crucial that the stone is secure in place to prevent injuries. Once the whetstone is ready, set it on a stable surface. The stone’s base will work fine, but a kitchen towel underneath works just fine if it doesn’t have one.
Handpicked for you
True cutting power in the palm of your hand
Step by step how to
Now it’s time to get our hands dirty and bring our single bevel knife back to life by sharpening it.
Finding the sharpening angle
As mentioned above, the sharpening angle is very critical. Before going into the sharpening, hold the edge at different angles to find the correct position. The edge should be entirely flat on the sharpening stone. Move the blade on the whetstone gently a few times to see how it reacts. Doing this a few times will give you a feel for the right angle.
Another easy way to figure out the sharpening angle is to rest the blade completely flat on the stone and tilt it up gradually. The edge won’t move as much when it’s positioned at the correct angle.
Sharpen the heel and belly
Now that you know the correct angle to sharpen the knife, start sharpening the heel and the belly using the lower-grit stone. Here is everything you need to follow.
- Place the sharpening stone in the vertical position.
- Hold the handle with your dominant hand and place the blade on the sharpening stone at a 45-degree angle to cover more ground.
- Using your fingers in your non-dominant hand, secure the blade’s position.
- Stroke the blade up and down and drop tiny amounts of water as necessary.
Depending on how dull the blade was and the grit, the blade should be sharpened after about 5 to 10 minutes30 to 40 strokes. It can take a lot more than this if you’re using a higher grit stone or started with an exceptionally dull blade.
The most significant sign that your knife is now sharp enough is to look for the burr. It’s the small, ridged pieces of the edge that sticks out. Give the edge a closer look, or run your thumb over it. You’ll see or feel it.
If you notice the burr, good job! If the burr isn’t there, you’ll need to get back on the stone to do more strokes. While the burr is something to aim for, it needs to be removed – more on that below. First, we need to sharpen the tip.
Sharpening the tip
You should sharpen the tip on its own. This, however, mainly depends on the technique you’re following to sharpen the blade. Additionally, specific kitchen knives like the Usuba won’t need as the edge runs straight throughout the blade.
Unless you’re pushing and pulling the entire edge of the blade on the sharpening stone, the tip should be sharpened separately. However, this is the recommended technique for single bevel kitchen knives, and it’s the standard practice for Japanese knife sharpeners. Here is how to sharpen the tip of a single bevel knife.
- Position the blade slightly upright on the sharpening stone to cover the tip.
- Hold it at the correct sharpening angle.
- Secure the tip’s position with your fingers. As you’re holding the handle with your dominant hand, putting your index finger on the spine can help you secure its position.
- Move the blade with emphasis on the tip.
Tips
- Keep the angle consistent throughout the whole sharpening.
- Move the blade back and forth with your shoulders instead of your arms. This will support keeping the blade stable on the whetstone.
- Just like the angle, the sound you hear should be consistent.
- Use the entire length of the whetstone.
- Don’t clean the slurry that forms as you move the blade back and forth. This paste-like mixture helps sharpen the knife immensely.
- Put slightly more pressure on the blade when stroking it towards the heel.
- Release the blade gently with enough pressure as you’re moving it in the direction of the edge.
Removing the burr
The burr will develop slowly but surely as you move the knife back and forth. It’s a sign that you’ve sharpened the knife adequately, but we need to remove it. Here is how to remove the burr on a single bevel knife.
- Lay the flat or the hollow ground side of the blade with the heel facing towards you on the sharpening stone. It should rest flat on the whetstone.
- With the tip of the knife on the top part of the sharpening stone, pull the blade to yourself. Steer towards the heel to cover the entire blade as you glide it. You should start with the tip and finish with the heel as you go down.
- Lift the blade and continue from where you started. Continue this step until the burr is removed.
After this is done, don’t flip and do the same with the cutting edge. Instead, you’ll need to polish the blade. Polishing is necessary to remove the tiny bits of burr that are not visible with a higher grit water stone.
Polishing the blade
Take your higher grit polishing stone or flip the sharpening stone if that applies to yours, and start polishing. Here is how to polish the blade to deburr it entirely.
- Hold the blade at the sharpening angle.
- Unlike sharpening the blade, only push the blade away from you, starting with the tip and finishing off with the heel in a single stroke.
- Lift the blade as you get to the heel and continue until you deburr completely.
Additionally, there is the kobatsuke technique. However, this is an advanced method to finish polishing that only professional knife sharpeners should utilize. The idea is to create a two-step blade using the finishing stone by slowly moving the blade towards the heel with minimal pressure.
Once you’ve polished the blade enough using the finishing stone, your knife should be razor-sharp. All you have to do now is to test the sharpness. See how it holds up against a paper. If your knife has no trouble cutting paper, it’s as sharp as it’s ever going to get.
FAQs
Can I use an electronic sharpener?
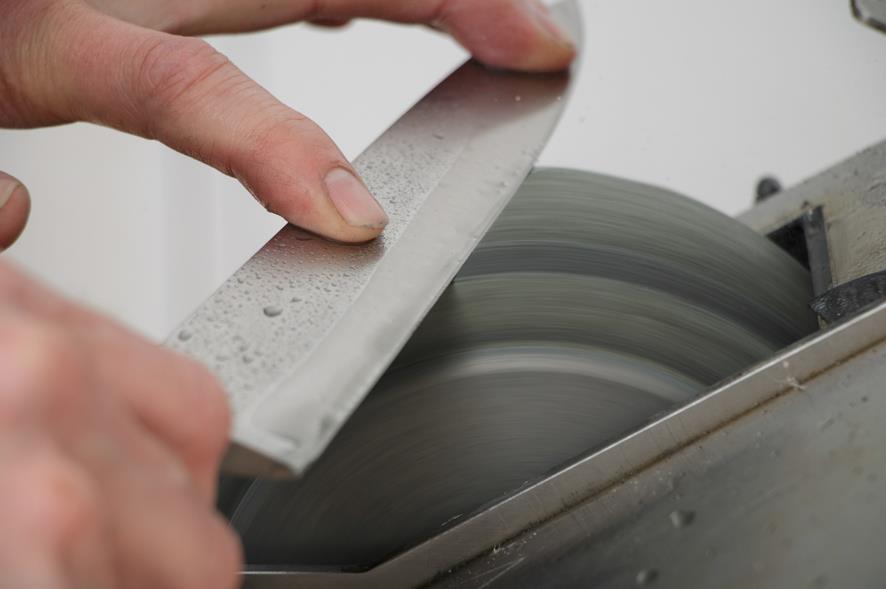
Most electronic knife sharpeners are dual-sided. They sharpen both sides of the blade, which is a big no for single bevel knives. Some electronic sharpeners can sharpen only one side, though. These kinds of electronic sharpeners are adequate for single bevel kitchen knives. Nonetheless, sharpening stones are more versatile and sharpen all knives of different sizes and shapes. You might find yourself limited with an electronic sharpener, especially when sharpening larger single bevel knives.
Why are single bevel knives sharper?
Single bevel knives are ground on only one side, creating a thinner, thus, sharper cutting edge. This extreme sharpness makes slicing a lot easier and ensures tear-free cuts. Although the single bevel knives are sharper, they require expertise and a specific cutting angle. If you were to cut with a single bevel knife as if it was double beveled, you’d risk chipping the edge.
How to hone a single bevel knife?
The same as sharpening, single bevel knives are honed only on the side of the edge. Other than this, there isn’t a difference between how you hone single bevel and double bevel kitchen knives. Learn how to hone a kitchen knife and discover why you should.
Ending
All kitchen knives will need sharpening utilizing either a sharpening stone or other means at some point. Single or double bevel, make sure to sharpen your knives at least once every six to twelve months. The more you use a knife, the sooner you’ll need to sharpen it. Read more on knife care and everything related to kitchen knives on the HDMD Knives blog.