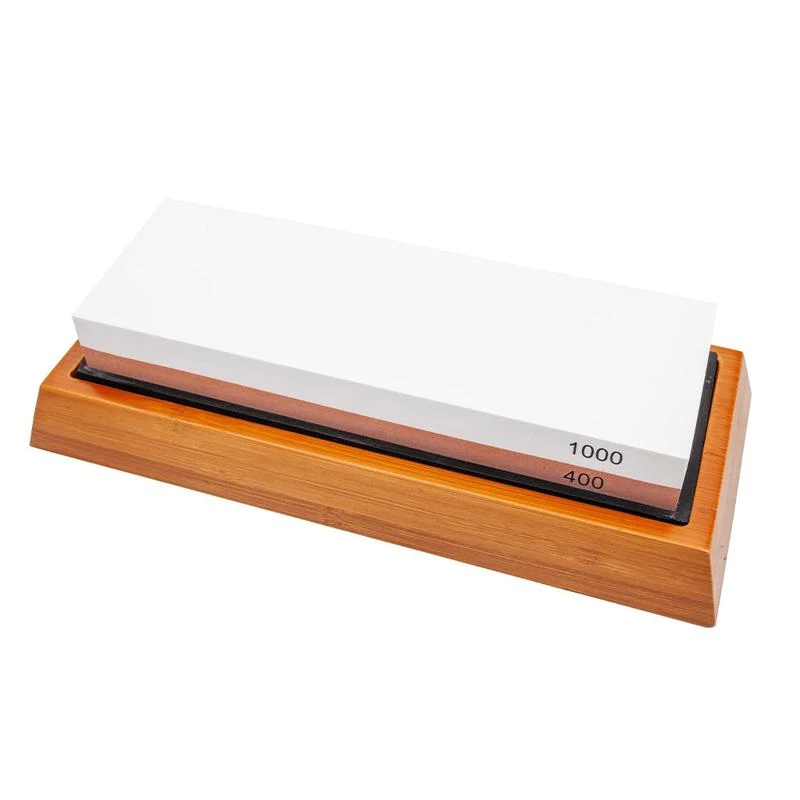
Anybody who owns a kitchen knife understands that it needs regular and careful maintenance to keep working well. You must store it safely, clean it properly, and, above all else, keep it sharp. The recommended way to sharpen your knife is with a whetstone. After enough use, you will find that even the hard surface of a whetstone starts to wear down.
To avoid damaging your blade, you need to grind the whetstone to recover its original flat surface. You can do so with either a truing stone or a flattening plate. Both tools are made from extremely hard materials so they can effectively grind down a sharpening stone.
On top of regular knife care, extra work to preserve a sharpening stone may seem excessive. Yet, for anyone serious about keeping their knives in top condition, using an uneven whetstone is not an option. Apart from telling you how to flatten a whetstone, this guide will talk you through the necessary equipment plus other safety and maintenance tips.
Table of contents
Background & motivation
Sharpening stones are very hard objects. They are made from ceramics or minerals that are hard enough to grind the edge of a steel knife. This might trick you into thinking that a whetstone always retains its shape. But that is not the case.
A whetstone will wear down sooner than you think, and the more you sharpen your knives, the faster this will happen. Some areas of the whetstone are used more than others. This means that it does not wear down uniformly. Over time, the stone can become quite uneven. You will typically find that the middle of the stone and longer edges wear out the fastest. This is where most users slide their knives.
This is bad news for your knives because only a flat whetstone will let the blade glide smoothly. Any bumps or dips can cause uneven sharpening of the edge, or even scratches and dents. Even if you cannot see the damage to the stone with your eyes, small imperfections on the surface can negatively impact the sharpening process.
Flattening a whetstone smooths out bumpy patches and removes small metal fragments left behind from previous sharpening efforts. This gives you great satisfaction that your knives are safe from damage.
Flattening tools
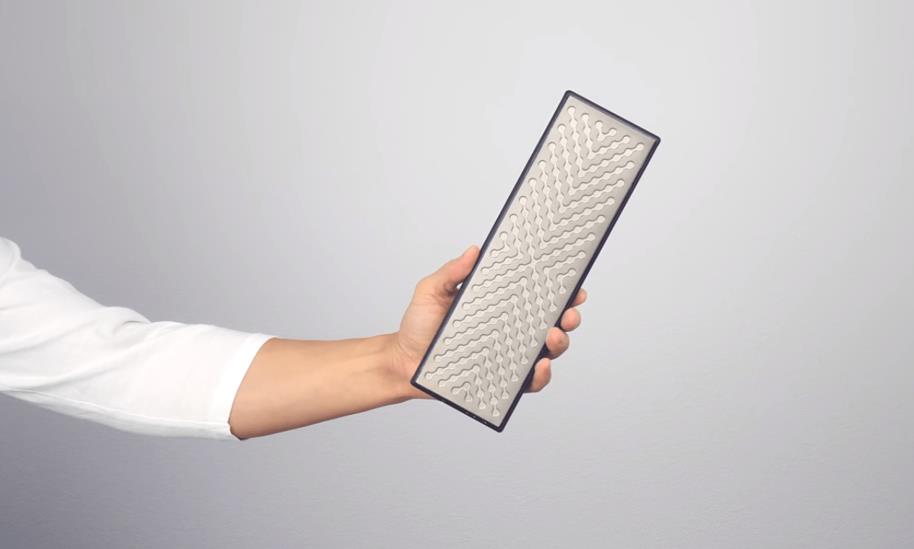
Truing stone
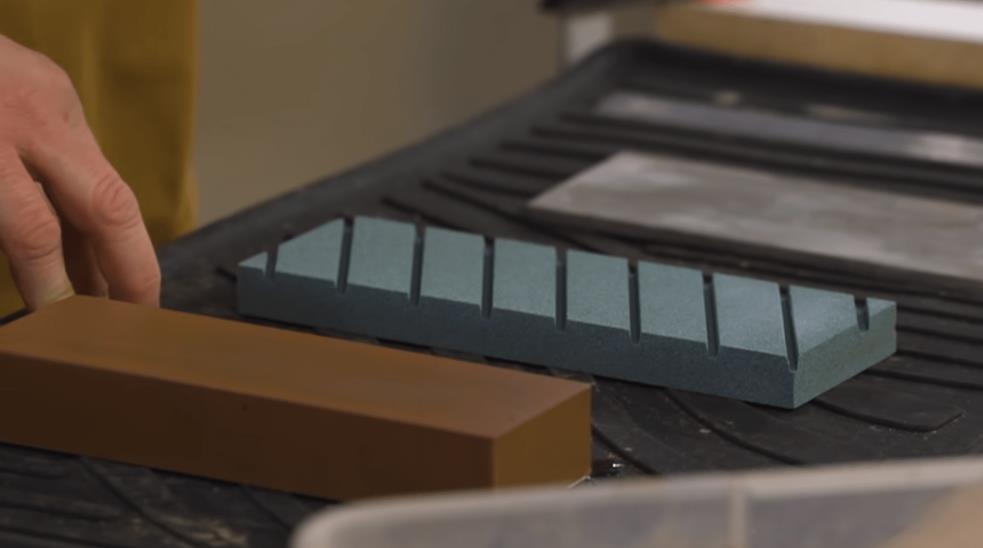
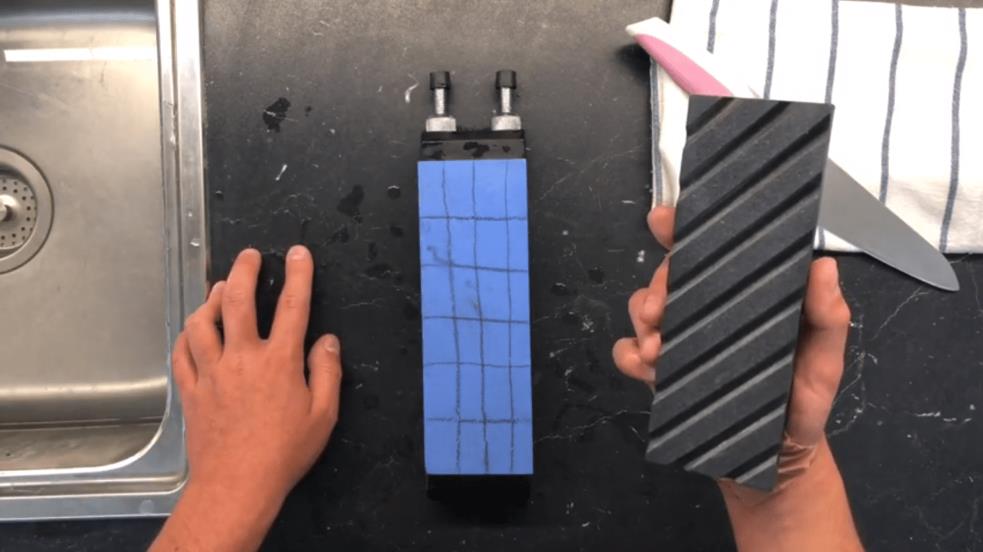
This is a rectangular block of hard ceramic. It features a series of distinctive diagonal grooves along its bottom face. The purpose of these, as you will soon see, is to enable lubricant (water) plus ceramic fragments to flow off the stone’s surface during the flattening process.
If a stone is flat, we say that it is “true.” This explains the name of the device.
Flattening plate
Flattening plates are used to grind down the surface of a whetstone even faster than truing stones. Instead of ceramics, these have a metal base layer covered by a thin and incredibly hard diamond plate. This tool is significantly more expensive than a truing stone and is useful if your whetstone is very worn out.
Sandpaper
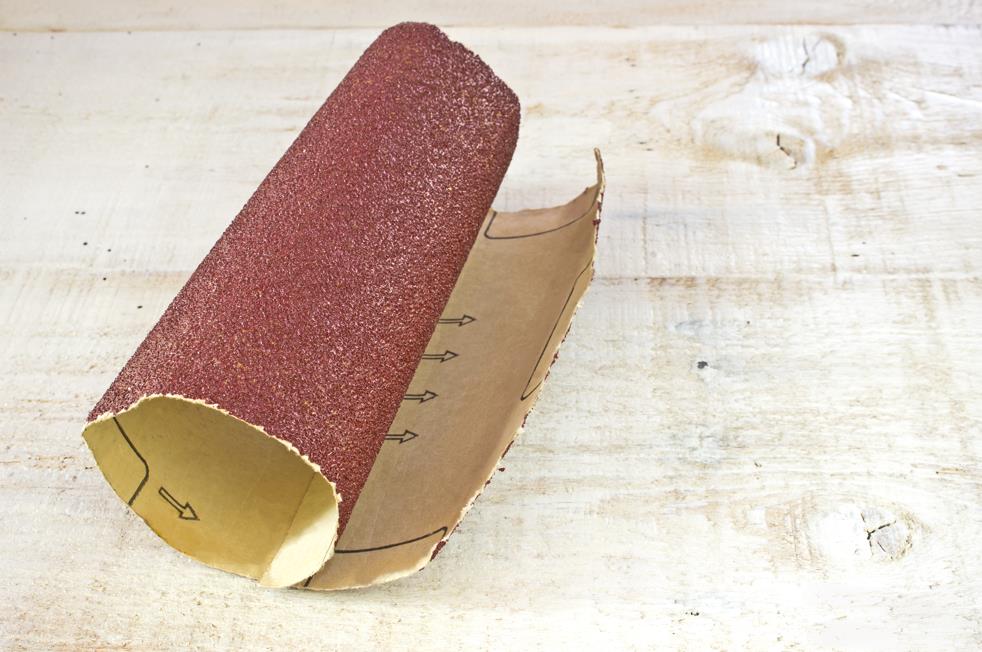
If you have neither of the above tools and do not wish to purchase one, you can flatten your whetstone with sandpaper too. Generally speaking, you should start with coarse sandpaper and then use a finer grit to tidy the stone’s surface. Also, to sand the damp whetstone, you need to use “wet-dry” sandpaper.
Is my whetstone flat or not?
Do you even need to restore your whetstone yet? This depends on a few factors. If your knives are made from hard carbon steel and you frequently sharpen them, you should flatten your whetstone more often.
It may be difficult or impossible to tell if your whetstone is flat just by looking at it. To help check whether the surface is uniform, place the edge of a ruler or a piece of paper directly above the stone. Any visible gaps indicate a dip in the whetstone’s surface. Check along both dimensions of the stone. If you have trouble seeing, shine a light behind the ruler/paper to expose any gaps.
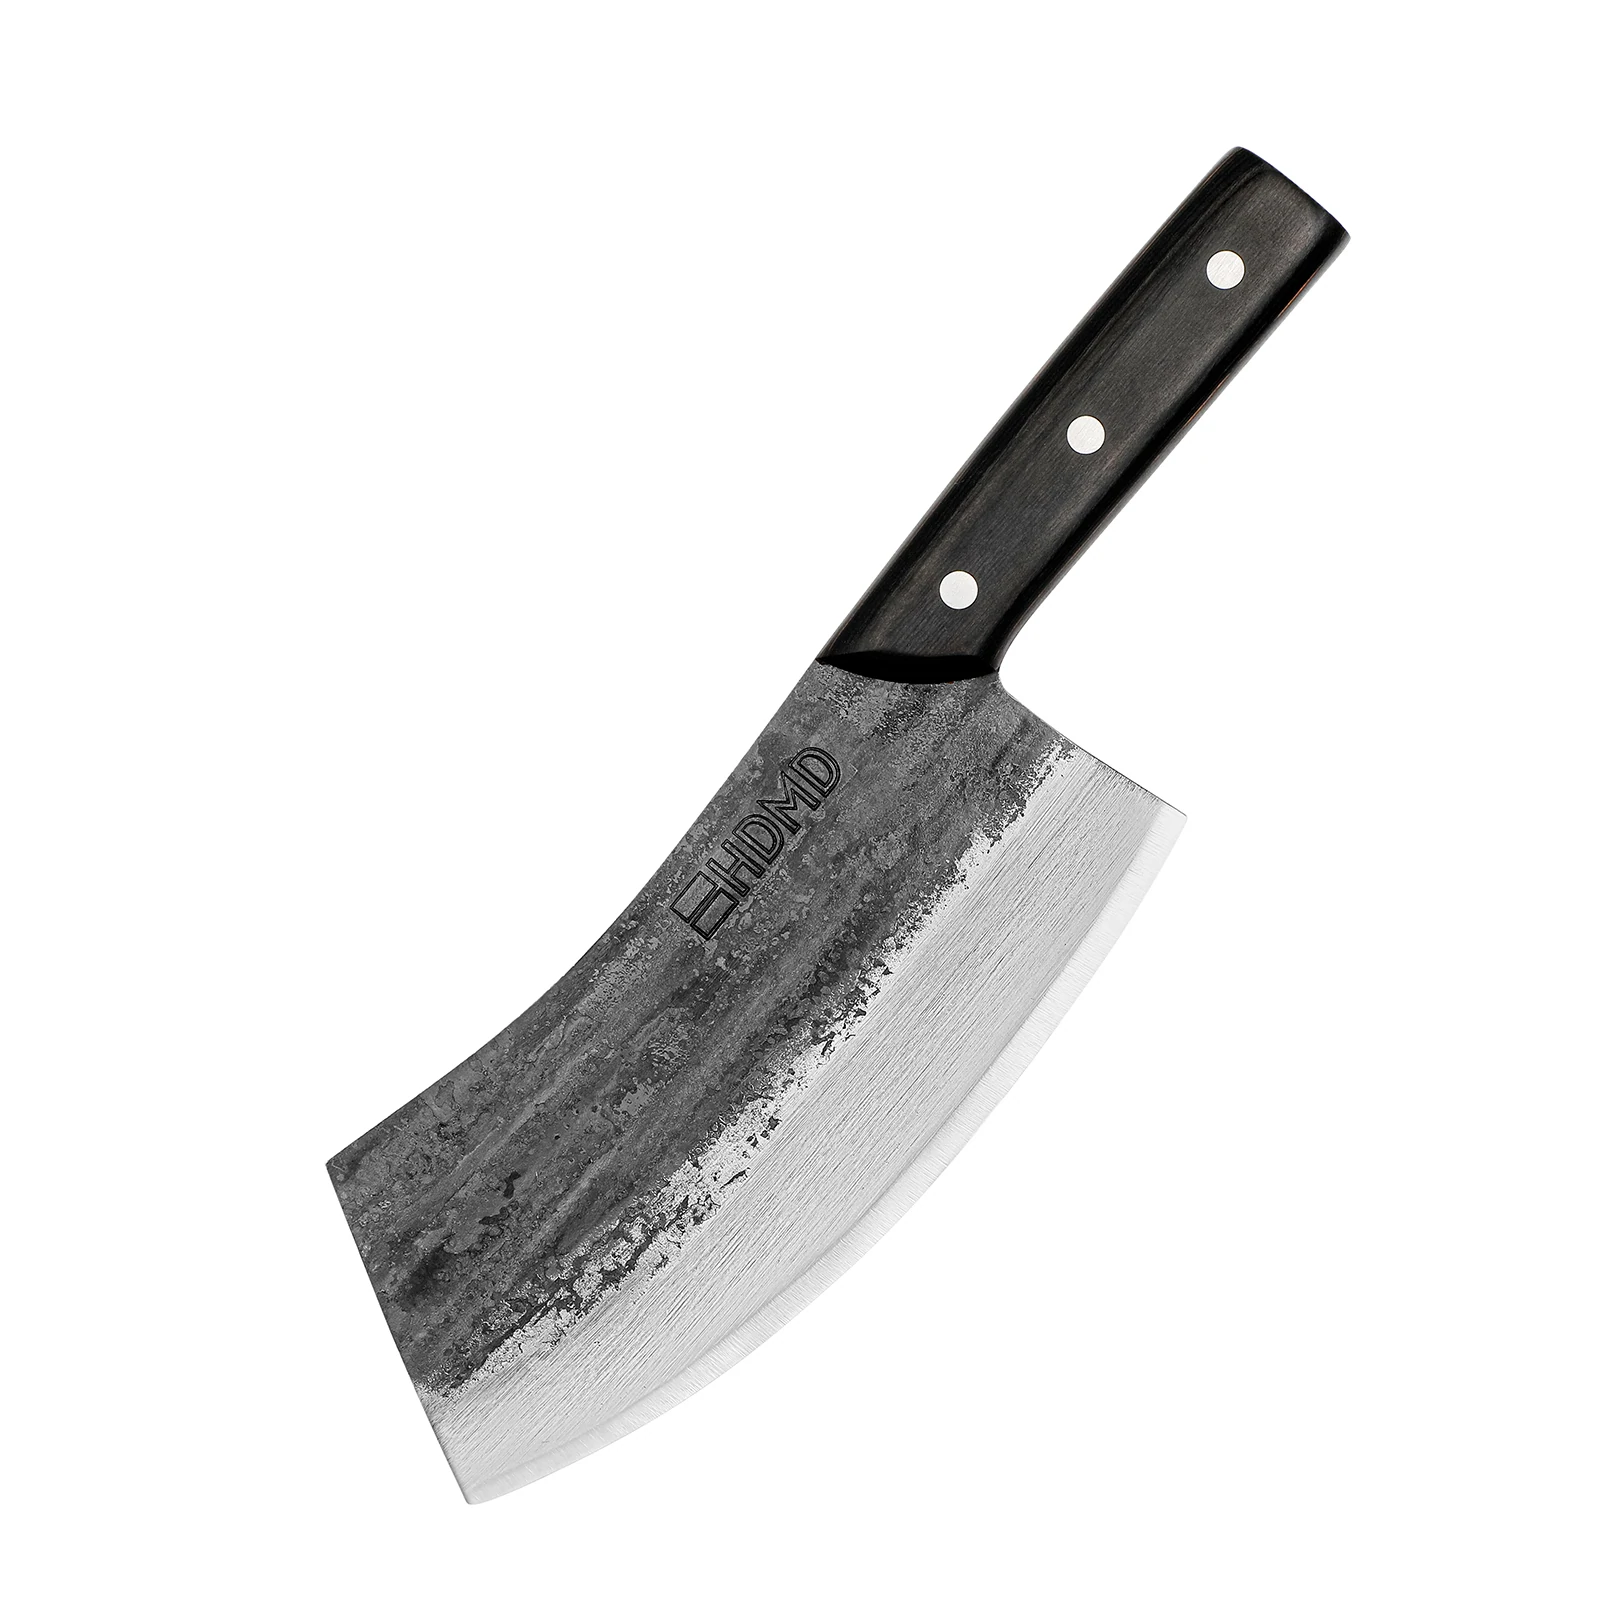
Handpicked for you
True cutting power in the palm of your hand
What you will need
- A whetstone: Since you are referring to this guide, you probably already have a whetstone that you wish to restore.
- A water source: This is important both for lubrication and cleaning debris from the stone. Hence, it is important to flatten the whetstone above a sink or tub/bucket of water so that you can moisturize it.
- A whetstone holder: While rubbing the surface of the stone, you need something to hold it steady. This is where a holder is useful. A whetstone holder is a device that attaches to your sink or water tub and secures your whetstone in place. It has an adjustable length, so can fit most sinks while holding whetstones of all sizes. This type of holder is a great investment because it can be used for knife sharpening as well as flattening a whetstone.
- A flattening tool: Find your device of choice ― we explained the features of each earlier. Bear in mind that sandpaper may not work as fast as flattening stones or plates.
How to flatten a whetstone step-by-step
Step 1: Prepare your environment
If you plan to flatten your whetstone above a sink, clear the sink and install the holder. If you plan to do this process over a tub of water, fill the tub and attach the holder to it.
Step 2: Prepare your stone
One very important way to track progress when flattening is by drawing a grid on the stone with a pencil. As you grind the stone down, the higher regions will wear down first and the grid will disappear from those areas. This gives you an idea of where your whetstone is least (and most) worn.
Step 3: Prepare your device
If you are using a truing stone or a flattening plate, you do not need anything else. If you are using sandpaper, wrap it around a sanding block before beginning.
Step 4: Start rubbing
Pour some water on the whetstone and carefully start moving your stone/plate/paper around. You can rub in straight lines or circles. Make sure that you cover the entire surface of the whetstone while applying constant and equal pressure. It may help to grip your device with your dominant hand and to place your other hand on top for extra pressure and control.
Step 5: Track your progress
After several rounds of rubbing you should start to see the pencil marks disappearing. Those areas are actually the least worn out ― since they are higher up, the whetstone makes contact with them first. Do not try to target the other regions where the grid remains, because this will make the surface uneven once more. Instead, continue with the regular and even sanding approach. Lubricate the whetstone regularly.
Step 6: Check if the whetstone is flat
If you have used the correct flattening technique, the stone should be flat when the grid vanishes. As before, check the surface of the whetstone with a ruler or piece of paper along both axes. If it is not yet perfectly flat, repeat step 4 until it is.
Step 7: Finishing touches
When you are satisfied with the whetstone’s surface, you must beware of the edges. Small fragments of metal and ceramic may still exist on either side of the stone. If you do not remove this sharp debris, you could suffer painful cuts when sharpening later. Therefore you should take your truing stone or plate and rub it gently along the edges of the stone a few times. Do not rub too hard as this will damage the whetstone’s finish. Lastly, remove the whetstone from the holder and dry it.
Caring for a whetstone
Keeping the stone flat is only part of the battle. Like other kitchen utensils, it will collect plenty of dirt over time. A dirty sharpening stone is not only a hygiene risk but also not as effective at sharpening as a clean whetstone.
Unlike a knife or a plate, the rough surface of a whetstone makes standard cleaning techniques less effective. So what can you do to keep your whetstone dirt-free?
- Find some WD-40, isopropyl alcohol, or other similar cleaning product.
- Pour a small amount onto a piece of steel wool and rub the surface of the stone. Apply decent pressure and rub in a circular motion to extract the dirt.
- Wipe away excess dirt with a clean paper towel. If the first attempt did not fully clean the whetstone, repeat step 2 and wipe the dirt off again. Continue until you are satisfied with the whetstone’s appearance. The video above shows how easy this cleaning method is.
What exactly are whetstones made of?
Modern whetstones are made from ceramics such as aluminum oxide and silicon carbide. These are powders that are sintered at high temperatures to compress and stick the particles together into a single solid block.
Older-style whetstones are made with naturally-occurring minerals, for example, novaculite.
The whetstone is as important as the knife
At least, for more advanced chefs it is. Without a solid, flat whetstone, your chances of a sharp knife edge are slim. For more information on this essential kitchen tool, take a look at our comprehensive guide.