Do you secretly wish you could pull off the julienne cut like a pro? We know those perfect little matchsticks in toppings, side-lines, and garnishes look so intimidating that literally anyone would believe this art takes years of culinary practice to master.
However, this versatile cut isn’t as hard as it seems. Moreover, once you learn how to julienne cut your vegetables, meat and fruits, it will massively upgrade your cooking game. Not only does this cut add aesthetics to any dish it’s made a part of, but also allows even and thorough cooking for a fine dining experience each time.
Table of contents
What is julienne cut?
The julienne cut, also known as the allumette or french cut, is a versatile knife cut that allows vegetables, fruits and meat to be cut into fine, thin strips similar to perfectly cut matchsticks. The strips are about 1/16 to 1/8 inches thick and about 3 inches long.
The julienne cut is also known as the matchstick cut, or allumette, meaning matchstick. It is mostly used in green veggies as well as carrots, apples, and even onions. Stir-fry’s, salads, sandwiches and wraps embrace this cut to lend aesthetic and flavour to themselves.
These strip cuts are the thinnest of all knife cuts in the cutlery arena, after the batonnet cut that feature ¼ inches thick cut foods. Finer and precise cuts offer the perfect crunch in veggies and fruits whilst allowing for an even cooking experience every time.
Let’s break down the tools needed for learning the julienne cut.
Tools needed for julienne cut
You can use a number of tools to perform the julienne cut. However, learning to use a knife is going to help you in the long run so that you don’t end up relying on specialty gadgets such as mandolins, julienne peelers, and even food processors. Here are the tools you need:
- A sharp knife – perfect, fine slicing requires sharp knives to get precision cuts each time. Test your knife for sharpness before beginning to julienne cut your produce.
- A cutting board- wooden cutting boards are best for such fine slicing as they feature self-healing characteristics as well as prevention from bacterial penetration due to their smooth and hard surfaces.
- Of course, some vegetables, fruit, or meat to julienne cut.
Best knives for julienne cut
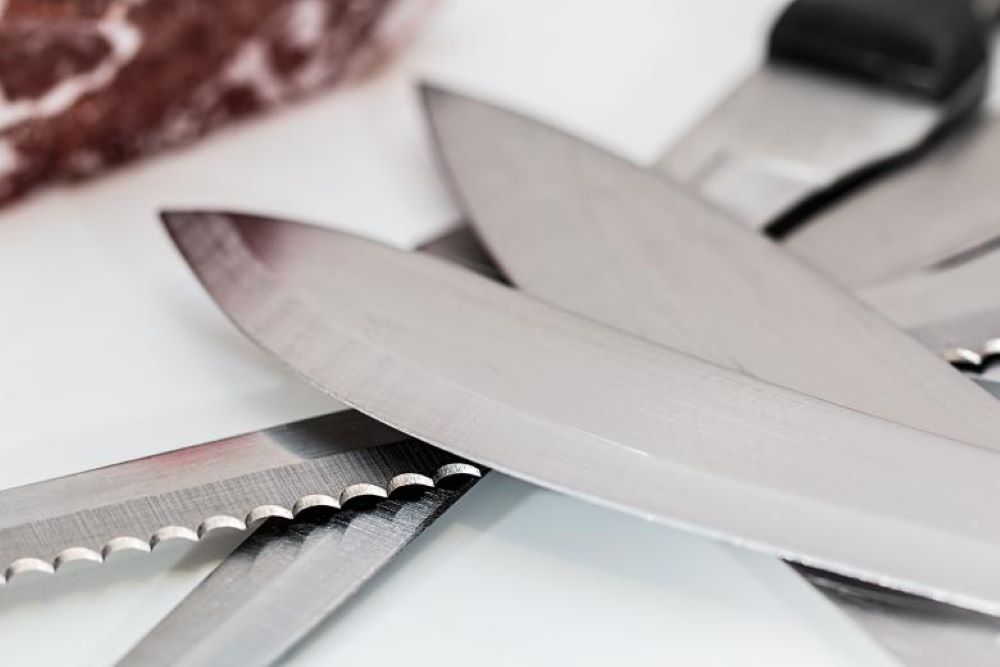
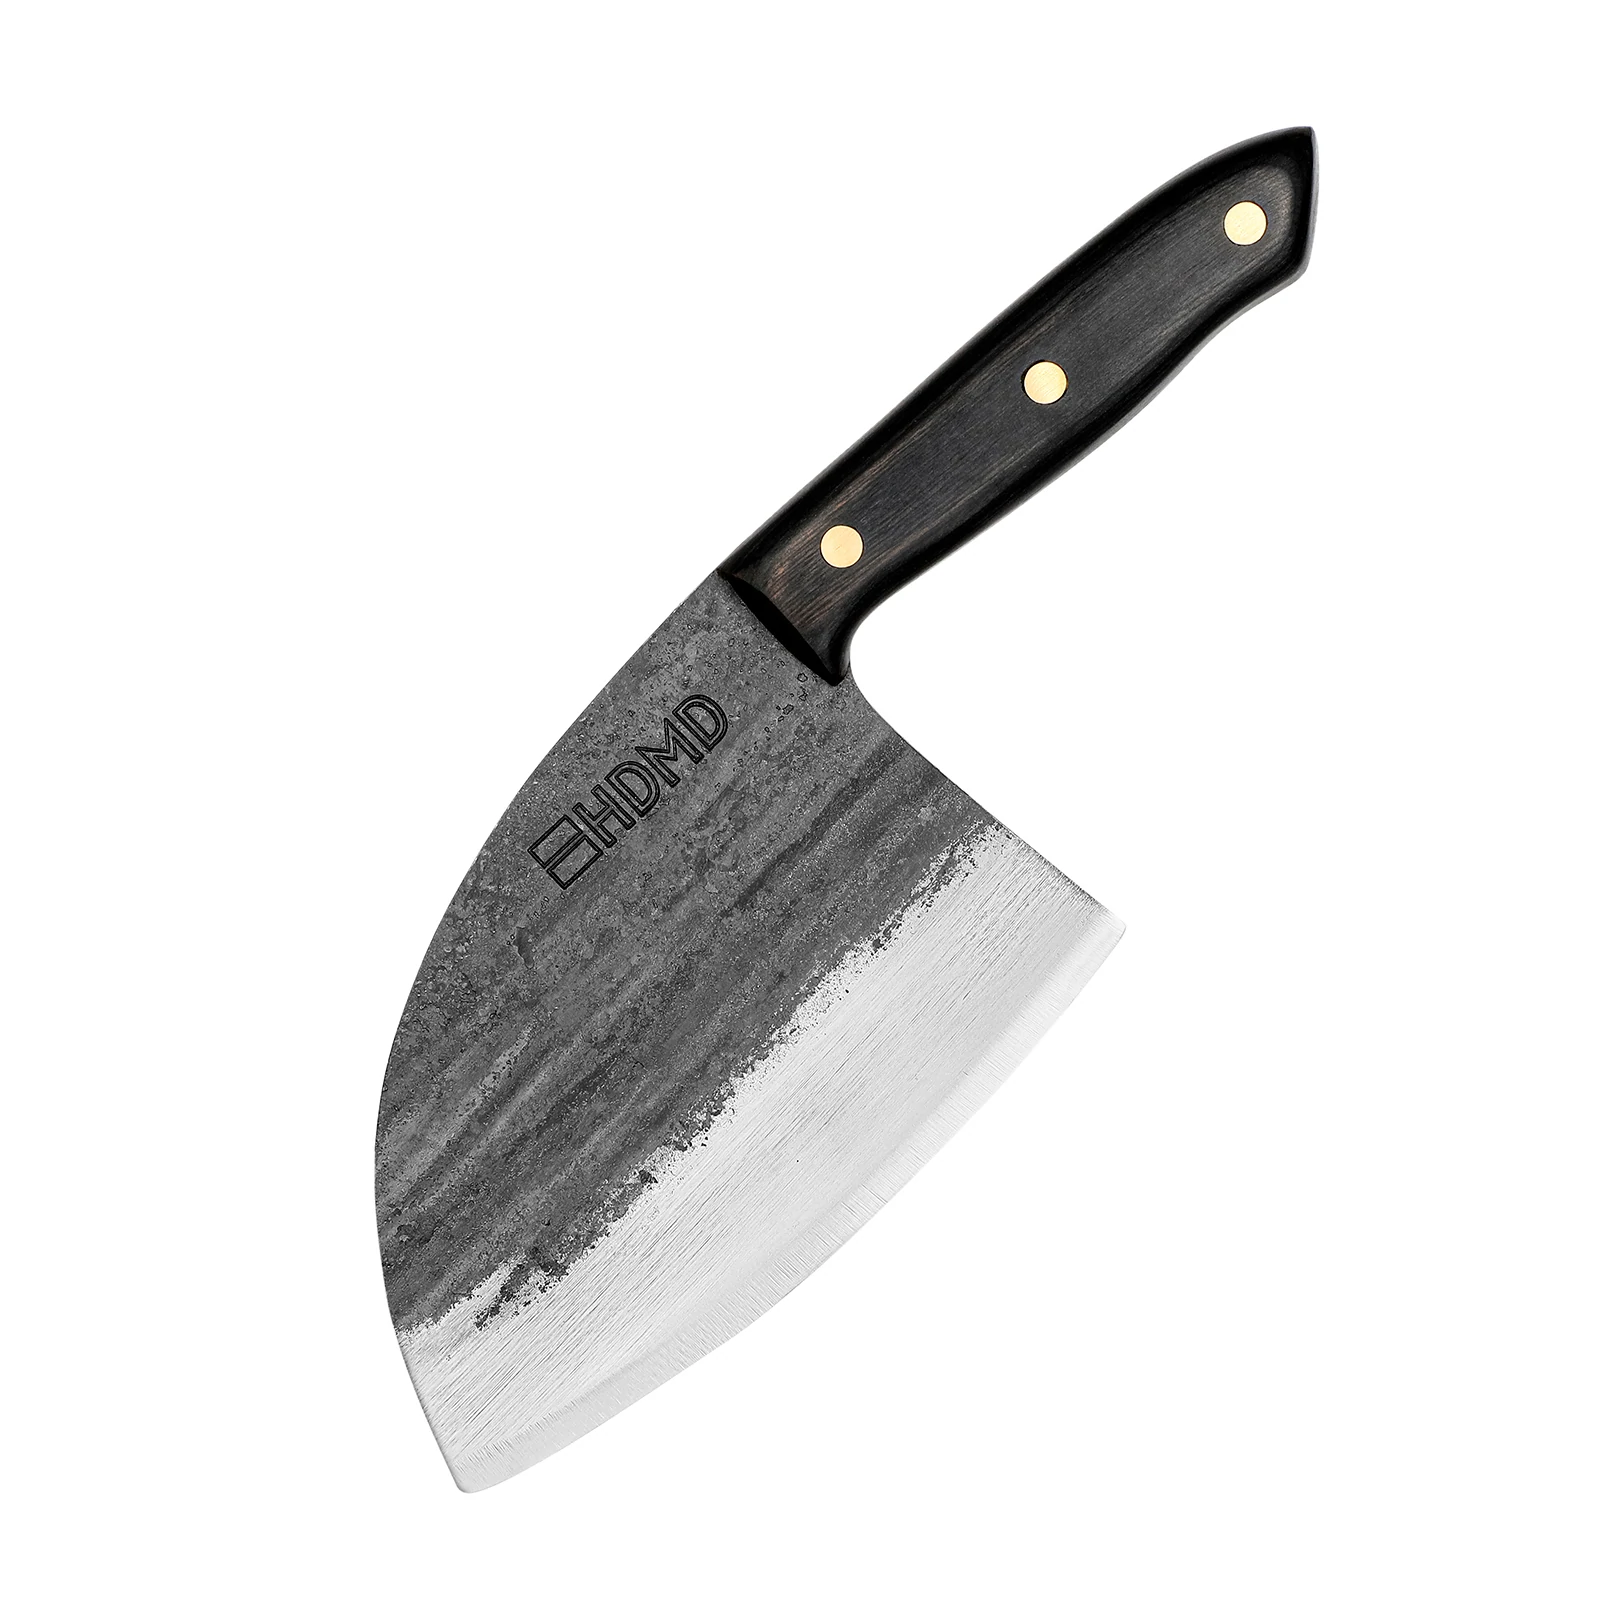
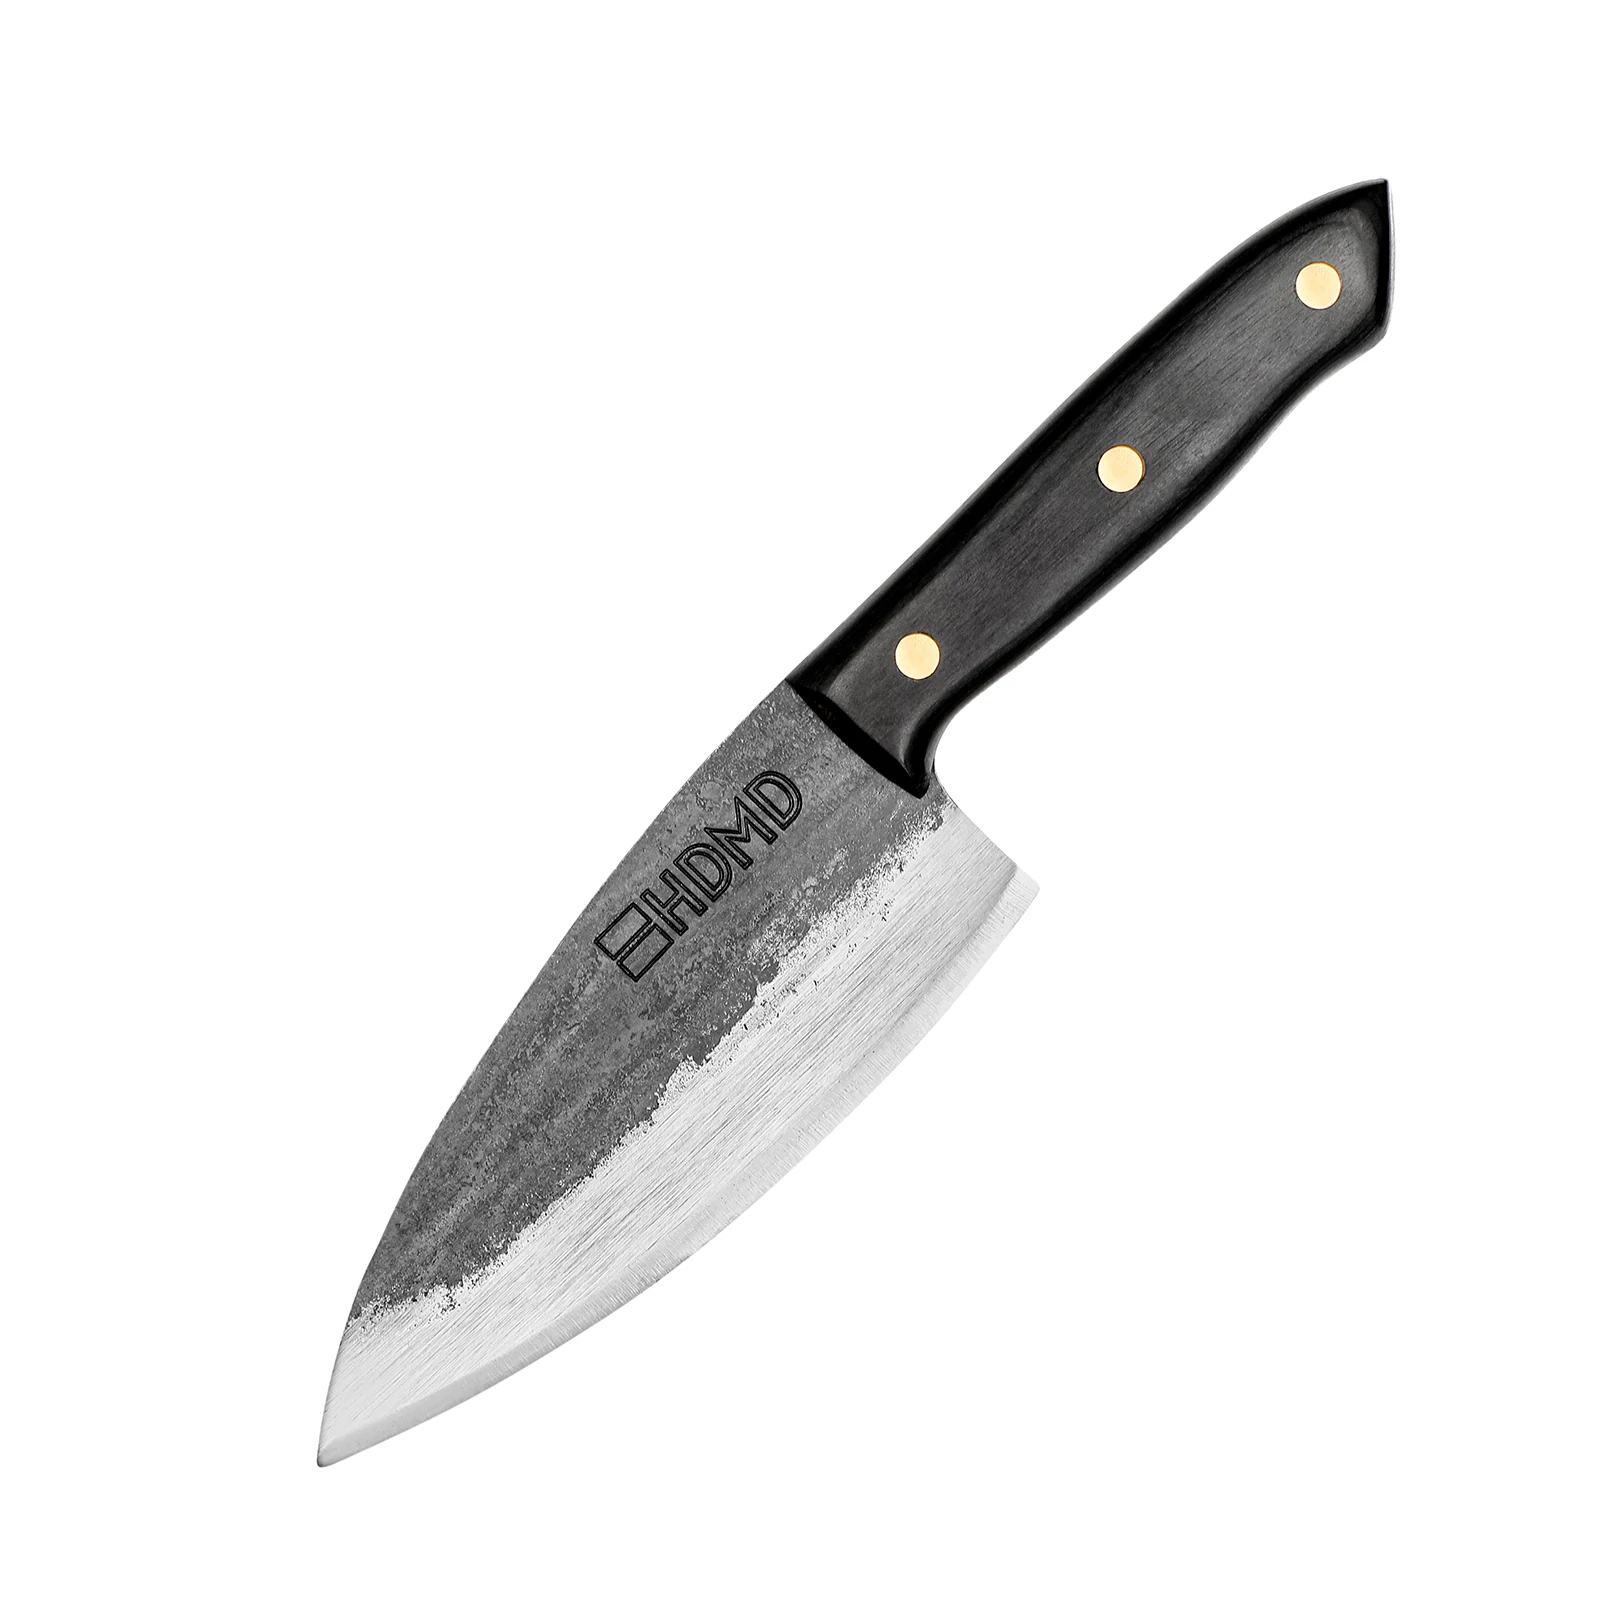
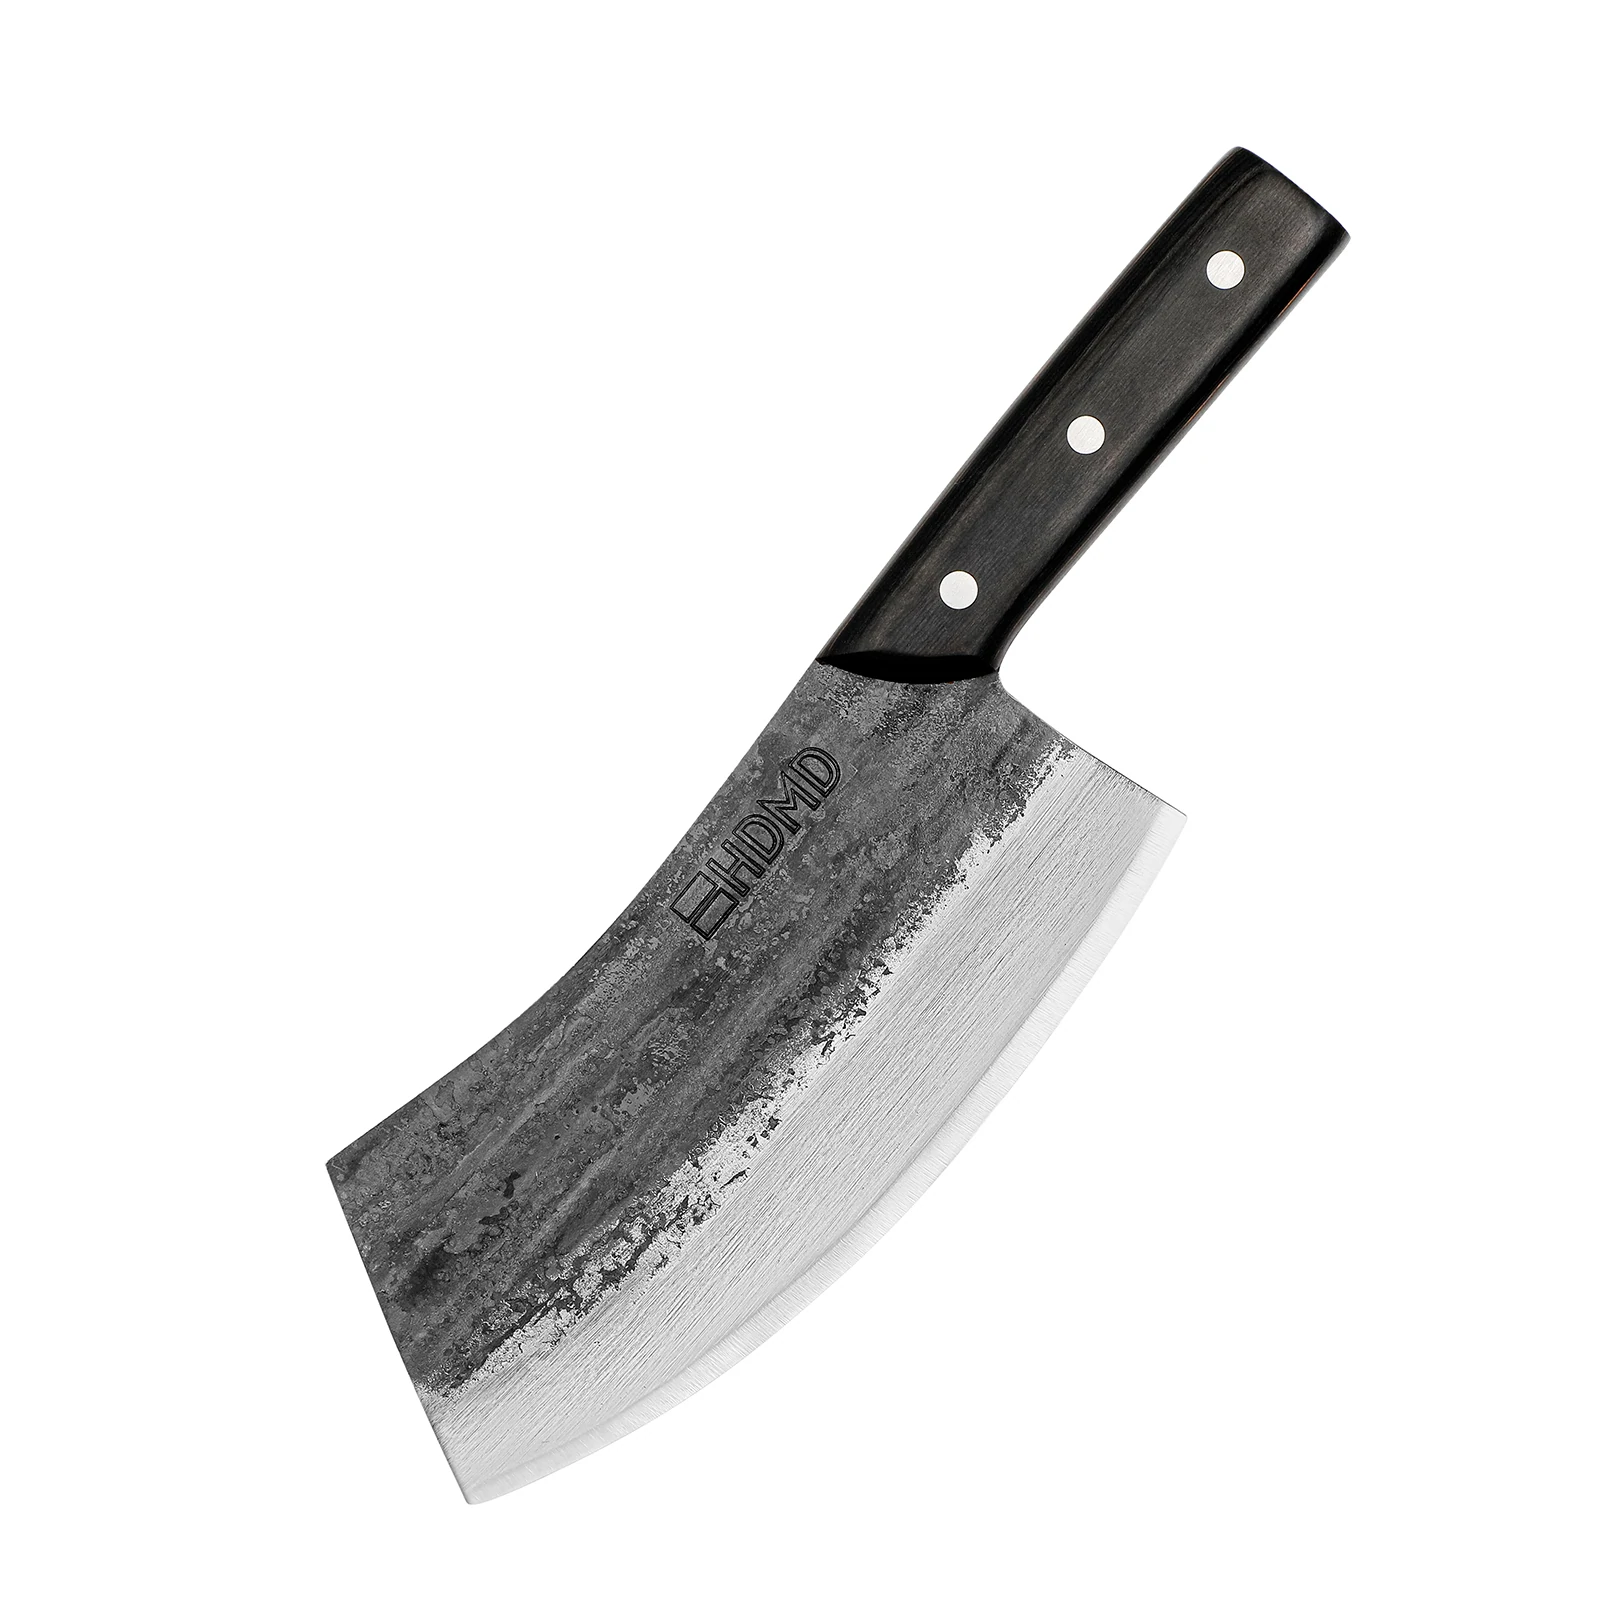
Any knife that is properly sharpened can be used to perform julienne cut. Most chefs will simply stick to an all-purpose knife such as chef’s knife, utility knife, or Santoku to avoid switching knives during the prep.
As a general rule of thumb, you want to use smaller size knives for delicate, small julienne cuts. Especially if the ingredients are slippery, knives in smaller sizes give you more control over it. Larger knives are capable of cutting bigger portion of ingredients in bulk.
Handpicked for you
True cutting power in the palm of your hand
How to julienne cut vegetables
There are two ways that you can achieve the julienne cut for your vegetables and fruits. There’s this traditional, proper method of achieving the julienne cut. Moreover, there is a shortcut method of julienne cut as well for times when you don’t have time to properly do things, or the heart to waste your produce perfecting those French cuts.
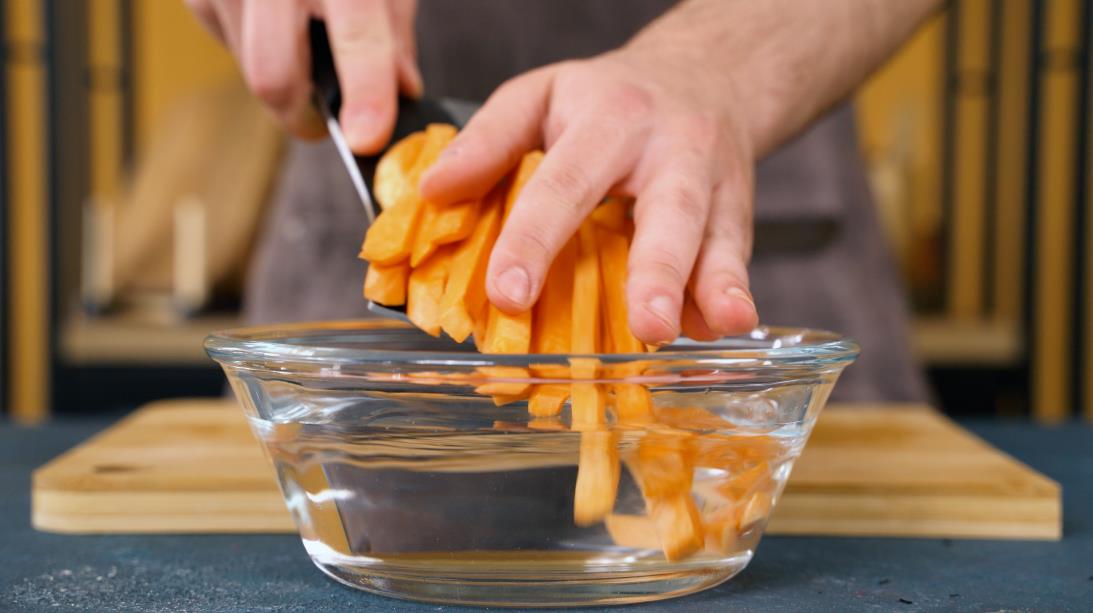
How to cut julienne the traditional way
Follow the steps below for achieving the julienne cut the traditional way. We will be using carrots as an example for learning the julienne cut:
- Position the knife in your dominant hand, whilst holding the vegetable in your non-dominant one.
- Start with peeling the carrot with your knife or a vegetable peeler. This step is optional.
- Cut off both ends of the vegetable i.e. the stem and the root.
- Next, cut your vegetables into segments that are 2-3 inches long as required. If you have produce left after cutting it into equal segments, preserve for later or use it somewhere else such as salads.
- Use your fingertips for holding the produce, with your fingers bended such that they are parallel to your knife. This will allow protection of your fingers from cutting.
- Take each of the vegetable segments one by one, and begin cutting or trimming the rounded lengths to create flatter sides. This will allow you to create rectangular shapes.
- The next step involves taking each of the rectangular segments and cutting them lengthwise into planks. The ideal thickness range you would want to cut in between is about 1/16 to 1/8 inches.
- The final step of achieving the julienne cut is to stack several of the planks together and cut them lengthwise once again. The thickness will be kept the same, in between 1/16 to 1/8 inches thick. You will now have uniformly cut vegetable matchsticks ready for use.
- Repeat for remaining planks.
The shortcut method of julienne cut
The traditional method may not be appealing to some since it appears to waste some produce in the process. Even if you do preserve it for later, chances are you might forget to use it anyway. Other times, you may simply be running short of time and patience. Here is what you need to do:
- Properly wash as well as peel, if necessary, the item that needs to be julienned.
- Use a sharp knife to make diagonal slices, 1/16 to 1/8 inches apart, without rectangular shaping them.
- Next, stack up the slices over one another. Begin cutting thin strips of them.
- Shorter strips mean you need to cut crosswise. Longer ones require cutting vertically.
You are now in possession of some nice julienne cuts ready for use.
The shortcut method is suitable for longer vegetables such as cucumbers and carrots. This is because longer produce allows for making diagonal slices that are suitable for julienne cuts.
Chiffonade cut vs julienne cut
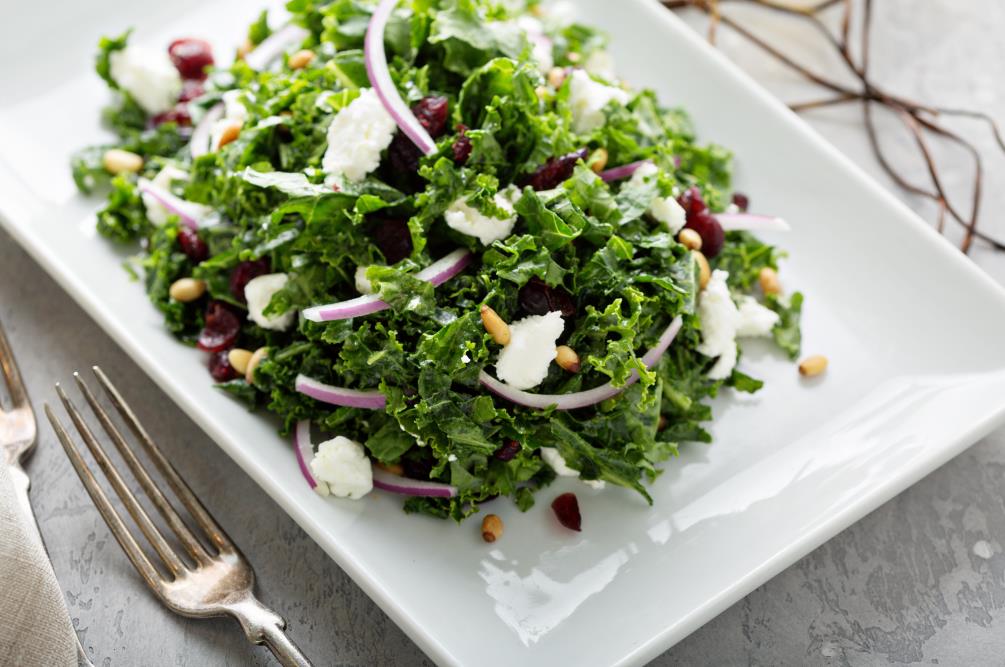
Leafy greens and herbs can also be cut into juliennes, but there is a special term for the cut, called the chiffonade cut. The French word “chiffonade” means “made of rags”.
A chiffonade cut is achieved by stacking several pieces of herbs or leaves together, rolling them, and slicing across those rolls into thin juliennes that are called “chiffonade”.
The julienne cut itself is largely used for firm produce such as carrots, potatoes, and cucumbers to achieve matchstick like cuts.
What is a julienne cut used for
The julienne cut is largely characterized by dimensions that are exacting and precise, which is why it is best used for produce with firm exteriors such as carrots, apples, and cucumbers.
This thinnest of all cuts ensures that the vegetable, fruit, or meat that has been julienned cooks or marinates at the same, thorough rate. You might want to sport this cut if you are sceptical of perfect cooking throughout your dish.
Also, in order to add that perfect, delicate crunch as well as texture to your slaws and salads, the julienne cut is utilized at its best.
Simple julienne cut recipes
Now that you have mastered the art of julienne cut, it is time to put your cutlery knife skills to the ultimate test: making recipes that require this famous versatile knife cut. Here are some simple julienne cut recipes to begin with:
Julienne cut carrot and apple slaw with pistachios
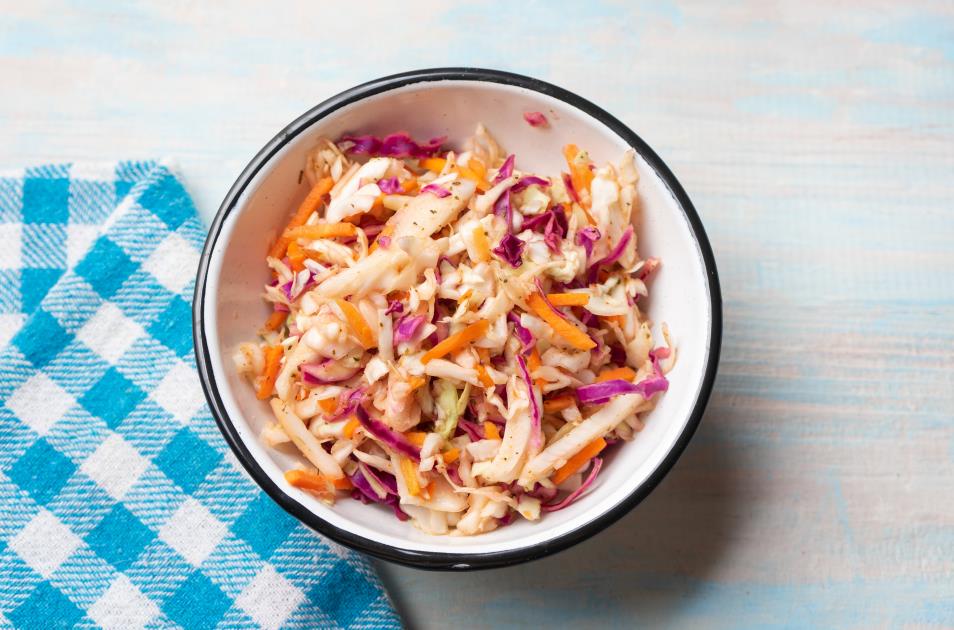
This sweet julienned apple carrot slaw comprises julienned apples and carrots to make the perfect healthy slaw recipe for you to devour. Topped with pistachios, this is a must try.
Veggie noodle stir fry

This recipe calls for julienned vegetables stir fried and mingled with spaghetti. The spaghetti and veggie duo is complemented with an aromatic sauce that is perfect for lunch times, dinner times, and everything in between.
FAQs
How do I determine the thickness for julienne cuts?
Use a ruler to make julienne cuts between 1/16 to 1/8 inches thick. If you don’t have a ruler on hand, you can use the top section of your thumb or finger to the first knuckle, roughly about an inch, to proceed with the measurement.
Can I julienne cut soft vegetables?
Even though it is not common to do so, softer vegetables like tomatoes can also be julienne cut. The trick is to remove seeds and pulp and work only with the outer, firmer part of fruit or vegetable.
How do I julienne cut an onion and similar irregular shaped items?
For julienne cutting an onion, begin by removing the stem and root. Next, slice the onion in half and place it flat down onto the cutting board. Position the knife at a 45 degree angle, and begin slicing it 1/16 to 1/8 inches thick. When you reach the onion quarter, your knife should be at a 90 degree angle. At this point, flip the onion and cut the rest of the slices.
Conclusion
We hope that by now, you have learned all about the versatile julienne cut and the many ways it can be utilized for prepping your salads, sidings, and toppings to create perfect dishes each time.
So what are you waiting for? Grab a sharp knife and begin making some lip smacking julienne cut recipes to impress friends and family.

