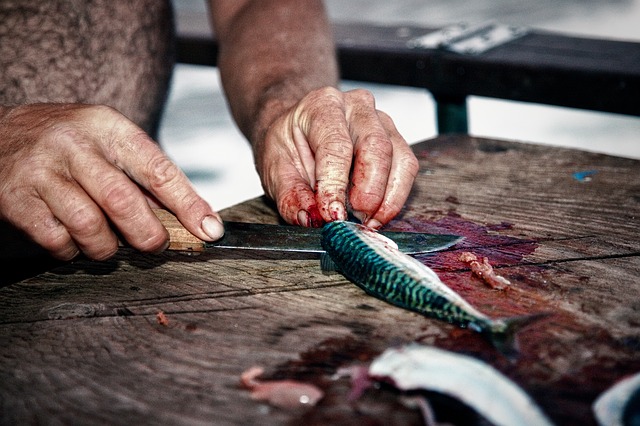
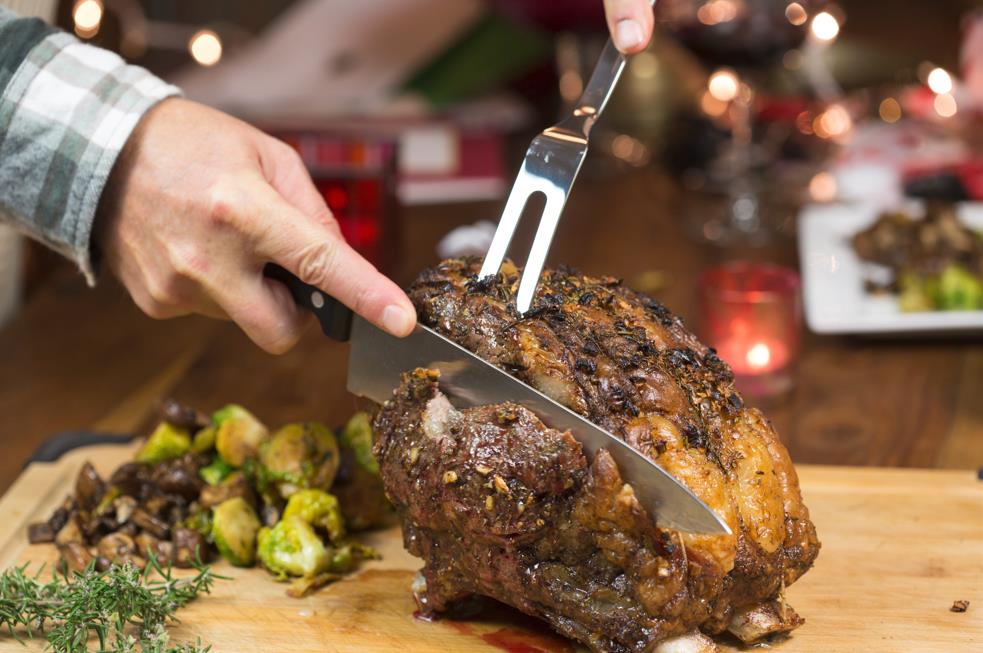
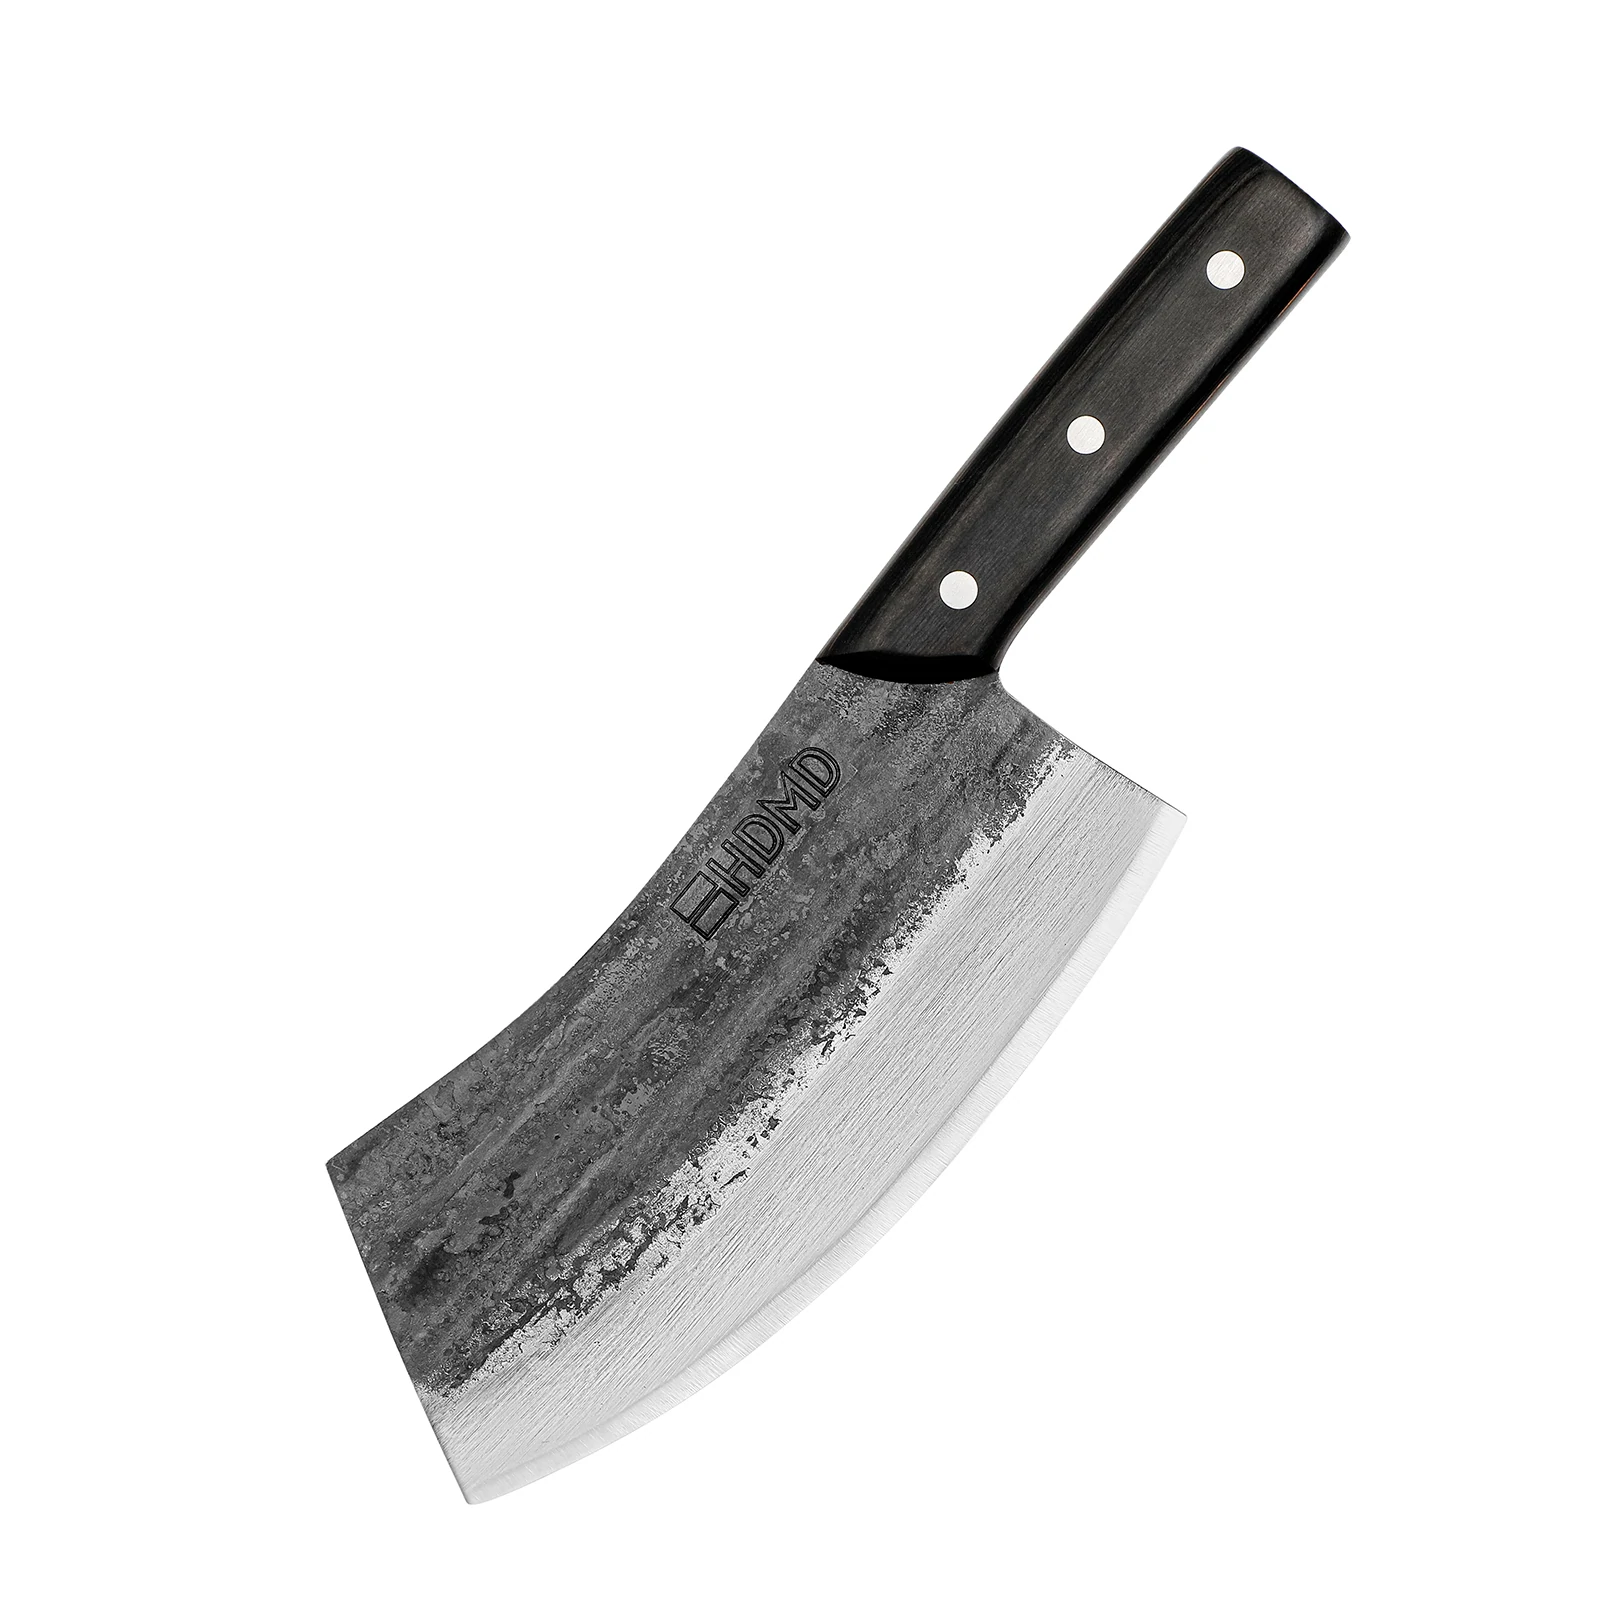
A kitchen is as good as its knives – a saying that describes the value of the most commonly used tool in every kitchen. A lot goes into making a knife, and the multiple-step process behind it is often underlooked. This article will cover everything you need to know about how knives are made in great detail.
Table of contents
Knife making process
There are four main stages to making a knife, with each consisting of additional steps that are crucial in producing a good-quality kitchen knife. These are as follows.
- Forging: Forging is the process of heating and shaping the metal into a blade by hammering, rolling, or pressing.
- Grinding: Grinding is the process of smoothing the blade to get rid of the burr and finish the edge.
- Heat treating: Heat treating hardens the steel and helps it hold the cutting edge for longer.
- Finishing: Finishing touches of making a knife, such as installing the handle and polishing and sharpening the blade.
Traditional knife making vs. Modern knife making
Before explaining how knives are made, we must clarify one crucial thing. This article will describe how forged knives are made; in other words, traditional knives. In modern knife making, some knife manufacturers employ stamped knives to mass-produce them as it’s easier to cut out a blade from a large sheet of steel than hammering a steel block countless times.
While the differences are apparent, some modern tools are utilized to make things easier for traditional knifemaking. Power hammers are in place to make shaping faster rather than hammering and reheating the steel numerous times to shape the steel block into a blade. Additionally, grinding machines with belts are used rather than sandpaper to smooth the blade after it’s forged.
Here is a detailed explanation of each stage of making a knife.
Part 1: Forging
The knife making begins with forging the blade. This is the process where the materials used are heated to a certain degree to make it malleable to be shaped into a blade.
The most common and perhaps the best material used for knife making is steel. Whether high carbon steel or stainless steel, it needs to be cut.
Cutting steel
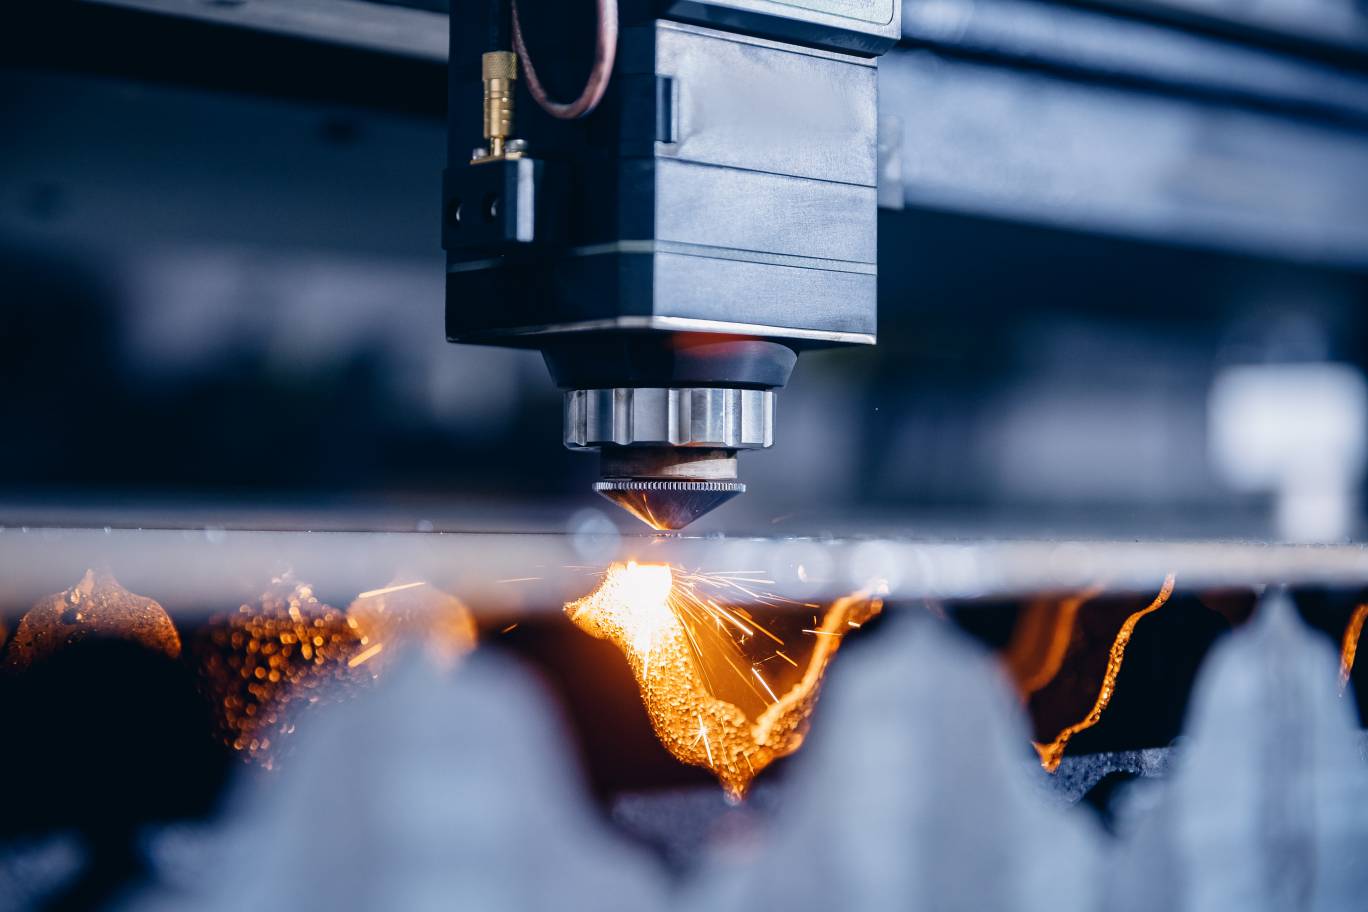
A thick, small piece of steel that’s enough for the desired length of the blade is required. There are different methods of cutting steel. The most common way for handmade knives is with the use of a metal chop saw. A block of steel is cut regardless of the shape as it will be forged to shape into a blade. Other means of cutting steel include laser cutting, waterjet cutting, and oxy-fuel cutting, to name a few, but these are mainly used in other areas, not for knifemaking.
Choosing the steel
There isn’t a single best steel for kitchen knives with so many different types of steel. Everyone has their preferences. Different types of steel will produce different outcomes that are just right for some; and undesirable for others. For most amateur cooks, the kind of steel won’t matter aside from the necessary caring methods.
For kitchen knives, the most commonly used steel is stainless steel as it’s resistant to corrosion, and this can be in the form of standard steel or carbon steel. Still, there can be other variations such as Damascus steel, tool steel, and alloy steel, each variety having its own characteristics. Regardless of the steel, the process is the same, with minor adjustments to heating.
Heating the steel
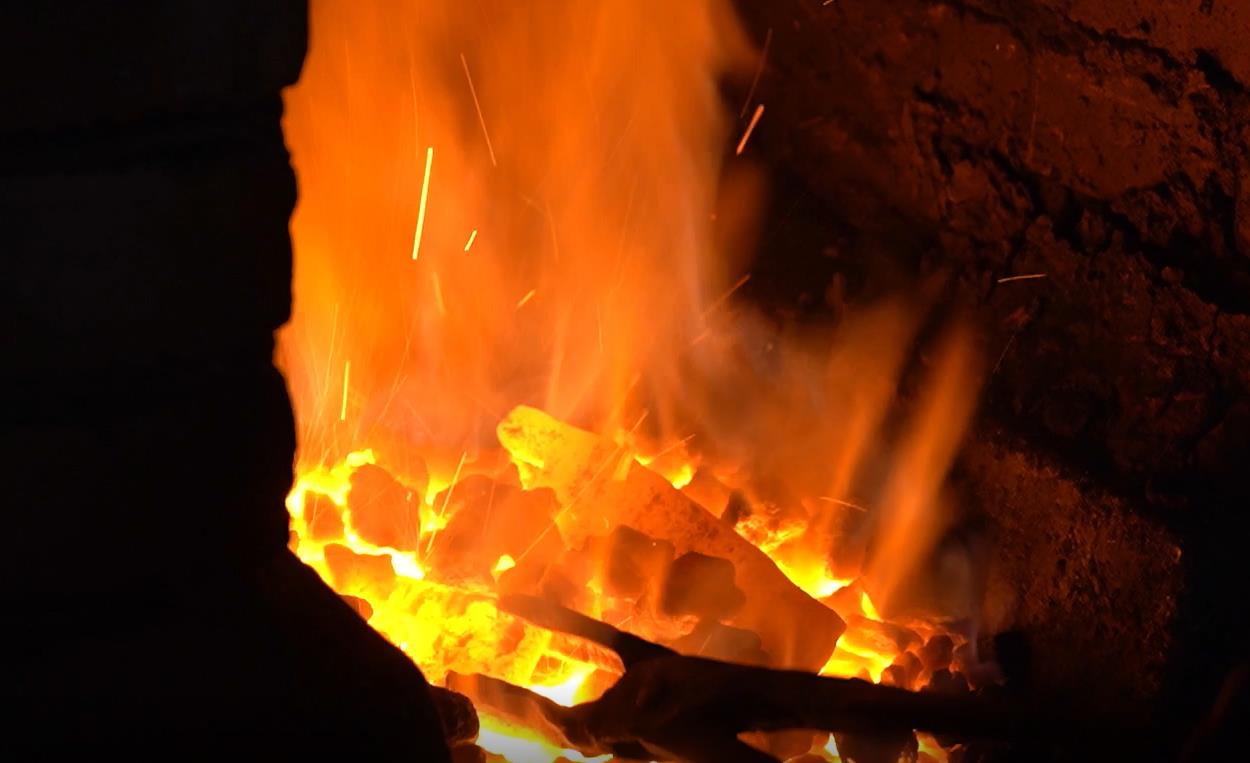
The steel block is heated in the forge until it reaches around 1,100 C/2,000 F. Different steels have different temperature requirements. Since it’s hard to pinpoint the exact temperature of the steel, it’s heated until it turns to the right color. This can be yellow, cherry red, or anything in between. As long as it’s malleable enough to begin hammering to shape, it’s adequate.
Some Japanese knife makers follow the process of covering the steel with damp paper and straw ash to reduce overheating. Known as ash coating, this process compensates for carbon loss from the heat and is primarily used by knifemakers that follow ancient methods.
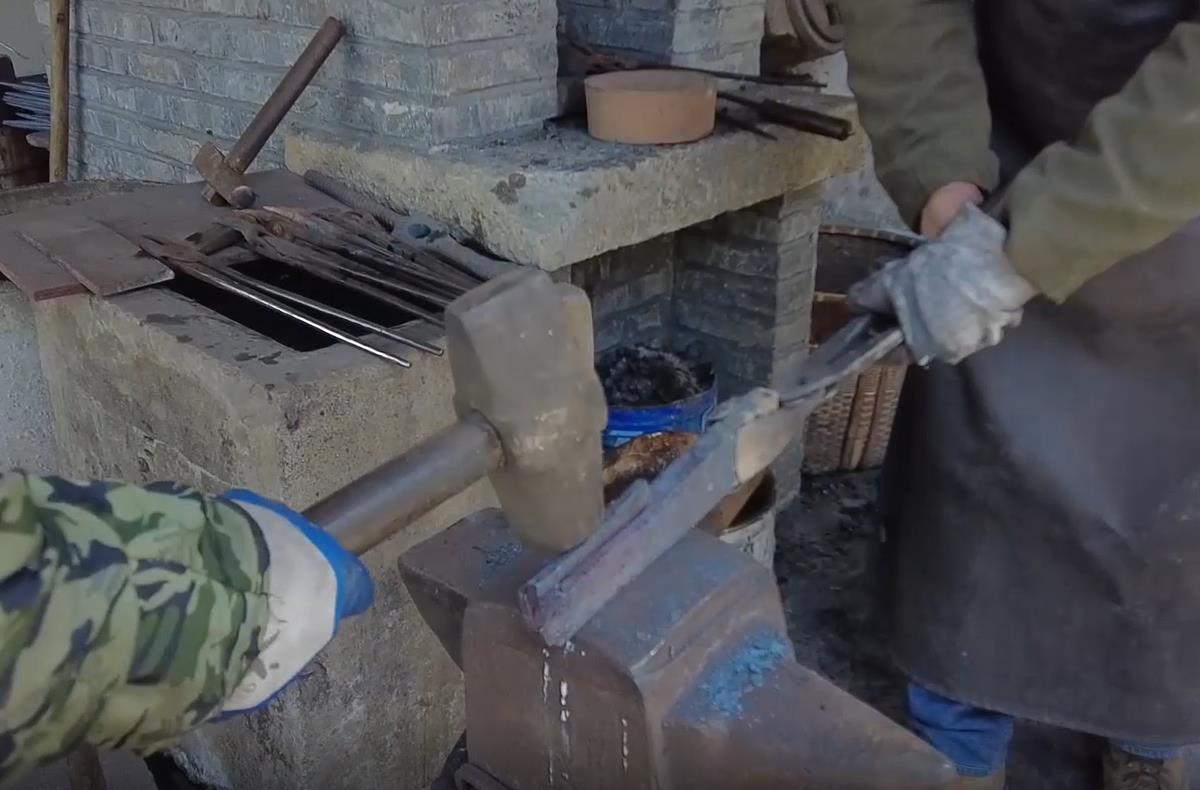
Hammering
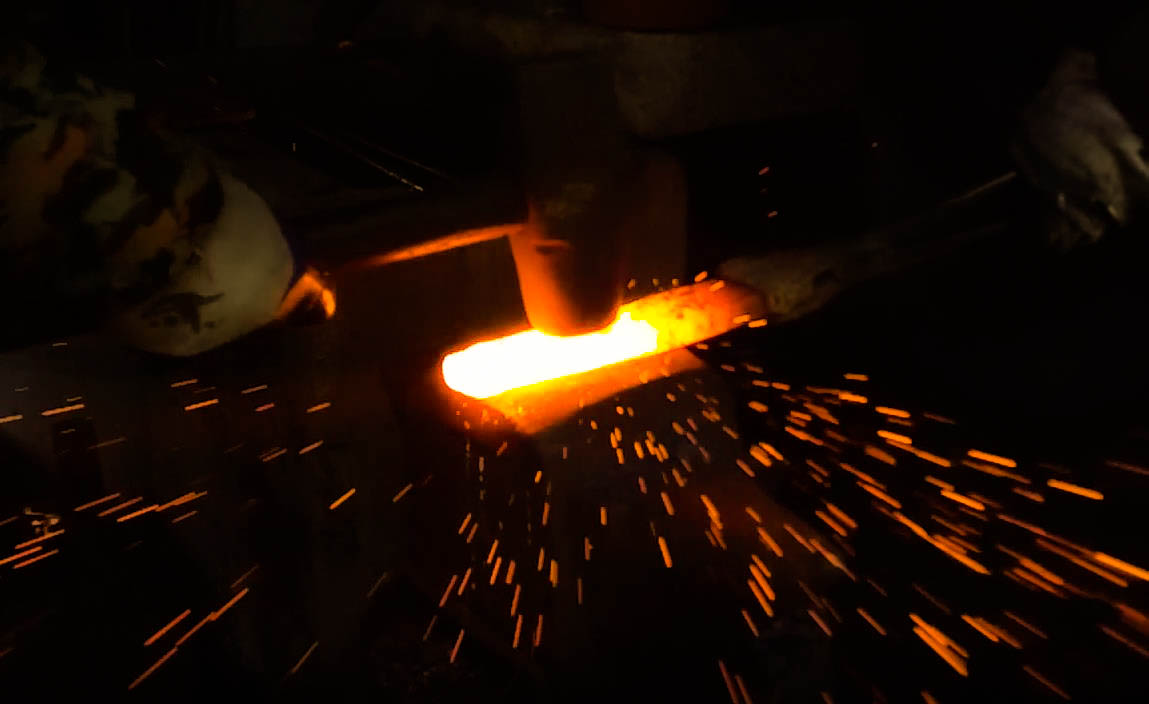
Once the steel is in the desired condition, it is placed on the anvil to start hammering. The steel is pounded to compress the steel molecules, and it begins to shape as a byproduct of that. Blacksmiths pound the steel with the hammer numerous times and flip 180 degrees to continue working on the other side.
Because hammering is done at room temperature, the steel begins to cool down, making it harder to compress the molecules and shape. So, it goes back on the forge to be heated again to ease this process. Depending on the type of steel and blacksmith’s preferences, this is repeated.
In the process of hammering the steel, some blacksmiths also fold the steel to remove impurities and improve the overall strength of the metal. This is mainly done to carbon steels to distribute the carbon content evenly throughout the block.
Shaping and quenching
Hammering the steel compresses the molecules and hardens the steel, but it also shapes the steel into a blade. As the blacksmith is hammering the hot steel, it is transformed into the desired appearance. This, of course, doesn’t happen right away. It takes countless pounding with the hammer.
Additionally, some blacksmiths will quench the steel in industrial quenching oil or water throughout the shaping process. While we’ll explain quenching in great detail in the heat treating part below, it refers to cooling the steel block immediately after hammering to compress the molecules further.
Quenching is a form of heat treating on its own but is done throughout the forging process. The knifemaking is an endless cycle of heating, hammering, and quenching until the steel is just right before moving on to the following procedure, grinding.
Part 2: Grinding
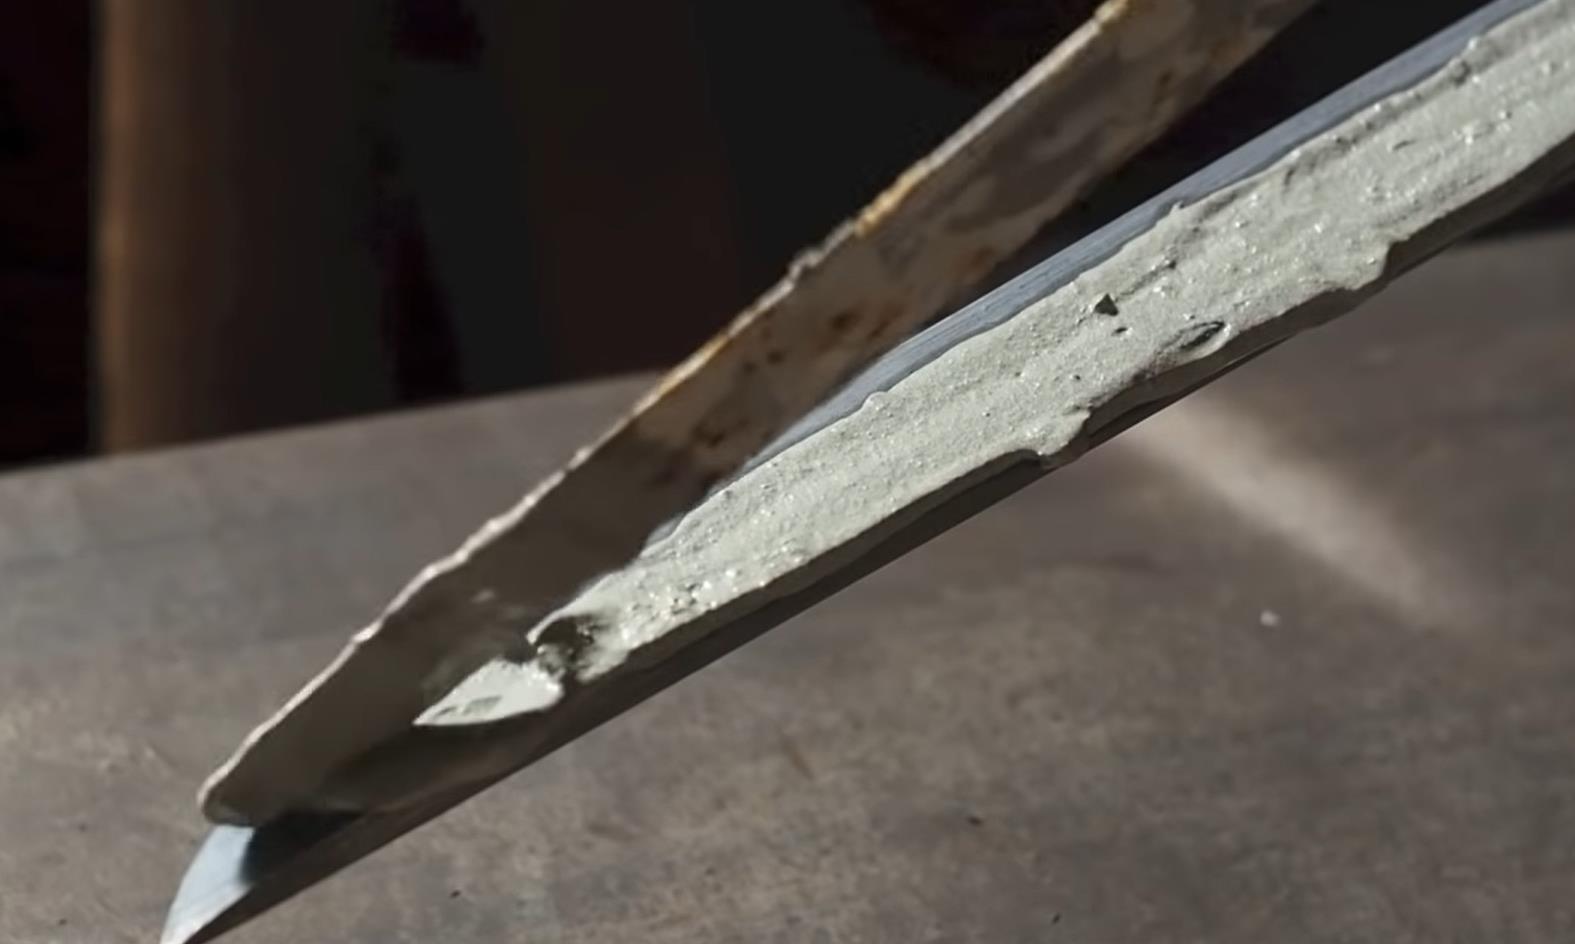
The next step is grinding after the blade is forged and got into the shape wanted. There are many reasons to grind the knife. It’s not just to smooth out the knife but also to thin it down. When forging is complete, the blade is usually thicker than you would expect in a kitchen knife.
There are multiple types of belts attached to grinding machines with a variety of grits. It can go anywhere from 200 to 2,000 grits that are used throughout the grinding. Whether it’s the blacksmith that’s grinding the knife or someone else that holds this duty, the process is the same.
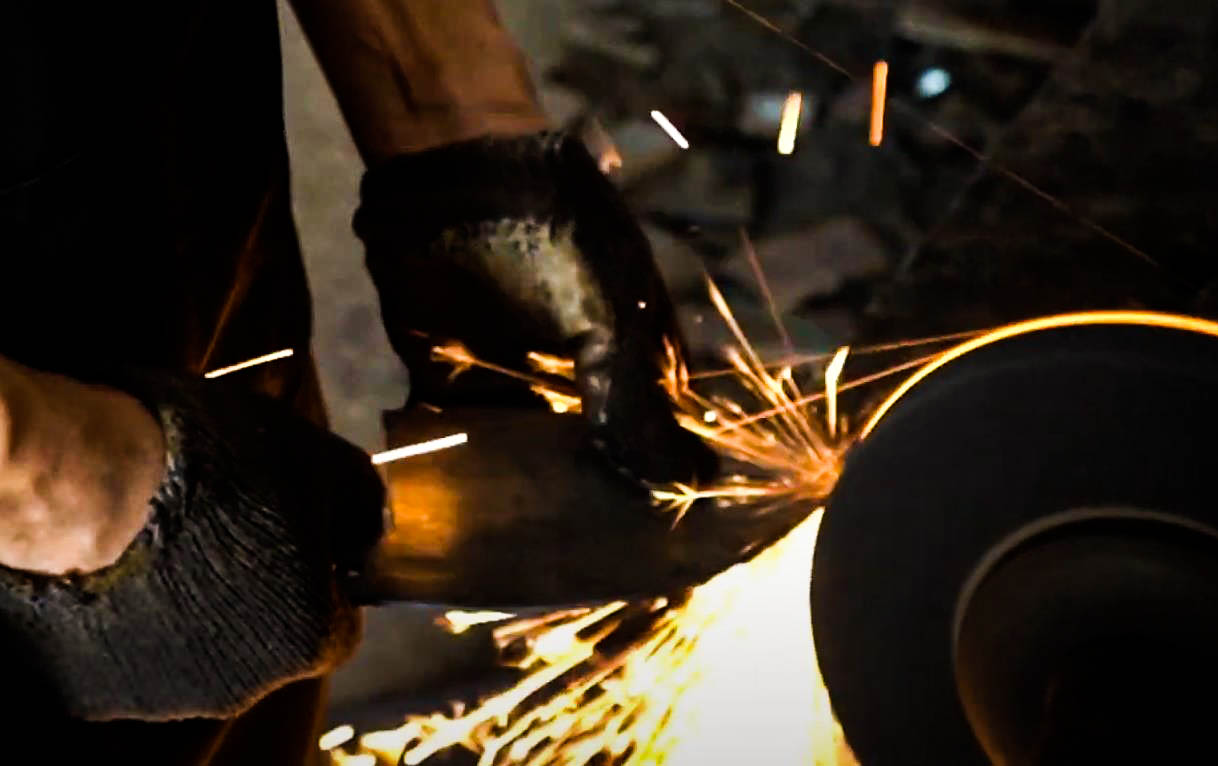
Smoothing the blade
As the grinding machine runs, the blade is held against the belt to remove any gunk left from forging. The process of grinding the entire blade and smoothing out certain parts like where the handle is going to be attached and the bolster, if the knife has any, will make it ready for thinning it down.
Because the grinding machine runs at very high speeds and the belt removes metal from the blade, it gets hot quickly. If it’s held against the grinding belt for prolonged periods of time, it can ruin the blade.
Cooling the blade frequently to avoid starting over everything from scratch is a must. The steel is cooled down by dipping it in a bucket of water after it reaches a specific temperature. The same as heating the metal when forging, the metal is cooled down multiple times until it’s ready to face the grinding machine again.
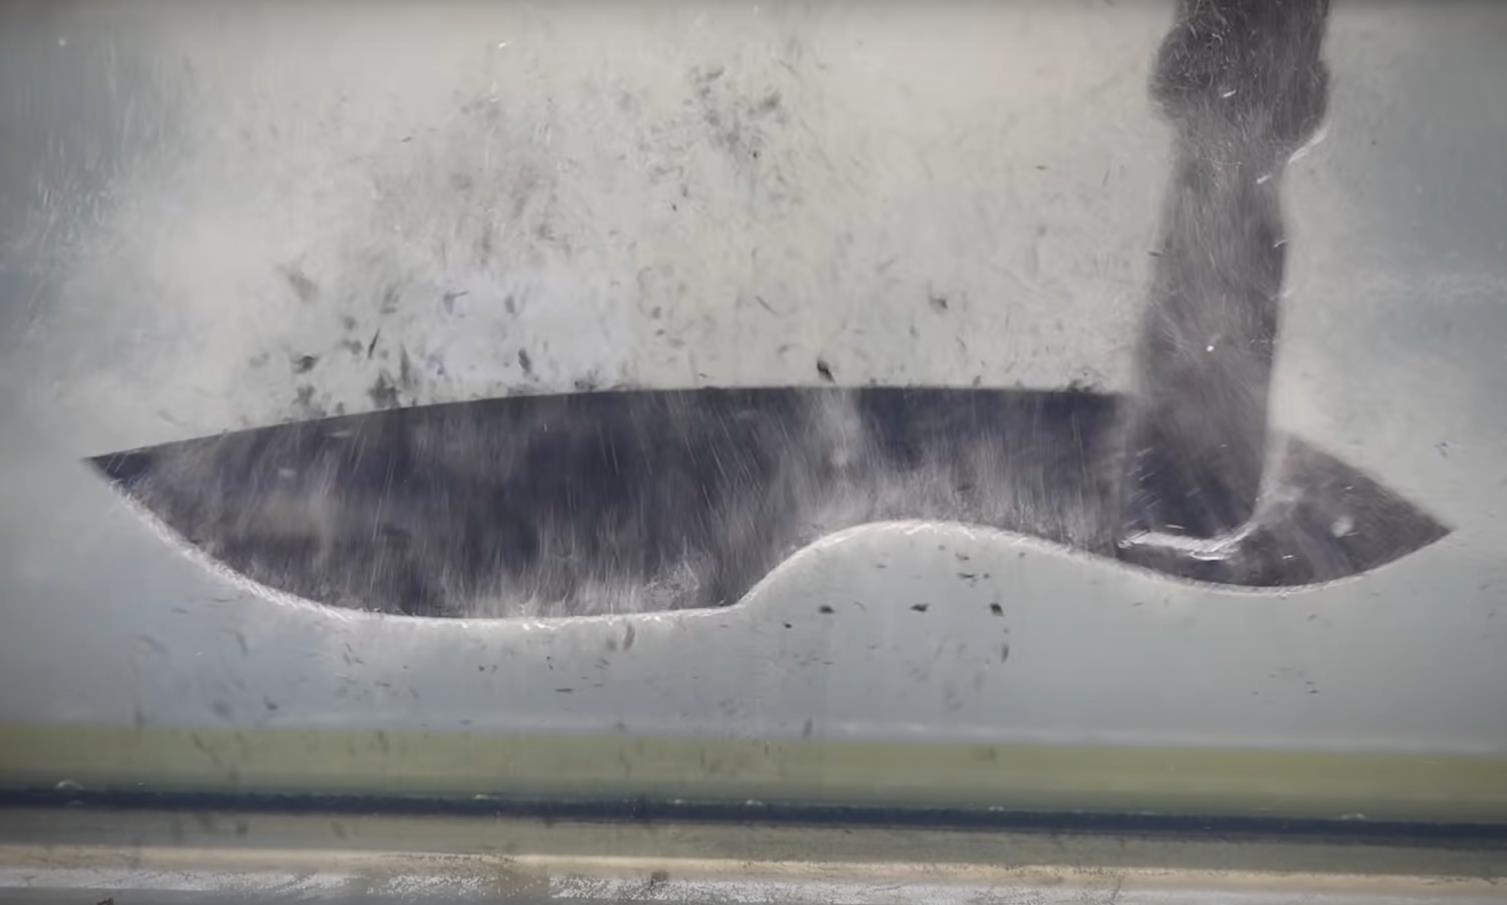
Thinning down

Once the blade is smooth enough, it needs to be thinned down. As mentioned, after forging, the blade you have is always thicker than anticipated in a kitchen knife. That’s why it needs to be thinned down, but a grinding belt doesn’t cut it.
Rather than using a grinding belt that has a small surface area, the blade is thinned down using a flat-bed grinder. It’s the most preferred way of reducing the thickness of the blade as it’s easier and thin the steel down evenly throughout the blade.
Some blacksmiths polish the blade before thinning down. This is mainly done to help see what the end product would look like. Like everything throughout the process of making a kitchen knife, it all comes down to preferences, so it’s not a must.
When the blade reaches the desired thickness, it’s usually half as thin compared to what it was before grinding. Because the thickness of the metal is reduced significantly using the grinding machine, it can have scratch marks caused by the grit of the belt. One last grinding with a high-grit belt is required to remove any of these scratch marks that you wouldn’t want to see in a brand new kitchen knife.
Different types of grinding machines
Different types of grinding machines with different grits of belts are used throughout the grinding process. This is because we can’t grind all parts of the kitchen knife using the same grit. If that were to be the case, it would do more harm to the knife than good. That’s why different grinding wheels and belts are utilized to perfect this process and produce a blade that performs the best.
After grinding is complete, the blade is ready for the following step.
Part 3: Heat treating
Heat treating is an essential part of making a knife with the purpose of hardening the steel. The same as previously mentioned details of making a knife, it has multiple steps within that are crucial to hardening the steel properly.
Hardening the steel is important because it needs to hold the cutting edge well and be in a good hardness range so that it will be flexible enough and endure the intended use.
Without heat treating, you would get a knife that looks and feels normal, but once used for the intended purpose, cutting ingredients, problems derive. That’s why every metal needs to be heat-treated to increase hardness and make it hold an edge for long.
Normalizing/heating the steel
Forging causes the molecules to compress, and as a result of this, they become oversized. There are several problems with this, but the main issue is that it will reduce the blade’s hardness, thus, preventing it from holding a proper cutting edge. Heat treating is a must due to this, and the steel first needs to be normalized to get started, in other words, heated.
The blade is now back on the forge, but it’s heated more carefully and evenly by rotating it frequently. If one side were to be heated more than the other, it could cause problems that can lead to cracking and warping. Because the steel is in the forge again for heat treating, not hammering to shape it, it doesn’t need to reach the temperatures required for forging. Instead, it’s heated slightly under the temperatures needed for hammering, at about 800 C/1,500 F.
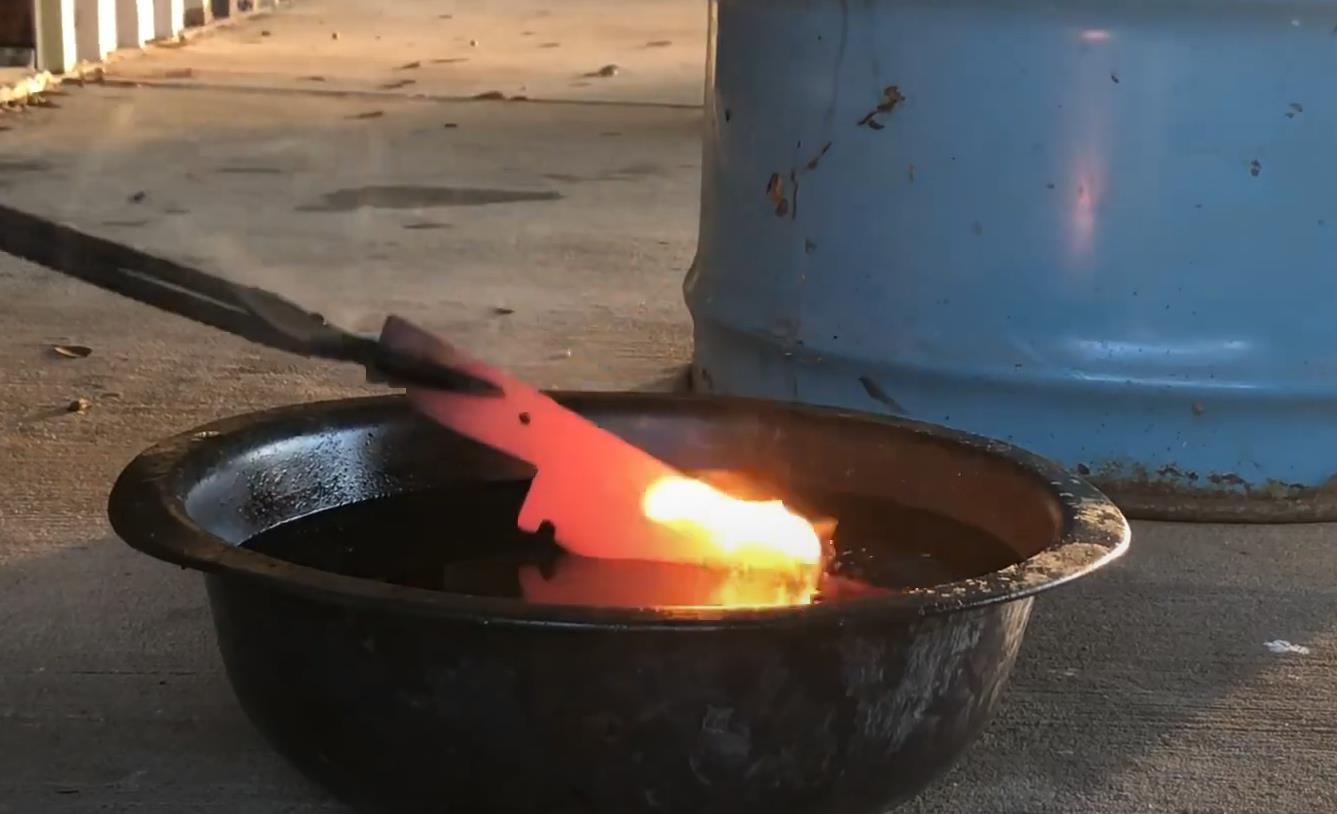
Quenching
Quenching is what hardens the steel as it won’t have time to cool down slowly, which can cause it to soften. The steel won’t have enough time to undergo phase transformations that occur at lower temperatures. Essentially, putting the blazing hot steel in a bucket full of oil or water to cool it fast shocks it, making it go below 480 C/900 F rapidly, which is the temperature the steel begins to harden.
The science behind quenching is simple. If blacksmiths were to assemble the handle and make it ready to ship out to their customers without heat treating, they would deliver a blade that isn’t as strong enough. When the blade cools down slowly from high to low temperatures, phase transformations happen during cooling, producing a metal that isn’t strong enough. This is undesirable as it can also result in crystallite forming that reduces the blade’s durability.
Quenching process
The blacksmith heats the blade in the forge until it reaches the temperature needed and sinks it in a bucket of quenching oil or water. It then stays there until it’s cool enough. The rapid transition from high to low temperatures gives us a harder piece of steel than before.
Though quenching oil is generally the most commonly used means for this, water is also used. After grinding the knife to make it the way needed, it’s heated inside the forge, and it’s submerged in quenching oil. The use of water instead of quenching oil depends on the type of steel as the water cools it a lot faster than oil, resulting in cracks and warping in certain steels. Here is a brief comparison between them.
Oil quenching vs. water quenching
The main difference between oil and water quenching is the speed of cooling the hot steel. Submerging a hot piece of steel in water cools it a lot faster compared to oil. This results in harder steel, which is sometimes the aim depending on the steel but also produces a more stressed component that can chip or break more easily than softer steel.
There is also a need for cooling fast for carbon steel. The lower the carbon content of steel, the faster it needs to cool down to trap the carbon atoms. If it’s steel with low carbon content, the goal is accomplished by quenching it in water as it cools faster, but there is more to sacrifice for steel with higher carbon content.
The bottom line is that one isn’t superior to the other. It comes down to the steel used to make a knife and the preferences of the blacksmith, like many of the previous steps mentioned.
Air quenching
Some steel doesn’t take it lightly when you cool it rapidly. The phase transformations mentioned above are sometimes favorable to certain kinds of steel, making them more durable. These types of steel are left at room temperature to cool by air more slowly.
Other heat treating methods
Annealing
While hardening steel is mostly needed to produce a top-of-the-class kitchen blade, sometimes the opposite is required. When the metal is too hard, it becomes brittle, meaning that it can chip or break and get damaged from scratching or hitting other kitchen utensils.
Annealing helps with lowering the hardness of the metal. Like quenching, the metal is heated during the annealing process but right below the melting point. Instead of using a forge, specialized ovens that are large enough to help air circulate are used to heat the metal to control this. The metal is held at this temperature for a certain period of time and cooled down slowly.
The outcome of this is a softer metal that can be further used for cold working. When a metal is cold, it can crack or break apart completely when bending. As a softer metal means a more flexible one, annealing helps with this process. In kitchen knives, annealing isn’t necessary in most cases as there is no cold work to be done – unless the type of steel used demands it.
Tempering
Tempering is a way to reduce excess hardness. Like annealing, tempering reduces the hardness but doesn’t do it as much. If metal is hardened more than needed, tempering is a way to minimize the extra hardness while keeping the steel relatively hard.
During the tempering process, the metal is heated using vacuum, air, or inert atmospheres, and the temperature is raised depending on the current hardness of the metal. The more the metal needs to be softened, the higher the temperatures as high temperatures reduce hardness.
The same as annealing, the metal is kept at the required temperature for a certain period of time, then cooled down by air. Generally, the metal stays at the designated temperature for one hour per inch of thickness.
These two heat treatment methods aren’t utilized in the process of knifemaking. Quenching is the most commonly needed heat treatment method to increase hardness as a harder metal holds an edge for longer.
Part 4: Final touches
After quenching the blade to make it harder, the blade is pretty much finished. The blacksmith can begin assembling the handle to create a knife and make the final touches.
Installing the handle
Most commonly, there are two types of knife handles: Japanese handles, also known as wa-handle, and western handles. Regardless of the handle, the tang of the knife, the part that extends into the handle, needs to be securely attached.
Usually, epoxy glue and pins are used to secure the handle. The two handle pieces come together on both sides of the tang and are glued in place. Then, pins that go in the tang are attached to firmly hold the handle’s position. During the knife making process, small holes are drilled so that pins can go through them to install the handle.
The wa-handles don’t have pins that secure them, and the handles are in one piece. So, the way Japanese knife handles are attached is slightly different. Instead of using pins, the tang is heated and inserted into the handle. As the hot tang burns the wood, the resin is released from the wood. This sticky substance works as an adhesive that holds the handle firmly in place. There is a chance of the wood cracking when installing a wa-handle on a blade. It’s a task that requires specialization and one of the reasons why wa-handles are pricier than western handles.
Polishing
After quenching, some marks are left on the blade that isn’t very pleasing to the eye. These are needed to be removed, so the blade goes back to the grinding machine, but this time, remove these spots and bring the metal’s shininess. In most cases, a coarse grinding wheel is used for polishing the blade, and metal polish is applied if necessary.
Sharpening
Because first impressions are always important, manufacturers sharpen their blades to the maximum to give a superb cutting edge. After the blade looks right, it’s then sharpened using whetstone and water. The sharpened blade is tested using a sheet of paper. If a kitchen knife doesn’t have any problems cutting paper, it’s as sharp as it gets and ready for packaging.
You can also bring back the sharpness of your kitchen knives as if they were brand new by sharpening them yourself and using honing steel regularly.
Japanese knife forging techniques
A good portion of Japanese knives are forged using other techniques that make them unique in their own way. These minor differences contribute to the overall quality of the knife.
San Mai
Some Japanese knives are forged using the San Mai technique. In this method of blade construction, the carbon steel is sandwiched in between two softer steel on both sides. Essentially, this is to get the best out of both types of steel. Carbon steel is hard and holds a sharp edge well, but it’s also brittle, meaning that it can chip when not too careful.
That’s why Japanese chefs are very delicate with their knives when cutting, not just to make their cuts accurate but also to protect their knives’ blades. Softer steel, on the other hand, is more forgiving to damages. By having softer steel on the outer layer and carbon steel in the middle, San Mai brings out the best traits of the steel and makes a kitchen knife blade that will hold a sharp edge for long with increased durability.
As Japanese knives are they are single- beveled, removing metal from the edge exposes the carbon steel in the middle when sharpening San Mai kitchen knives. This is one of the popular forging techniques used by Japanese blacksmiths. Here are other Japanese forging techniques, to name a few.
Kobuse
Kobuse is similar to San Mai but reversed. Instead of having softer steel on the outer layer with hard carbon steel in the middle, you get softer steel at the core and hard steel on the outside.
Honsanmai
Honsanmai is similar to Kobuse in terms of construction with softer steel in the middle jacketed with hard steel on the outside, but it adds another layer coating the hard steel. Generally, kawagane, a type of Japanese steel with an exceptionally high carbon level, is on the outermost layer.
Maru
Maru, also known as muku, is the typical way of forging blades using a single type of steel, generally high-carbon steel. Most Japanese knives, and even swords, are made from one kind of steel, high-carbon steel, making them maru knives.
These were just a few examples of forging methods used across Japanese blacksmiths. There are numerous other different forging techniques, with each having its own characteristics that add various properties to the blade.
Clay tempering (Yaki-Ire)
A Japanese quenching method, Yaki-Ire utilizes the use of Yakibatsuchi, a mixture of clay, ash, and water. Japanese blacksmiths cover the body of the blade with this mixture without touching the edge.
During quenching, the body of the blade covered with Yakibatsuchi cools slower than the edge. Because the body is covered with Yakibatschi and the edge is exposed, this creates two separate parts with different hardness levels in the same blade. The edge becomes harder, holding a cutting edge for longer while the body is softer and more durable.
As a result of this process, a line is created from the transition, referred to as Hamon. The kitchen knives and swords made utilizing clay tempering are also called Hamon knives.
Forged vs. stamped knife
Forged and stamped knives are manufactured differently. This article explained how forged knives were made, not stamped knives. Therefore, they are different.
As briefly mentioned at the beginning of the article, forged knives are cut from a single piece of steel, whereas stamped knives are cut from a large steel sheet.
Forged knives almost always had a better quality than stamped knives in the past, even though they are heat-treated, but with the improvements in technology and the use of better steel, it isn’t always the case anymore. Some stamped knives can outperform forged ones, but you get better steel with better quality by forging a knife. In most cases, a properly forged knife will beat a stamped knife.
Although some prefer stamped knives as they are generally lighter, most forged knives are a lot more comfortable to use and efficient in the kitchen.
Handpicked for you
True cutting power in the palm of your hand
However, stamped knives also have their advantages. If you need a large number of kitchen knives, you’ll acquire them at a more affordable price when buying stamped. At the same time, this means more sharpening and honing as stamped knives aren’t as hard as forged knives, affecting the edge retention. Overall, forged knives are generally superior to stamped knives.
When shopping for a kitchen knife, it’s always better to hold it and see if it feels comfortable and suitable for the tasks you will perform with it. Whether forged or stamped, purchase the knife that you’re most comfortable with using.
Conclusion
There is a lot that goes into making a kitchen knife. It’s a multi-step process that takes hard work. After knowing how knives are made, most people start respecting and caring for their knives. After all, they are the most commonly used tool in the kitchen that pretty much touches every ingredient that we eat.
On our handmade kitchen knives page, you can find kitchen knives forged by hand that are tough and handle everything you need. Though hand forging a knife takes time and work, we pride ourselves in bringing them to everyone at an affordable price.