Cutting food on the bias simply means to cut food at an angle. The accepted angle for kitchen usage being 45 degrees.
In this article we’re going to explore cutting ingredients on the bias. What it means for the food you prepare, how to do it like a pro chef, and some other essential knife cuts that will benefit you in the kitchen at home!
Table of contents
The why of cutting ingredients on the bias
As with any new skill you want to try, it’s motivating to understand the why and the methodology behind it.
Professional chefs use the bias cut in their kitchens for a number of reasons and these apply to you at home too! Consider the following.
Bias cut food is:
- Attractive and elegant in its presentation
- Cut into a manageable surface area for easier eating and better mouth feel
- More quickly cooked as you’ve increased the surface area and exposure to heat of the ingredient
- Good for maintaining nutrients as food cooked quickly preserves more nutrition
- Better for browning and developing good color as the exposed areas of the food are in direct contact with the heat source
When is cutting on the bias appropriate?
Just about any food can be bias cut, but this cutting technique is usually used for ingredients that are long or tubular in shape.
Common examples would be things like celery, carrots, leeks, long radishes like daikon or zucchini. If you want to cook ingredients like those listed above quickly, a bias cut would be both eye pleasing and appropriate to the cooking time.
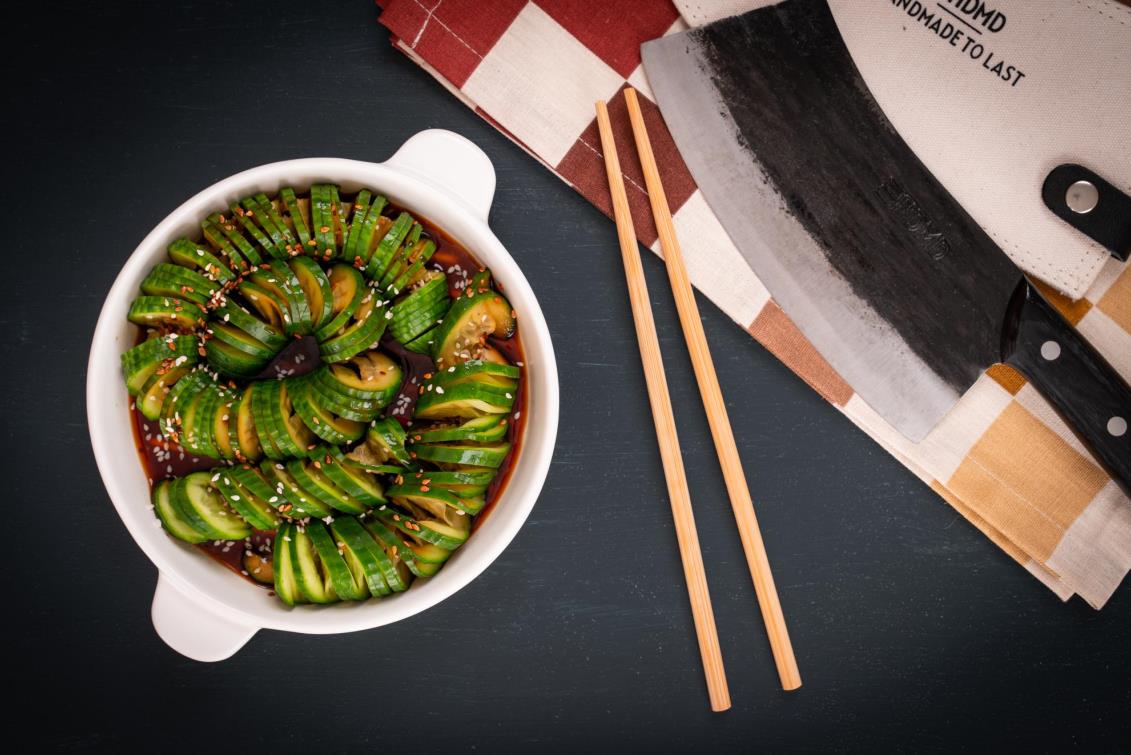
In Asian cuisine a bias cut is favored not just because it adds depth and shape to fried dishes. But because dishes like stir fries have a very short cooking time and bias cut ingredients brown up and cook through very quickly.
The bias cut can also be used to brown up and soften long vegetables and herbs. For soups, casseroles, savory pies, and sauces (just as a few examples) where the finished look of the ingredients is important and adds to the eating pleasure.
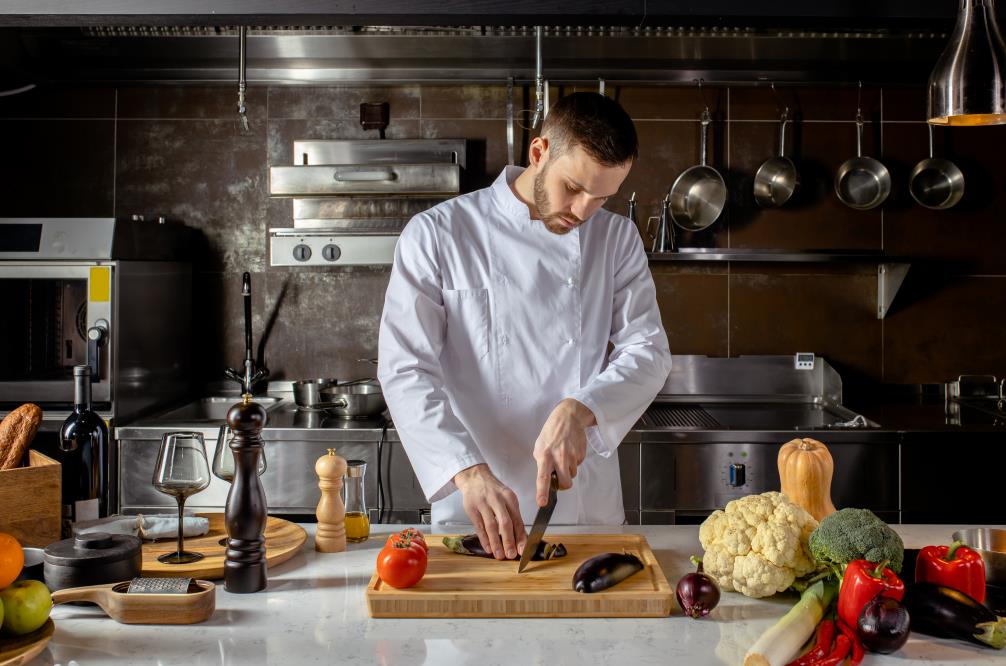
How to bias cut vegetables – step by step!
For this you’ll need:
- Your vegetables to be cut
- A cutting board
- Your trusty chef’s knife
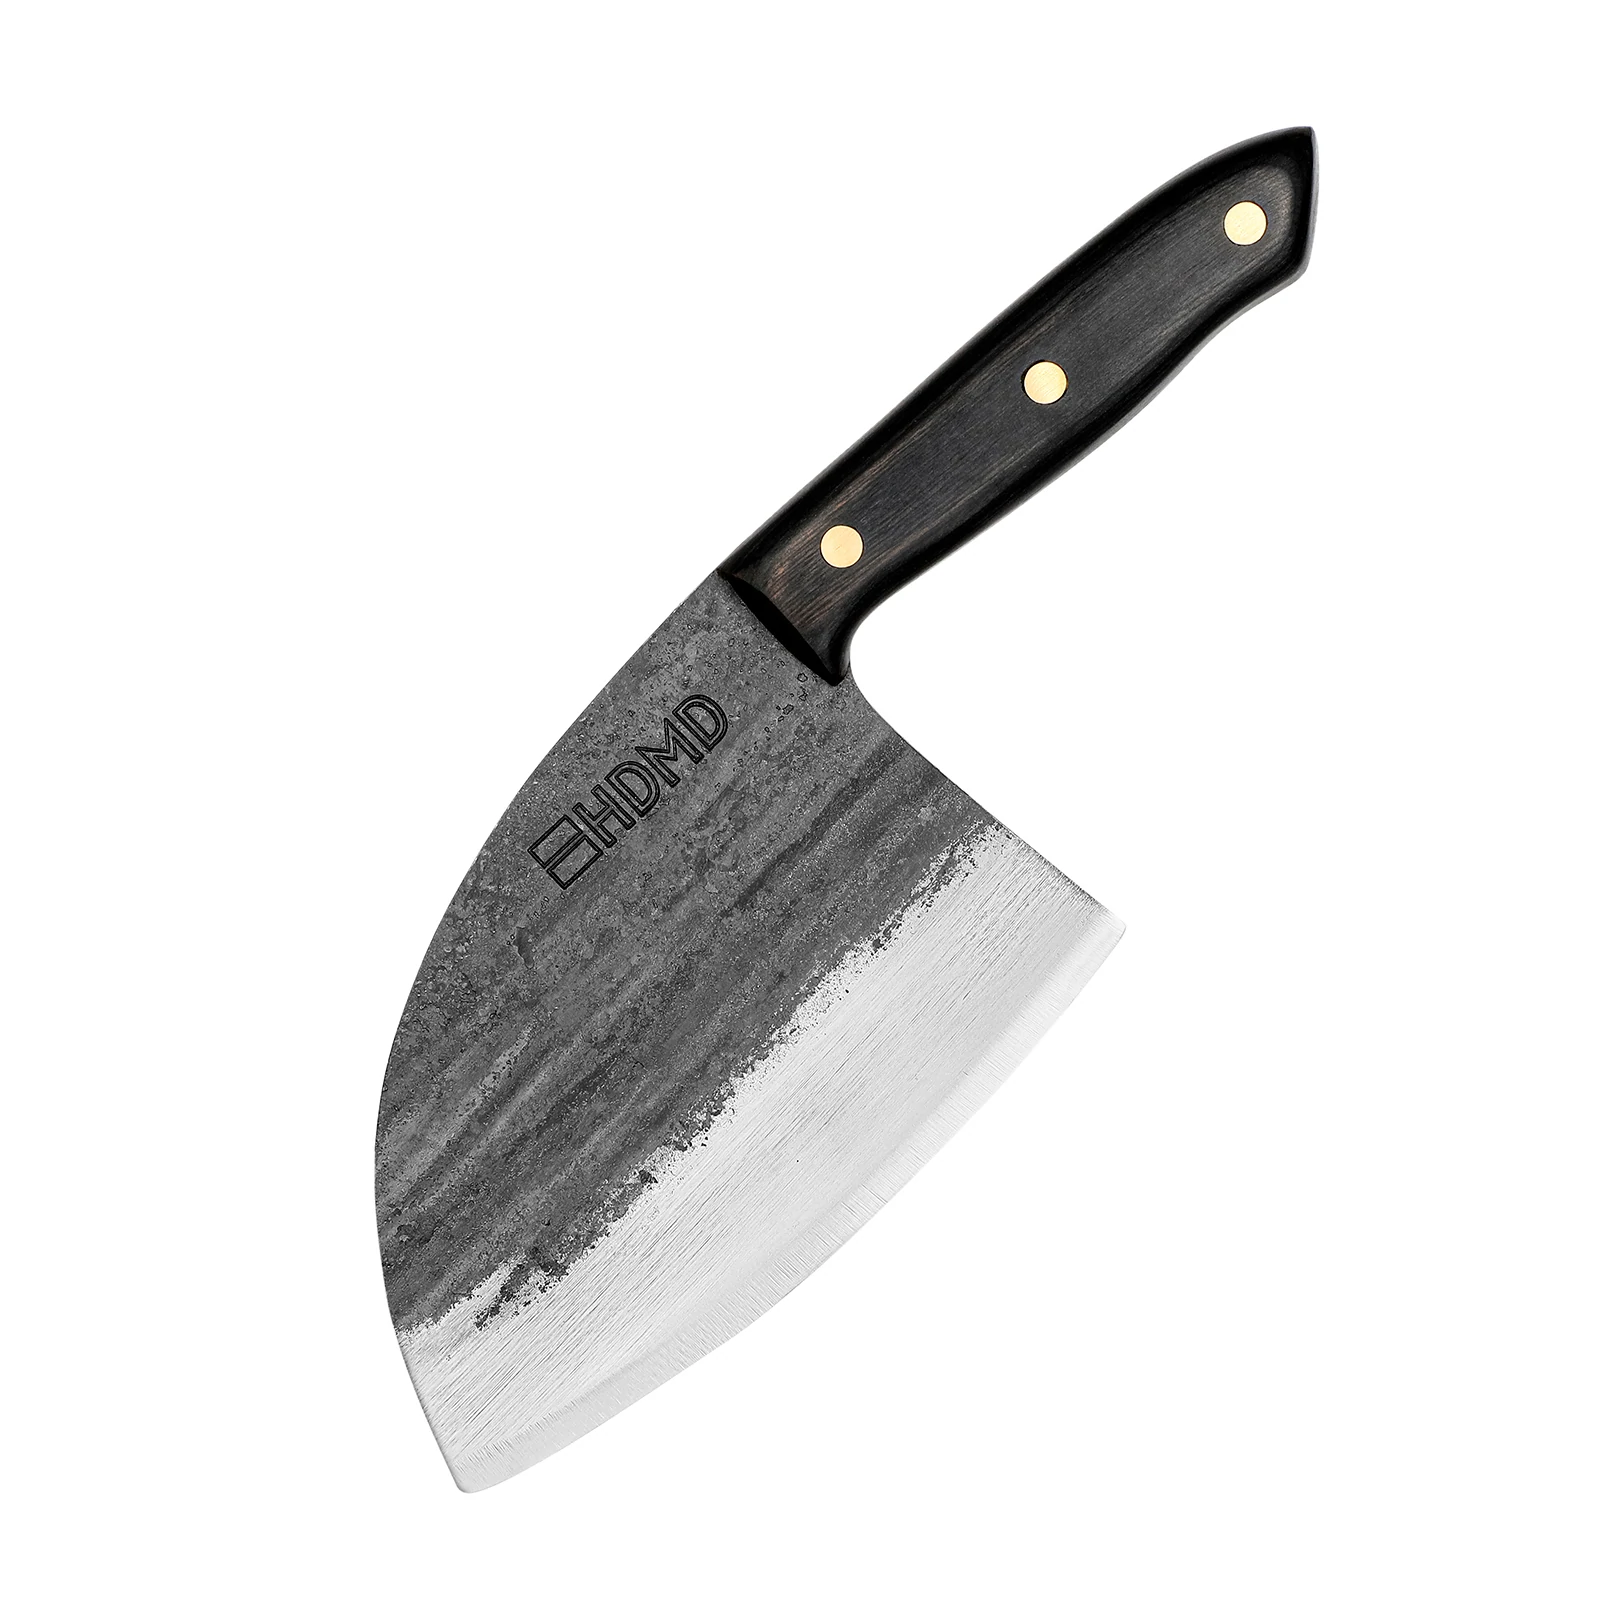
Handpicked for you
True cutting power in the palm of your hand
Method
- Firstly, wash, peel and trim your vegetables as directed for your recipe. Remember to reserve any trimmings like leafy tops or end pieces for use in stock or for your eco – friendly compost heap!
- Once your vegetable is prepped, lay it on the cutting board horizontally in front of you.
- The vegetable will be laying across your body in orientation, so placed running from hip to hip in front of you.
- Holding the vegetable securely in your non – knife hand, you’re going to place the knife at one end giving space for your initial cut.
- You’re going to hold the knife dead straight in front of you (90 degree angle), then tilt the blade towards the cutting board so that it’s halfway between straight up and the board. That will be a 45 degree angle.
- Now, once you’ve established a rough 45 degree angle for the knife and how it sits in your hand, you can begin cutting the vegetable.
- Start cutting at this 45 degree angle through the vegetable, this will give angled ‘faces’ to the pieces of vegetable that you cut.
- Place the knife at this same angle throughout, cutting along the vegetables in increments or spaces that give you pieces of vegetable in the size that you want.
- Continue on in this fashion until the whole vegetable is cut on the bias, you’ll have a lovely pile of very pretty bias cut vegetable pieces to use!
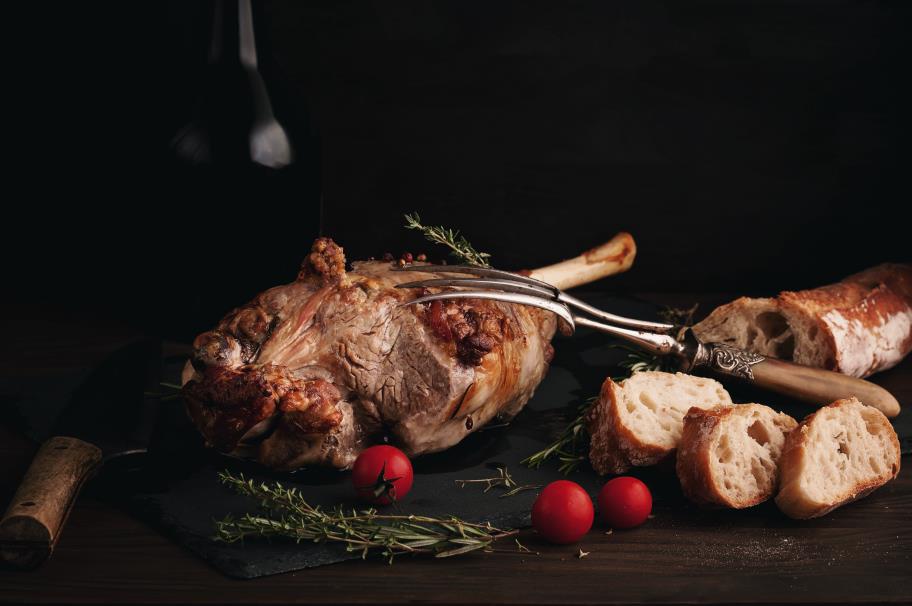
How to bias cut meat – step by step!
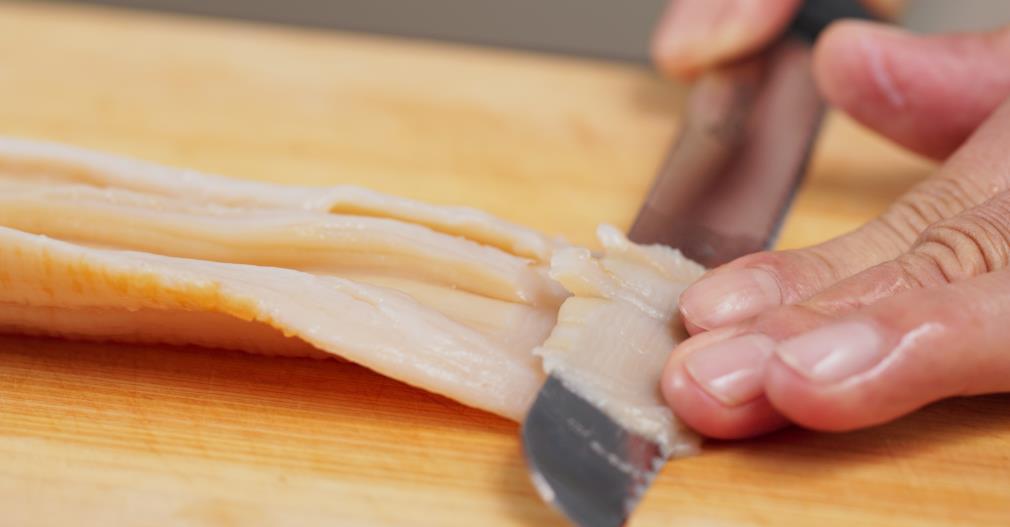
- Place the meat on the cutting board in front of you horizontally, as outlined before, running from hip to hip.
- Trim off any bone and excess fat that you don’t want.
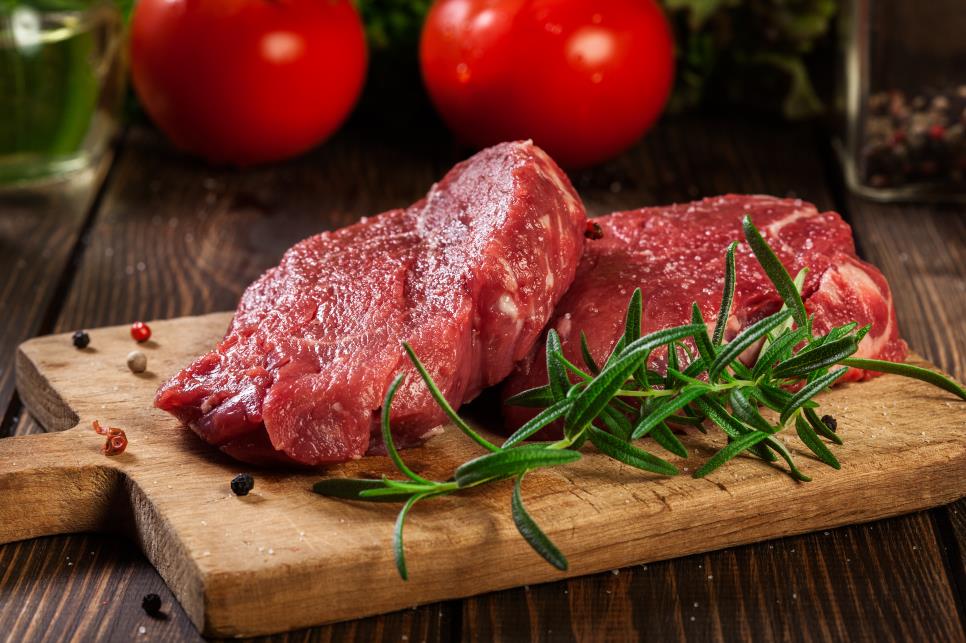
- Take a close look at the flesh of the meat and you should see a direction to the threads of muscle, they may run horizontally or diagonally but you’ll see a pattern to them like threads in a cloth.
- If the muscles (grain) of the meat run diagonally or horizontally across, you’re going to tilt the knife blade to 45 degrees and slice vertically through the meat in increments, with the knife pointing straight ahead of you in other words but tilted to 45 degrees.
- If the direction of the meat grain (muscle direction) is running vertically (up and down) you’re going to slice through the meat horizontally in increments with the knife blade tilted to 45 degrees.
- Continue slicing through the piece of meat maintaining that 45 degree angle to your knife and cutting perpendicular to the grain of the meat.
- When you’re finished your meat with be cut both on the bias AND against the grain, just as the best chefs would prepare it.
Why you should cut meat on the bias and against the grain – benefits!
Butchers and cooks in the know take the time to cut meat on the bias (at 45 degrees) and against the grain for the following reasons:
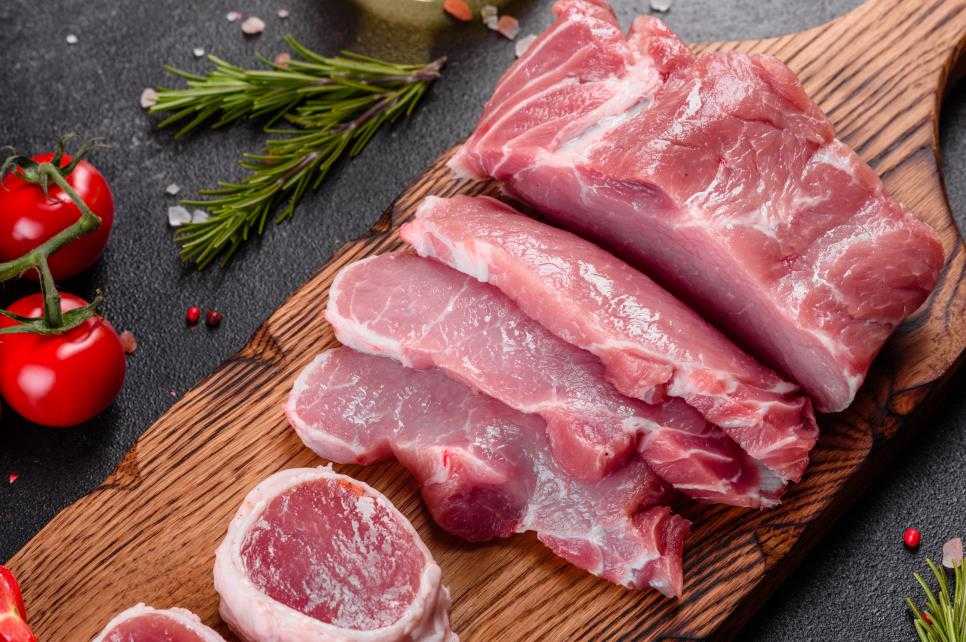
- Bias cutting can give very fine slices which cook quickly and look good
- Bias cutting opens up the surface area of the meat flesh, meaning that it cooks and browns faster
- Cutting against the grain or direction of the muscle fibers makes the meat very tender as you’re dividing the muscles
- By cutting against the grain, you’re also shortening the muscle fibers in the meat, this makes it easier to eat and gives better mouth feel and enjoyment
Other popular knife skills that you may find handy in the kitchen

Cutting rounds or coins
This cut is just made for long or tubular ingredients. To get rounds, put the item horizontally in front of you and cut from one end to the other straight down, leaving spaces between cuts as big as you want your rounds to be.
Cutting half moons
To get half moon shapes, simply cut your item into rounds as outlined above, then slice each round straight across its widest point in the middle. This will divide each round or coin into a half moon shape.
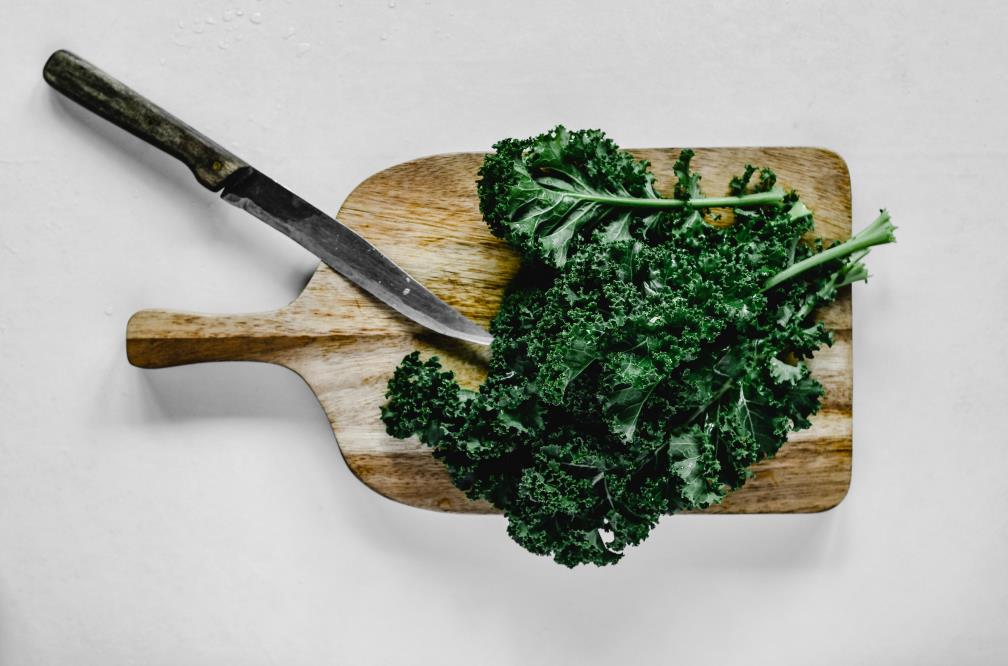
Chiffonade cut
Chiffonade cut is made for leafy veg and herbs. Simply pull all the leaves or sprigs of the ingredient together in a tight bunch, holding the pieces together with your non – knife hand. Cut down through the pile working along its length and keeping the cuts very close together until you reach the end of the pile. This will produce a chiffonade or very fine strips of your ingredient.
Dice cut
To get dice or small blocks of your ingredient, first cut the item lengthwise so that you’ve divided it into sticks. Place the sticks together in a bunch horizontally in front on you and now cut vertically down through the bunch, starting at one end, and working towards the other.
This will divide your pile of ingredient sticks into little blocks. Close together vertical cuts will give tiny dice, whereas vertical cuts further apart will produce chunkier dice that you could use in soups for example.
In conclusion
This article has explored cutting on the bias and how to use it in your kitchen to good effect. Hopefully we’ve demystified bias cutting for you and also introduced some other knife skills, tips and techniques that’ll make your meal prep a doddle!
We hope that you’ve enjoyed this article and look forward to seeing you again in our blog section. Looking for quality handmade kitchen knives to begin your culinary journey? Check out our collections!