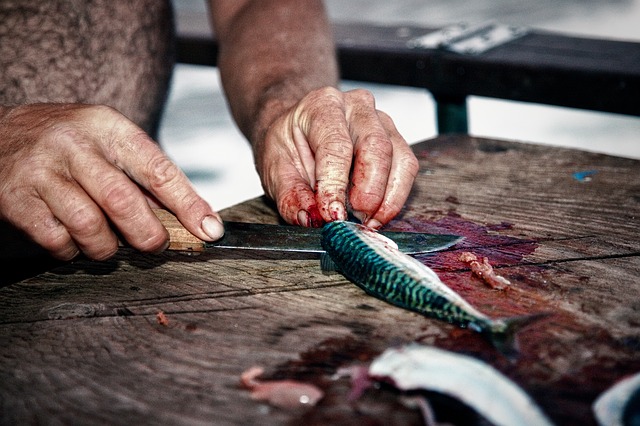
Learning to turn ingredients into smaller pieces using different knife cuts is crucial if you’re a home cook. Simply cutting fruits, vegetables, meats, and other edibles in various ways opens up a whole new world that makes cooking, plating, and serving food better.
Recipes call for ingredients to be cut in different ways. If you don’t execute them right, the result you get compared to what the recipe should look like will be vastly different than what you anticipate. That’s why it’s important to know the proper cutting techniques to nail each recipe.
Mastering every cut technique will also help you become a better cook, and you’ll be a lot more confident using your kitchen knives. This article will detail the most common knife cuts that you come across in food recipes.
Table of contents
Holding the knife
The recipes won’t look right if you don’t know how to turn ingredients into appropriate chops, dices, strips, or whatever it calls. The same goes for cutting if you’re not correctly holding the knife.
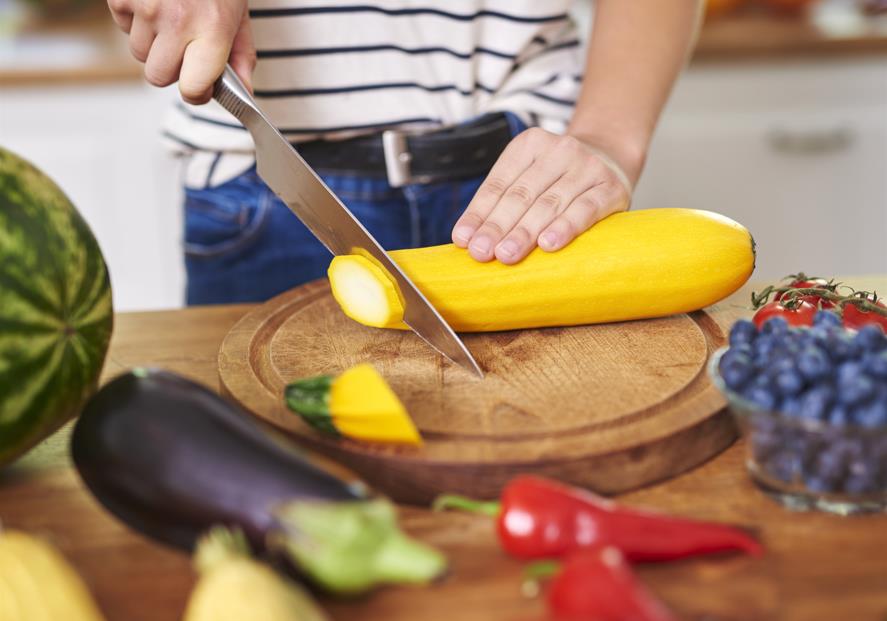
The pinch grip is the most efficient way to hold the knife for beginners and intermediate cooks. To hold the knife like this, pinch the heel of the blade with your thumb and forefinger, and firmly wrap the handle with the rest of your fingers. In this way of holding the knife, the blade becomes an extension of your arm, providing superb control.
Dice
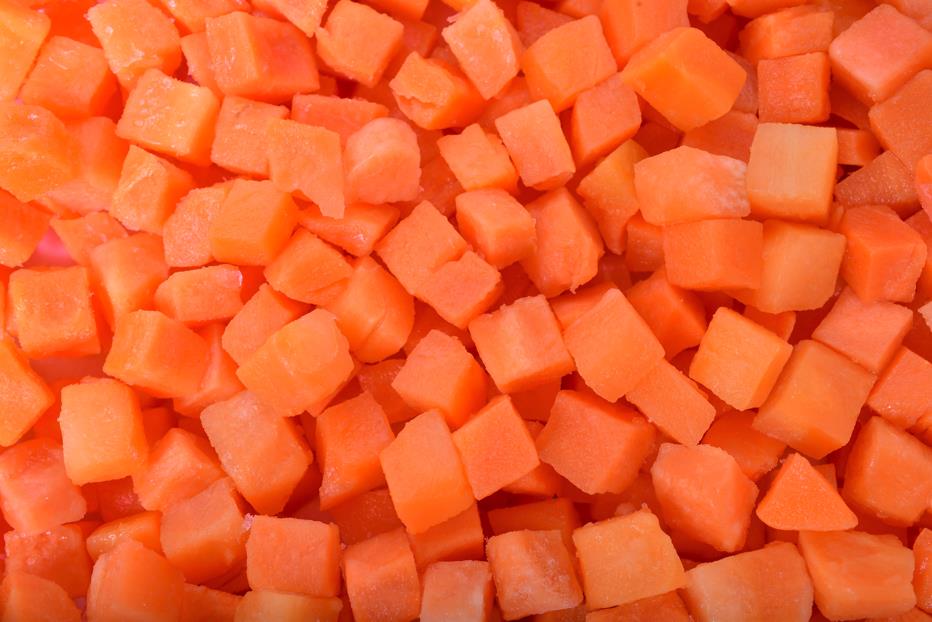
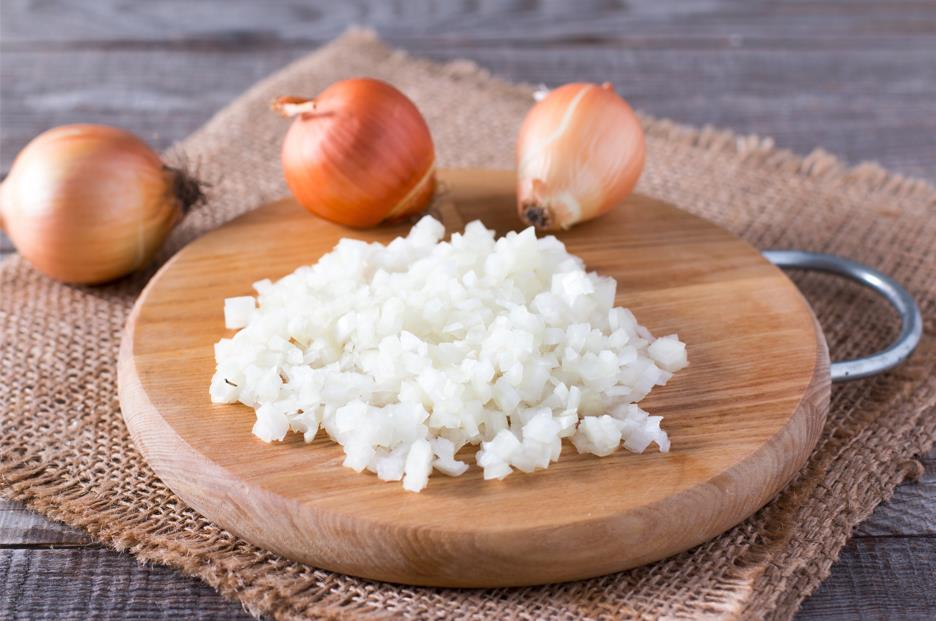
Many recipes call for diced tomatoes and onions. Diced ingredients are essentially cubes that resemble dice, hence the name. There isn’t a single dice; however, you’ll see recipes requiring vegetables to be turned into small, medium, or large dice.
As previously mentioned in one of our previous articles explaining chopped, diced, and minced, the three different sizes are as follows.
- Small Dice: 1/4 inch
- Medium Dice: 2/4 inch
- Large Dice: 3/4 inch
It’s normal for beginners to think it would take different techniques to get each of the three dice sizes, but they’re all relatively the same. The method to get small, medium, and large diced ingredients is to cut the initial strips that outline the cubes at the right consistency. The thicker the strips, the bigger the cubes will be, and the thinner, the smaller, and so on.
How to dice
In countless food recipes, especially when making pies, desserts, and sauces, ingredients must be diced. Some of the steps might be different when dicing a fruit or vegetable due to their shape difference. Regardless of the shape, you’ll slice the ingredient and turn those slices into strips, then dice. It’s pretty much the same with every ingredient. Here is how to dice.
- After washing, peeling, coring, or whatever the ingredient requires before dicing, cut it in half and lay it flat on the cutting board.
- Follow up with lengthwise cuts to create planks. The more lengthwise cuts you make, the slimmer strips you will have; therefore, dices will be smaller.
- Hold the ingredient in place and make slices that will create strips, which will also outline the second dimensions of each dice.
- Start dicing.
Dicing tip: After dicing other ingredients that oxidize when exposed to air, like apples, you can drip a little lemon juice over them to prevent this from happening quickly.
Why dice?
Dicing is famous for several reasons. This cutting technique creates uniformed pieces that look consistent and cook evenly. It looks aesthetically pleasing and makes plating easier. You can dice any ingredient to cook and spread flavor and texture throughout the dish. It also allows for a faster cooking time.
Chops
Chopping and dicing are very similar cutting techniques but have their differences. Firstly, chopping foods don’t require every piece to be approximately the same size and shape. It’s a more straightforward approach to cutting ingredients into smaller pieces.
How to chop
The shape doesn’t matter as much as the size when chopping. Undoubtedly, having pieces that relatively look the same would help, but as long as every piece is roughly the same size, you’ll get the job done flawlessly.
- Prepare the ingredient you’re chopping. For example, peel the skin and trim off the parts that aren’t edible.
- Start chopping by rocking the blade. It’s the fastest technique to chop ingredients, and you can do this by touching the tip of the knife on the cutting board first, then contacting the edge with the food you’re chopping.
Why chop?
Chopping is a time-efficient way to cut up ingredients. This knife cutting technique comes in handy when preparing multiple dishes simultaneously. It’s an essential cutting technique that every cook must master as it’s a fast method to cut and saves you so much time.
Mince
Mincing is the smallest cut listed in this article. Mince foods when you need to turn ingredients into tiny uniformed pieces to add flavor throughout the dishes without sticking out as if it was never there.
How to mince
Mince by continuously rocking the blade over the ingredient, reducing its size as if it was shredded.
- Take the ingredient you’re mincing on the cutting board and start slicing it with your chef’s knife. You can use any other kitchen knife to mince ingredients, but a chef’s knife works the best.
- After they’re finely sliced, rock the knife’s blade over them continuously.
- When mincing ingredients, it’s inevitable for some of them to stick to the sides of the blade due to water released. This is especially common with vegetables and fruits. Use a finger or two to drop them on the cutting board carefully in a swiping motion to resume mincing.
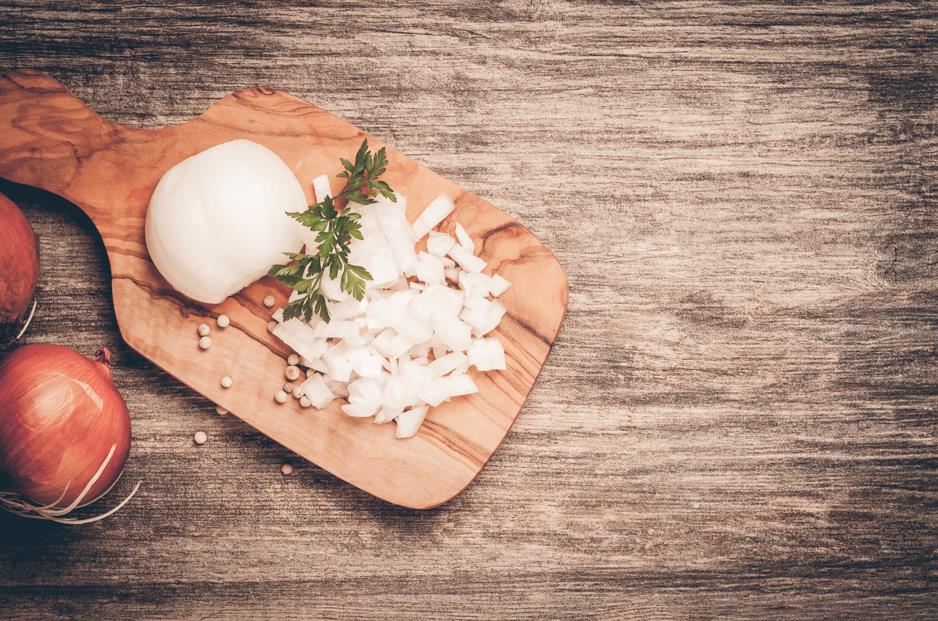
Why mince?
Many ingredients have intense flavors like garlic and onions. Even if you finely chop them, they can add an unpleasant bitter taste. Imagine eating stew and munching on a chunk of garlic. Though some may prefer this in their meals, most don’t favor it. That’s where mincing proves itself to be a beneficial knife cut. Mince to complement dishes without bitter flavors stealing the show from the main ingredients.
Julienne

Julienne is the chef’s word for strips. These cuts are also known as matchsticks, transforming vegetables and fruits into thin, long strips.
How to julienne
Julienning vegetables and fruits may take time, but they’re definitely worth it. Creating thinly sliced strips makes plating awesome and gives a better representation of dishes.
- Cut vegetables and fruits into pieces at the desired length after they’re cleaned, peeled, and trimmed. This will determine the size of your cuts.
- Slice each segment so that it will be flat on the cutting board.
- Cut the carrots lengthwise into roughly 1/8 inch planks. This will determine the thickness of each cut.
- With everything stacked on top of each other, start julienning at the same thickness as the previous step.
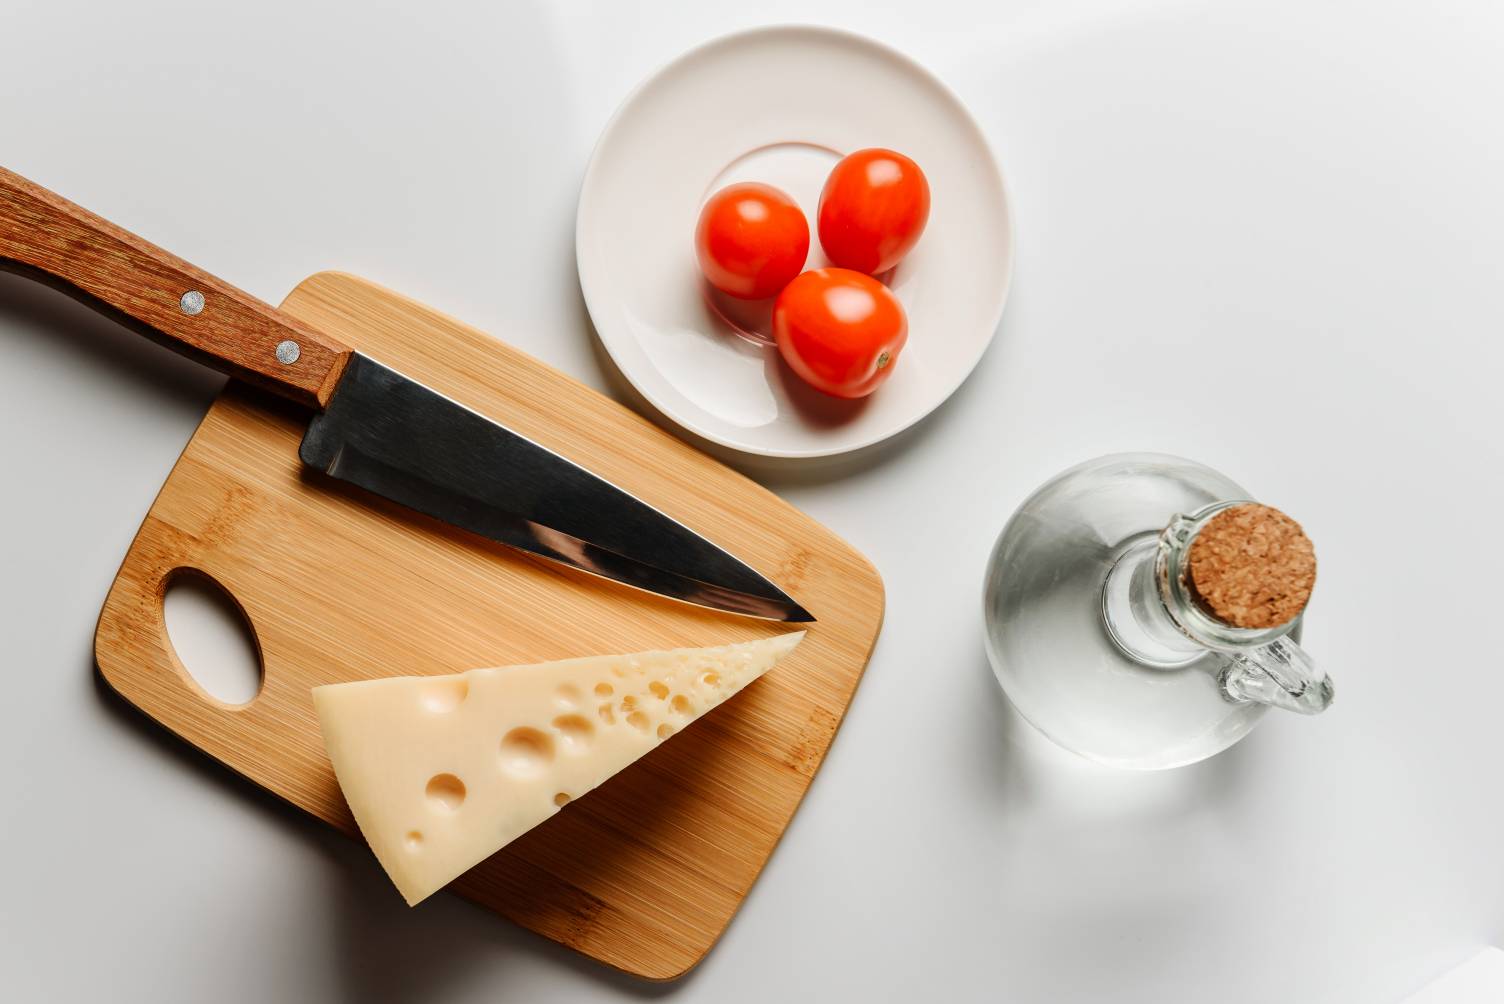
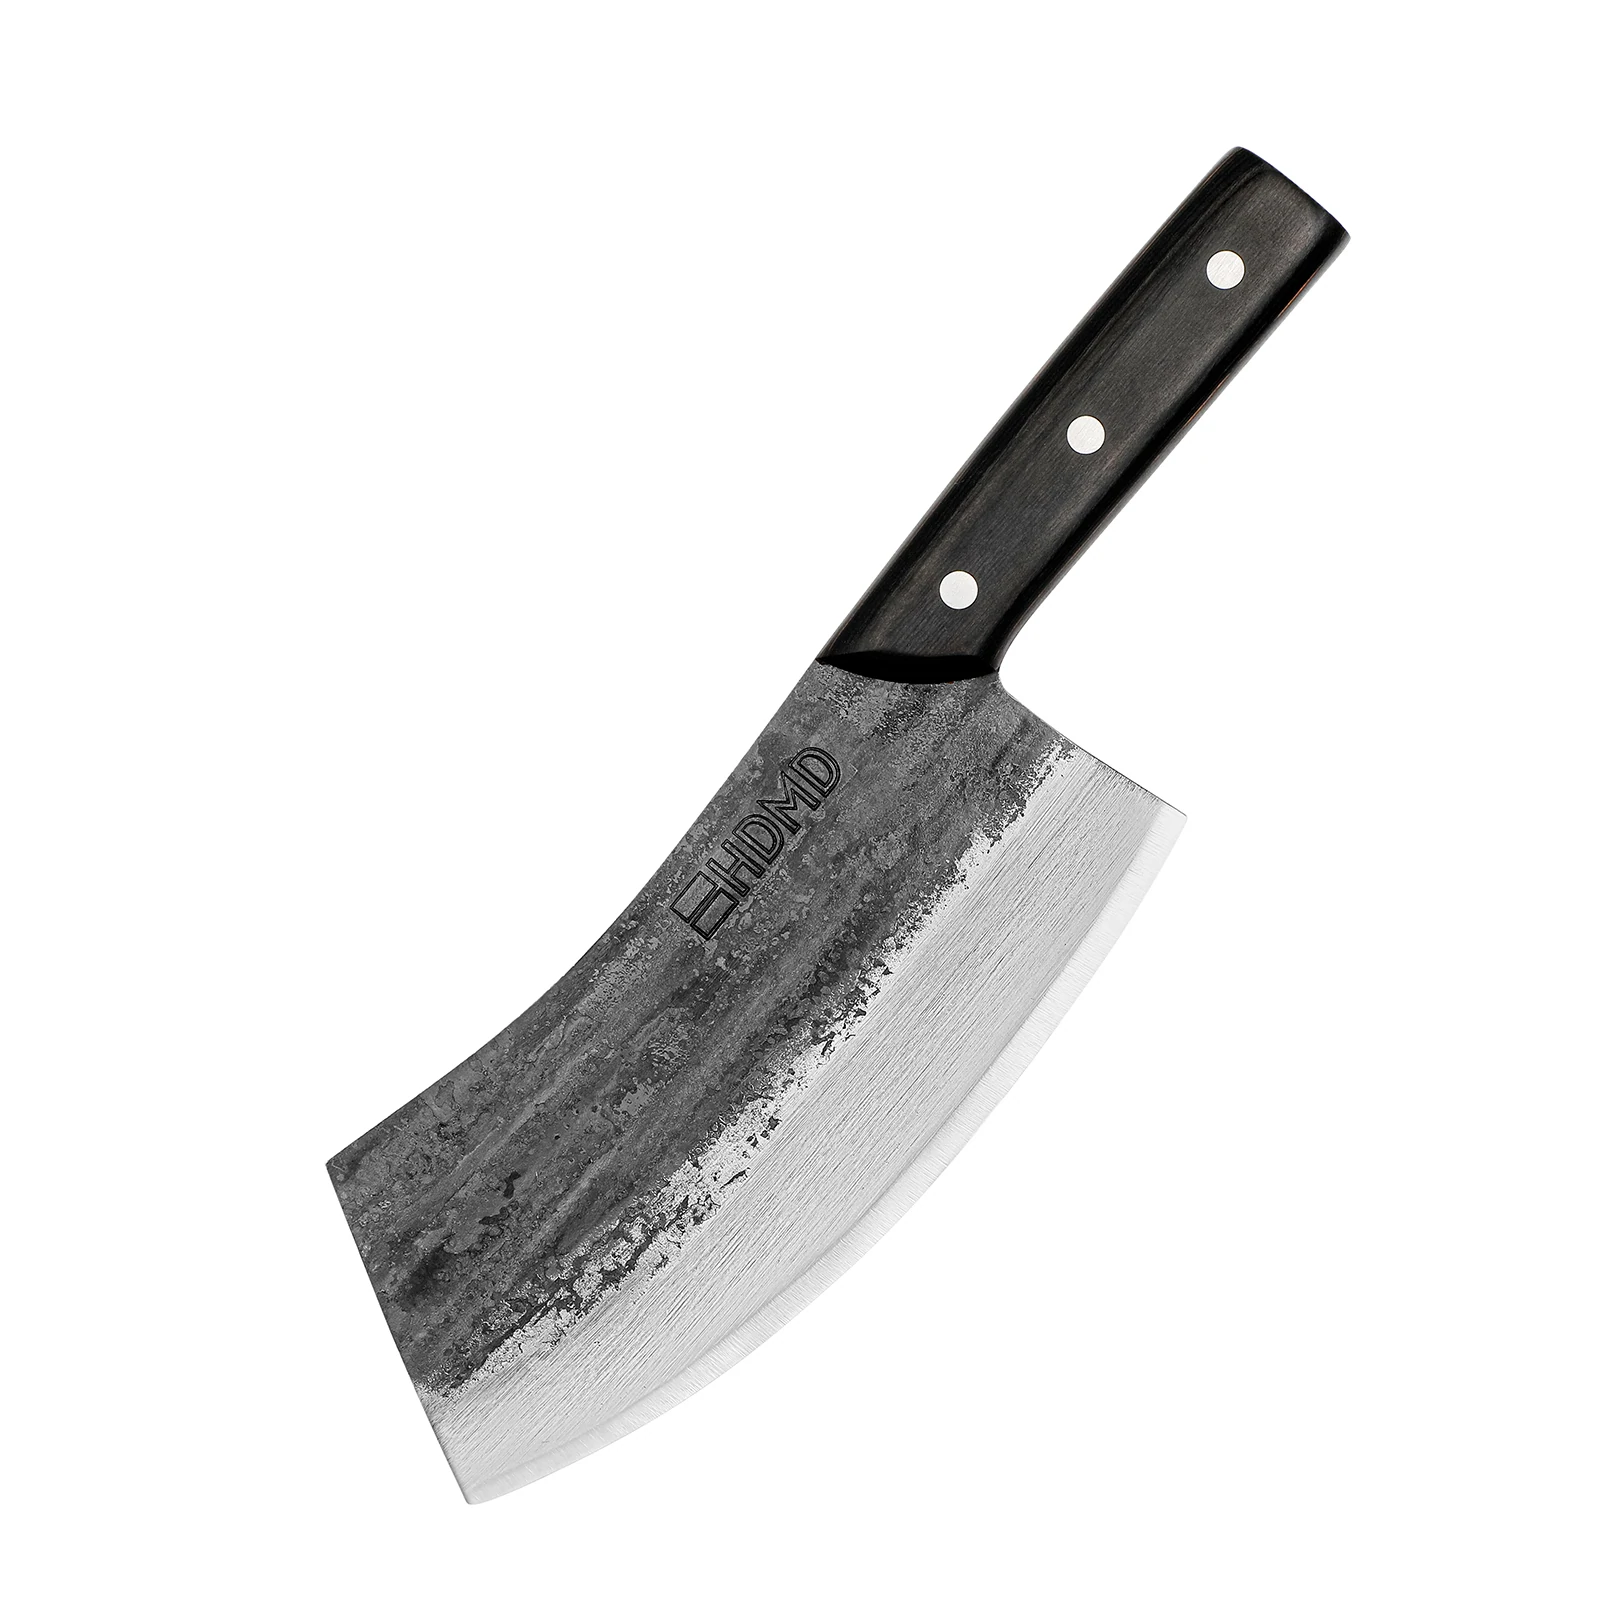
Practice your cuts with the best knife
True cutting power in the palm of your hand
Why julienne?
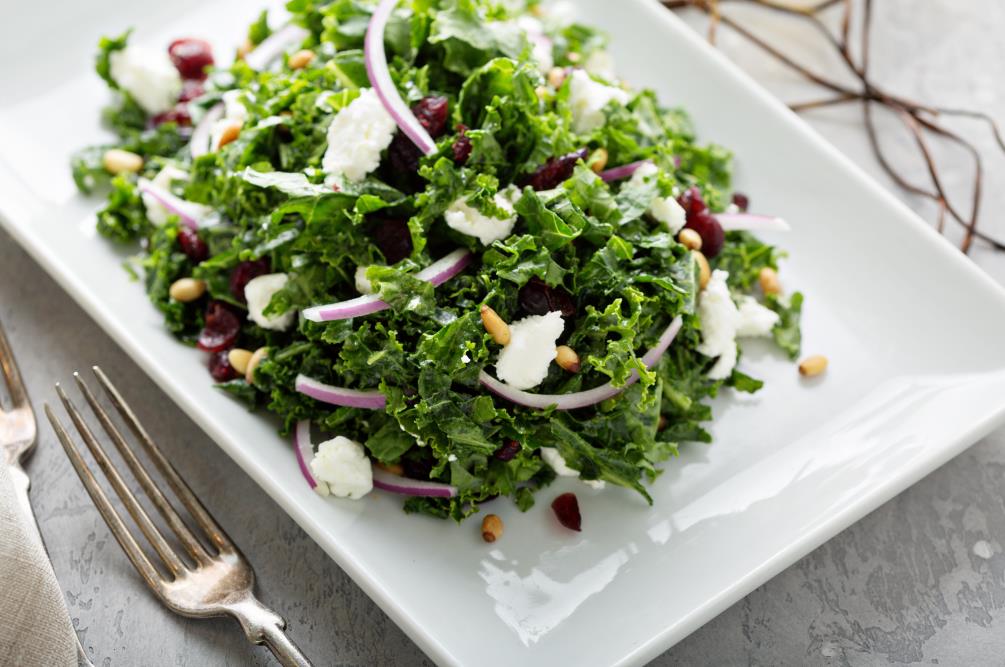
When you need to marinate vegetables or cook them throughout the dish with the same tenderness, julienning will ensure that everything cooks precisely and fast. It’s also an excellent way to garnish foods and helps maintain crunchiness. It’s the most common way to cut vegetables for salads and slaws. If you can cut something into strips, julienne is a great way to go about it.
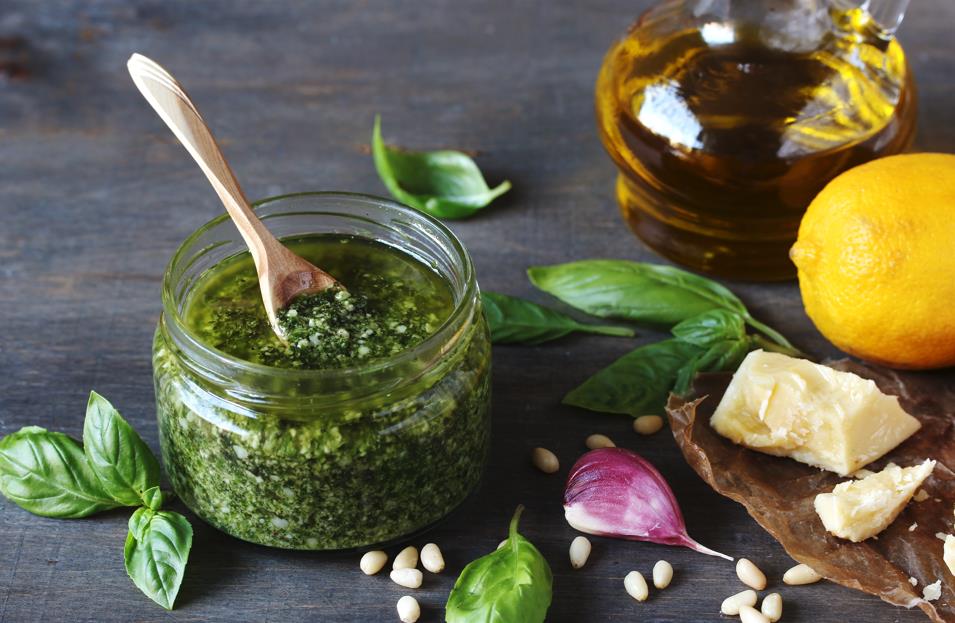
Chiffonade
Julienning is undoubtedly a great way to create strips, but it doesn’t go well with herbs or leafy vegetables like spinach. Imagine cutting basil the same way you would a carrot. You wouldn’t even know if you made the cut or not due to the thin structure. Chiffonade is a great cutting technique to turn these types of ingredients into strips or ribbons that otherwise would be challenging.
How to chiffonade
Chiffonading herbs and leafy veggies create pieces that resemble a ribbon that will look better when garnishing dishes. If it strips you’re after, simply unroll each piece.
- Take the ingredient and roll it up. You can use a few pieces stacked on top of each other if it’s something small you’re cutting.
- Hold the rolled-up ingredient with the end down on the cutting board and start slicing. Chiffonade cut is as simple as that.
Why chiffonade?
Chiffonade is an aesthetically pleasing cut that looks as if you made thin strips and rolled them up. Impress your guests by topping dishes with chiffonaded herbs. You can also chiffonade leafy ingredients before mincing them to speed up the process.
Brunoise
Like dicing, brunoise cuts are small. It’s the tiniest second only to mince. Anything smaller than a brunoise is considered mince. Each brunoise is about 3mm long but can also be smaller, perfect for when you need finely cut ingredients.
How to brunoise
Although it’s similar to the dice cut, several things are different with the brunoise cut. Remember making the lengthwise cuts to determine the initial thickness? You start the same but with a lot thinner lengthwise cuts. The same also goes for making the vertical cuts.
- Once ready, slice the ingredient to lay it flat on the cutting board.
- With the flat side down on the cutting board, make 3mm thick lengthwise cuts.
- Turn it on its side and follow up with vertical slices of the same thickness to create strips at the exact dimensions.
- Lastly, slice each strip stacked on top of the other into 3mm cuts.
Why brunoise?
Brunoise is another excellent way to add flavor to dishes without appearing so full on the plate. It’s also a great cut when making sauces. If you need to add flavor to a specific food but don’t want to alter its look that much, yet you don’t require it to be as small as mince, brunoise is the way to go.
Bias cut
Bias cuts are comparable to vertically cutting an ingredient but at a different angle. Shifting the knife’s cutting angle and slicing as usual will give you bias cuts. Many recipes call for cutting on the bias; here is how.
How to bias cut
Let’s take a carrot as an example. It’s lengthy and hard. These attributes don’t help with cooking time, and making vertical slices hasn’t been proven to make it any faster. Cutting on the bias exposes a larger surface area, leading to faster cooking overall.
- After washing and peeling the carrot, trim off both ends.
- Start cutting by holding your knife at a slightly different angle – say 45-degrees.
- Use the initial cut as your reference point and slice accordingly to have identical pieces.
Why bias cut?
If you ever forget to add a particular ingredient but worry that it will take too long to cook and require you to overcook the rest, cutting on the bias can help. Take a carrot as an example. It’s lengthy and hard. These attributes don’t help with cooking time. Cutting on the bias exposes a larger surface area, leading to faster cooking overall. Also, it’s a lot more aesthetically pleasing than standard slices.
How to practice these knife cuts?
You can’t just start cutting things into chops, dices, mince, julienne, or whatever you have in mind. You need to have a reason. It’s not like there are practice vegetables or fruits that you can put together after cutting them. If you were to try different knife cuts just cause you want to practice your knife skills, a lot could go to waste. Here are a few tips on finding reasons to practice your knife skills.
Meal-preparation
Shortly known as meal prep, this helps not only with calculating your calories and staying on track with your dietary goals but can also help with practicing your knife skills. Preparing meals beforehand and practicing the previously mentioned knife cuts over a few hours can help you go a long way. Making a salad or a quick side dish when eating comes every day can also help you memorize the techniques.
Cut now, use it later
Another way you can practice your knife skills without wasting anything is to cut vegetables and save them from being used for later. For example, you can dice plenty of onions, put them in an airtight bag, and freeze. You can do this with any food you can freeze and stock for later consumption.
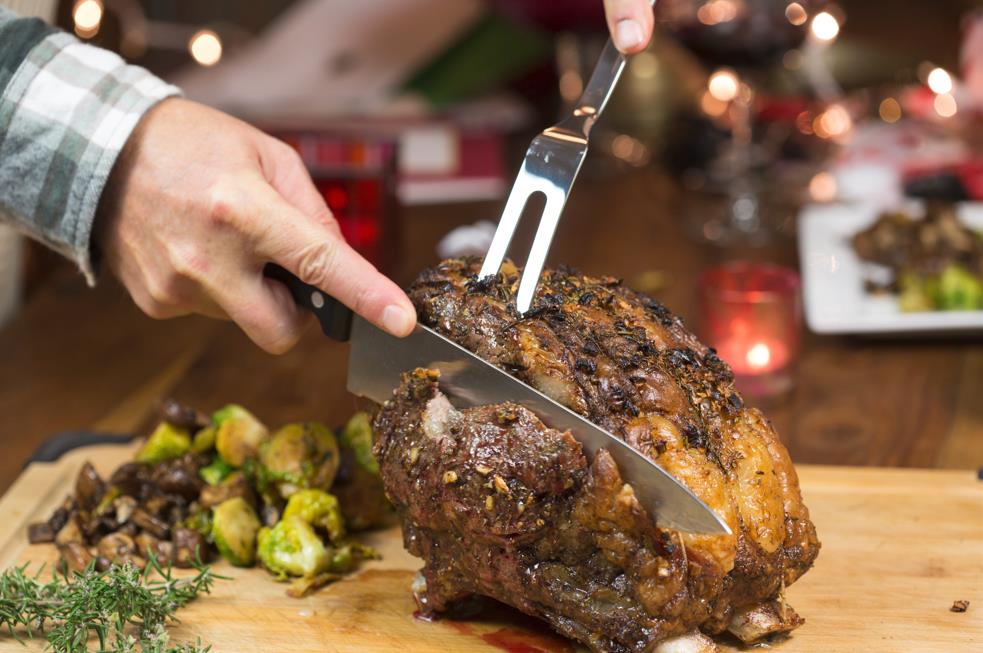
If you want to practice with meat, you can buy a big roast, practice, and make stew or jerky with the bits. When there are pieces left, freeze and use them later.
Practice different knife cuts slowly, and as you master the technique, you’ll get faster eventually. Whenever you’re practicing, you should be having fun and enjoying yourself.
Go slow and pick up things at your own pace. To add more to your skills, invest in good kitchen knives, especially a chef’s knife that you can handle pretty much everything. Jump to our shop to see handmade kitchen knives at a fair price.