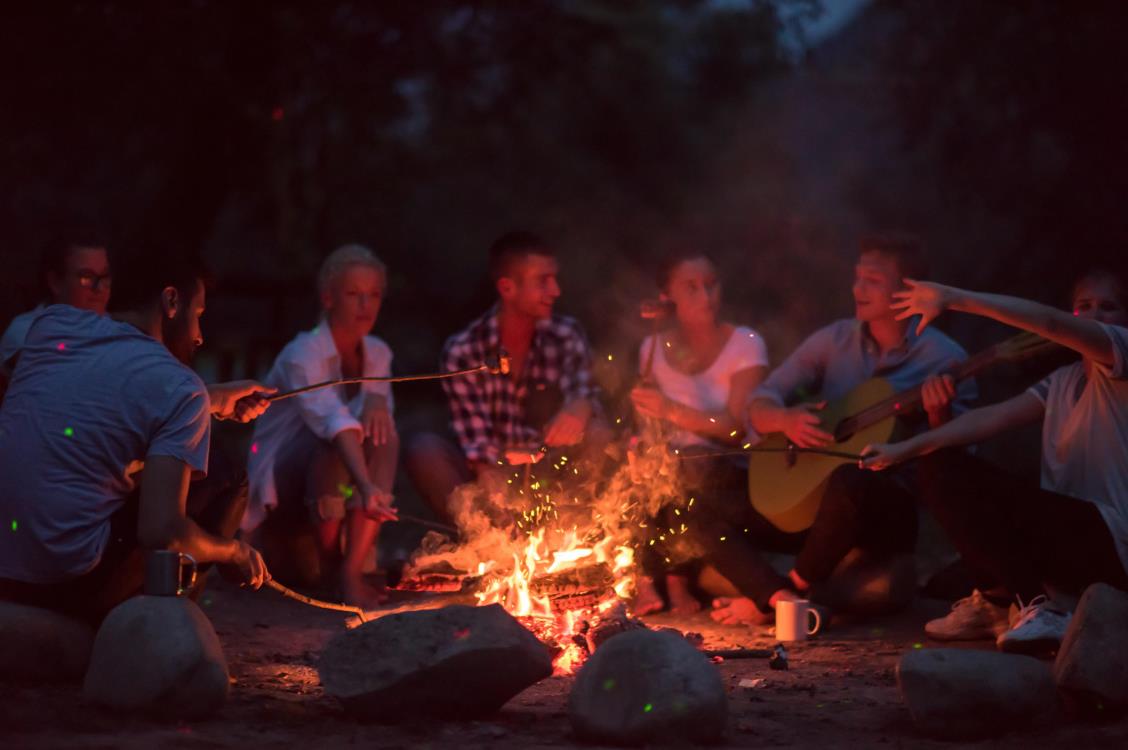
Heading out for a camping adventure brings excitement and the opportunity to disconnect from daily routines. However, it also requires you to master some essential wilderness skills, one of which is boiling water. Boiling water not only allows you to cook meals and make hot beverages but is also crucial for purifying water to make it safe for drinking.
Fear not! There are several simple methods for boiling water while camping to ensure you stay both hydrated and well-fed. In this article, we’ll explore different techniques to get that water bubbling away at your campsite, catering to various equipment and circumstances.
From using portable camping stoves to harnessing the power of natural elements, these methods will have you boiling water like a seasoned outdoors enthusiast in no time. Whether you’re a camping newbie or an experienced wilderness explorer, you’re sure to find the perfect solution to suit your needs.
Table of contents
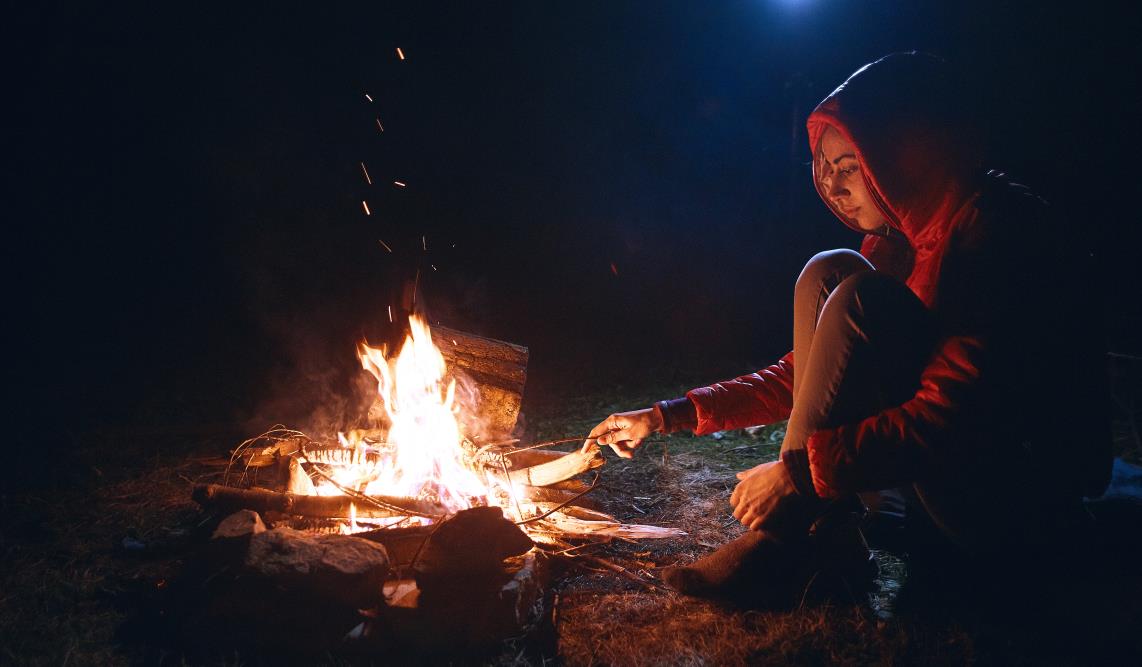
Boil water with campfire
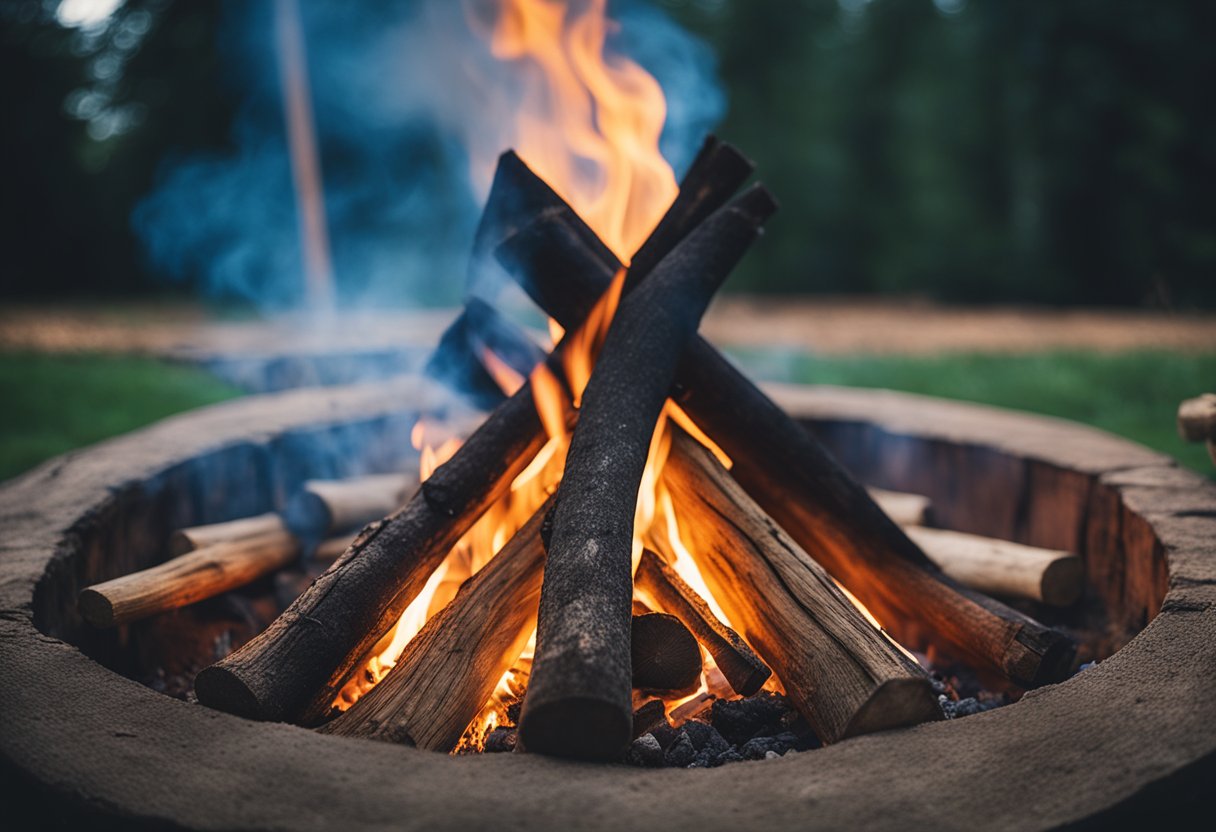
Boiling your water with campfire is the most straightforward way to do it. But it also requires some get used to if it’s your first time.
Step by step how-to
- Start your campfire: To begin, collect dry wood and twigs for your campfire. You will need sufficient wood to maintain the fire for the time it takes to boil your water. Place the smaller twigs and kindling in the center and stack larger logs around them. Use a firestarter or match to ignite the kindling.
- Place a tin can or pot over the campfire: Once your campfire is burning steadily, find a flat surface on the fire ring or use a grill grate to support your tin can or pot. Make sure the can or pot you’re using is clean and large enough to hold the water you plan to boil.
- Fill your container with water: Now, pour the water you want to boil into your tin can or pot. Be cautious when handling the can or pot, as it will heat up quickly over the campfire.
- Monitor the water and heat: Keep an eye on the water as it heats up. It should take about 10-15 minutes for the water to reach a boiling point, depending on the intensity of your campfire. Adjust the position of your can or pot, or add more wood to the fire as needed to maintain a consistent heat source.
- Watch for boiling water: You’ll know the water has reached a boil when you see bubbles rising rapidly to the surface. At this point, carefully remove the pot or can from the fire using a heatproof tool and allow it to cool down before using the water.
Pros and cons
Pros:
- Using a campfire provides a source of heat that doesn’t require fuel canisters or other gear.
- The boiling water can be used for cooking, cleaning, or purifying water for drinking.
- The experience of building and tending to a campfire adds to the appeal of camping.
Cons:
- Starting a fire can be difficult, especially in wet conditions or if you’re inexperienced.
- Campfires are not always permitted, depending on your camping location and local regulations.
- The process of boiling water over a campfire can take longer and requires more attention compared to using other methods.
Best Camp Cooking Equipment
Get 11% off and free shipping – limited time only!
Boil water with an electric kettle
Step by step how-to
- Find a power source: While camping, you might have access to a power source such as a generator or a portable power bank. Make sure your electric kettle is compatible with the available power source.
- Fill the kettle: Open the lid and fill the kettle with tap or filtered water. Do not overfill it, as it may cause the water to overflow or take longer to boil.
- Plug in the kettle: Connect the kettle to the power source and make sure it is secure. Some kettles have a power switch/button to turn on.
- Set to boil: Turn on the kettle and wait for it to boil. Most electric kettles automatically shut off once the water reaches boiling point, which is about 212 °F (100 °C).
- Unplug and pour: After the water has boiled, be cautious while handling the kettle as it can be very hot. Unplug the kettle, and carefully pour the boiling water into your desired container.
Pros and cons
Pros:
- Fast and efficient. Electric kettles heat water much faster than traditional methods like a stove or campfire.
- Consistent temperature. They have built-in temperature control features, ensuring the water reaches the desired temperature.
- Low maintenance: There is less risk of burning or scorching as they automatically shut off.
Cons:
- An electric kettle needs a power source, which may not always be available while camping.
- Electric kettles are generally bulkier and can be less portable than other methods.
- If you prefer to camp in remote areas, an electric kettle may not be the best option due to their dependence on electricity.
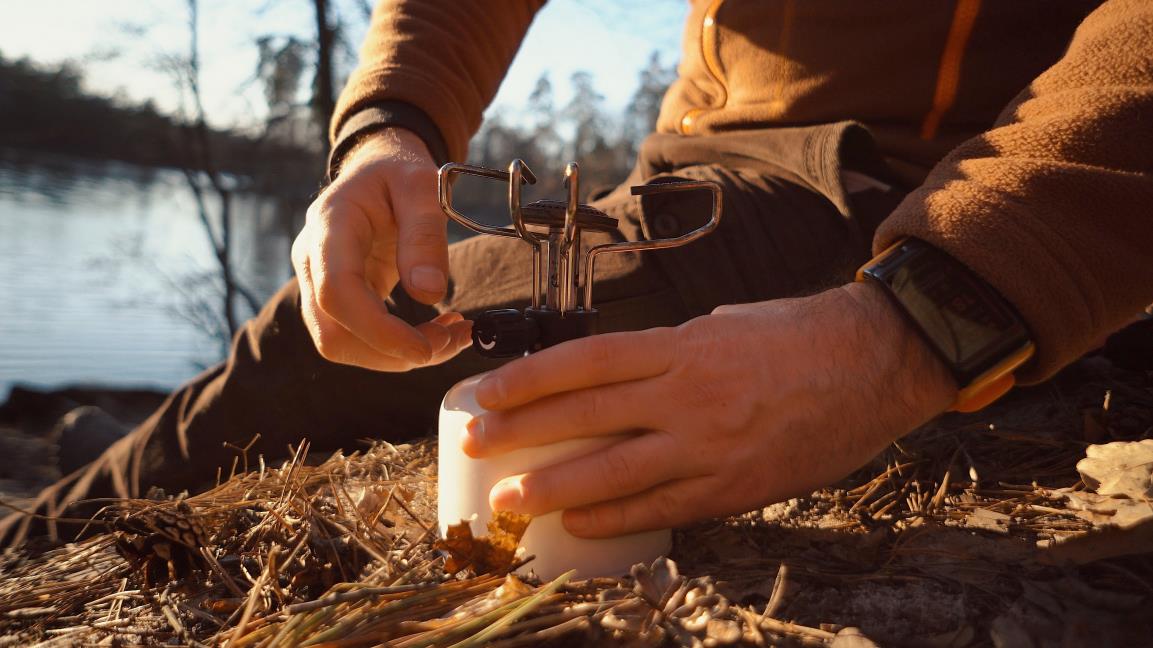
Boil water with a camping stove
Using a camping stove is a versatile and reliable method for boiling water while camping. It’s convenient and easy to use, but remember to always practice safety when using it.
Step by step how-to
- Set up the stove: Place your camping stove on a flat, stable surface. Ensure that the area is clear of any flammable materials and has proper ventilation.
- Connect the fuel: Attach the fuel canister to the stove, making sure it is properly connected and the valve is closed.
- Place the pot: Put the pot or kettle filled with water on the stove. Make sure it is centered and stable.
- Light the stove: Carefully light the burner using a lighter or match. You may also use the stove’s built-in ignition if it has one. Open the fuel valve slowly until the flame ignites.
- Adjust the flame: Adjust the flame to your desired heat level. A higher flame will boil water more quickly but may use more fuel.
- Monitor the water: Keep an eye on the water, and once it reaches a rolling boil, you can start timing. Boil it for at least one minute to ensure proper disinfection.
- Turn off the stove: Once you’re done, turn off the valve and let the stove cool before disassembling and storing it.
Pros and cons
Pros:
- Fast and efficient. The camping stove is much easier to operated than campfire.
- The camping stove is available in various sizes.
- Heat output is controlled.
Cons:
- Requires fuel. Gas or alcohol canisters.
- Can be easily affected by wind.
- Can be heavier than other options.
- Camping stove is not always allowed in fire-restricted areas.
Boil water with a car kettle
Step by step how-to
- Choose a suitable car kettle: Look for one with a 12-volt plug that can connect to your car’s cigarette lighter or USB port.
- Fill the kettle with water: Make sure to only fill it up to the indicated maximum level to prevent overfilling and spills.
- Plug the kettle into your car’s power source: Ensure that your car is running to provide enough power.
- Switch the kettle on: Most car kettles have an indicator light that shows when they’re heating the water.
- Wait for the water to boil: Depending on the kettle’s power, this can take anywhere from a few minutes to around 10 minutes.
- Unplug the kettle and handle with care: The kettle and water will be hot, so use a towel or protective glove when pouring the water.
Pros and cons
Pros:
- Convenient and easy to use
- Doesn’t require additional fuel sources
- Great for making hot drinks or rehydrating freeze-dried meals
Cons:
- Needs a working car with a compatible power source
- May have a slower heating time compared to other methods
- Not suitable for larger groups or cooking bigger meals
More methods to boil water while camping
Solar still
To create a solar still, dig a hole in the ground, place a container in the middle, and cover it with a clear plastic sheet. Anchor the plastic edges with rocks and place a small weight in the center. The sun’s heat will evaporate the water, and it will condense on the plastic and drip into the container. The solar still requires minimal equipment and is a sustainable method. However, cons include a slow process and dependence on sunlight.
Hot stone
Heat a rock in the fire until it’s piping hot (avoid river rocks as they can explode from trapped moisture), then using tongs or a stick, carefully place the hot stone in your water container. Heating a stone is such a simple and primitive method that requires minimal equipment. But it can be time-consuming, needs a good fire, and might require multiple stones for larger volumes of water.
Water source and filters
When you’re out camping, finding a clean water source is essential. You might come across various options like a stream, river, or lake. Always choose a spot with clear, fast-flowing water, as stagnant water can harbor more bacteria and contaminants.
If you cannot find a suitable natural water source or prefer something more convenient, you can always opt for bottled water. However, carrying enough bottled water for your entire trip could add extra weight to your backpack.
Fortunately, there are portable water filters on the market to help you get clean water on the go. These devices come in various forms such as:
- Pump filters: These require you to manually pump water through the filter to remove impurities.
- Gravity filters: Simply fill a bag with dirty water, hang it above ground, and let gravity do the work as it flows through the filter.
- Straw filters: Drink directly from the water source using this straw-like device, which filters water as you sip.
- UV purifiers: These use ultraviolet light to kill bacteria, viruses, and other microorganisms in the water.
When selecting the right portable water filter for your needs, keep in mind factors such as weight, filtration speed, and effectiveness against different types of contaminants. Also, be prepared to clean and maintain your filter as needed to ensure its longevity and performance. Remember to always filter your water before boiling it, even if it looks clean. By doing so, you’ll significantly reduce the risk of ingesting harmful bacteria or contaminants while enjoying your outdoor adventure.
Safety first
With all the methods we’ve introduced, I’m sure you are more than eager to try them out so soon as possible. Just remember, safety always comes first. Don’t bite more then you can chew, do proper precautions, and get all the necessary equipment.
Want to learn more about camping? Don’t miss out on our assorted guides! Learn how to distingue fire temperature, storing food, and many more useful tips.